DIY Crystal Moon Shelf
How to make a Wood DIY Crystal Moon Shelf
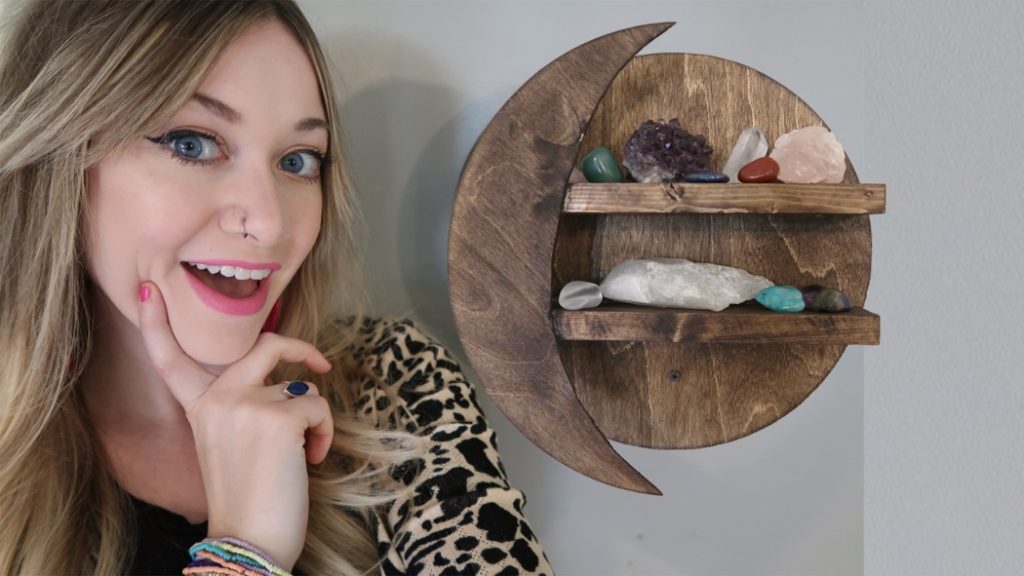
Hey guys, it’s Laci again from LaciJane.com and I’m happy to be partnering with Dinah at DIY Inspired again! I hope that you’re all doing amazing today. I have a really awesome DIY that I couldn’t wait to share with you! I’ve been collecting crystals for years and my collection is getting out of hand. Unable to find anything that I loved online (within the price range I was willing to pay), I created this DIY crystal moon shelf with just a few supplies.
This DIY wooden moon shelf is probably one of my favorite DIY projects I’ve done in a long time. This shelf was really easy to make and it was inexpensive. You guys know I’m all about cheap + easy DIY’s. In fact, I have an entire playlist on YouTube dedicated to cheap and easy DIY projects.
What the DIY Crystal Moon Shelf Video
What You Need
Materials
This materials list and instructions below have Amazon affiliate links for recommended products I use. As an Amazon Associate I earn from qualifying purchases.
DIY Crystal Moon Shelf Instructions
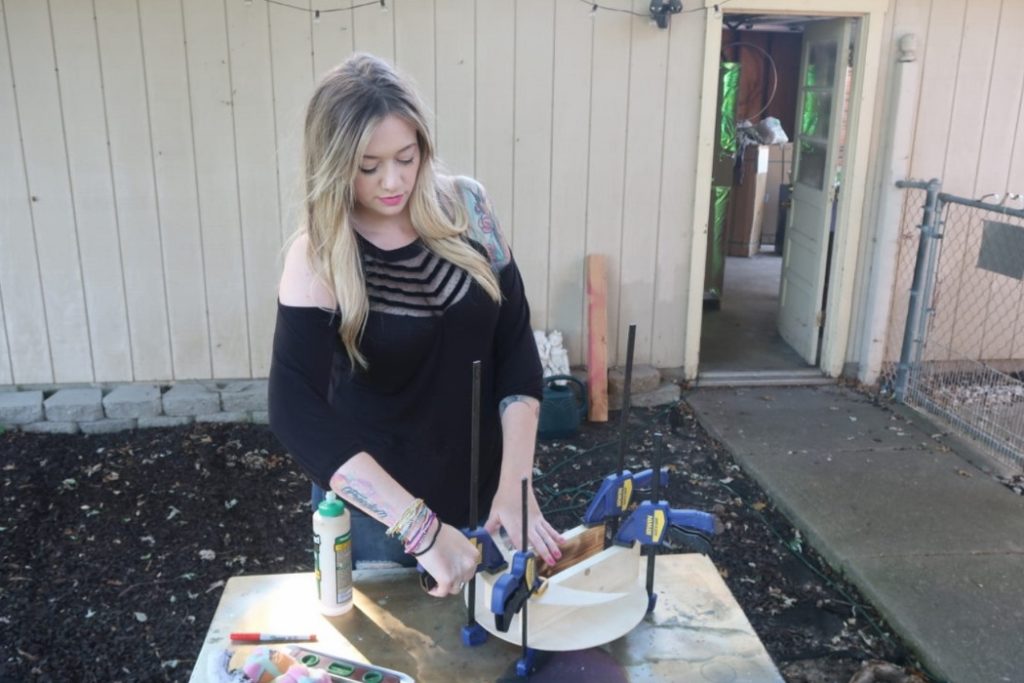
- Using both of your wooden circles, set one on top of the other and trace your crescent moon onto the circle.
- Using your jigsaw, follow your lines to cut your crescent moon out and lightly sand the edges.
- Then cut the shelves down to size. I used scrap wood (1×4) that I found in the garage and cut them down to 11″
- Using wood clamps and a level, make sure they are level and mark a line so you know where to glue. Cut them to 11″ because the wooden circles are 12″. Next, offset the 1×4’s to the right of the wooden circle because you are going to put the crescent moon to the left.
- After the 1×4’s were glued down, glue the crescent moon to the left side of the shelves and clamp them all down securely. Allow this project to dry for several hours. Then, stain the wood pieces.
I think it would look pretty cool to paint the crescent moon a different color than the rest of the shelf or leave that part un-stained—- I almost did that, but instead, opted to stain it all.
Note: Stain before you glue these pieces together. I’m just really impatient and want to see my vision come together ASAP.
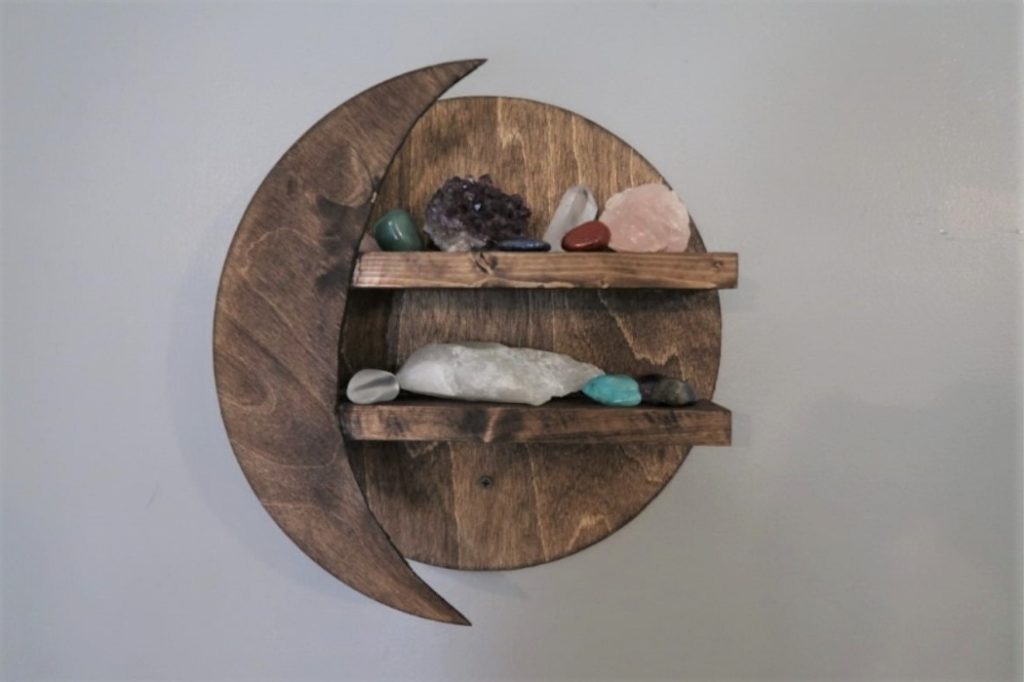
I’m still really happy with how this project turned out, especially because I didn’t go out and purchase anything new. I only used what I had lying around to create this unique, one-of-a-kind shelf.
What do you guys think? Is this something you’re going to DIY? I’d love to see your projects!