Thrift Store Santa Sleigh Makeover
Thrift Store Santa Sleigh Makeover with Helpful DIY Tips
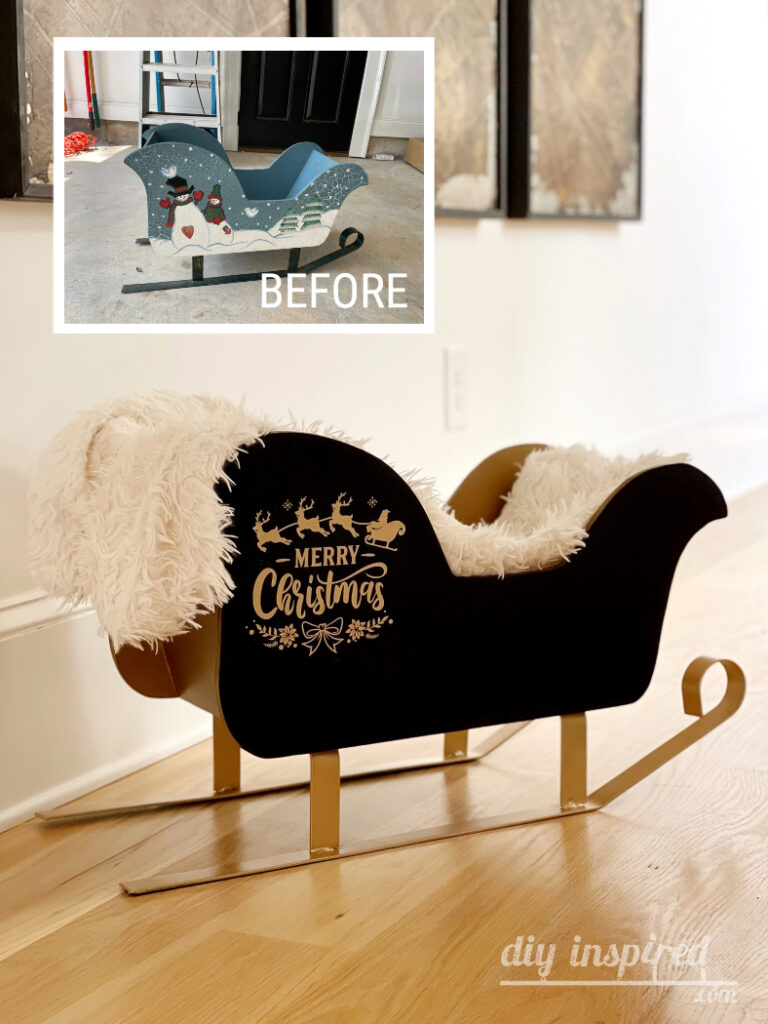
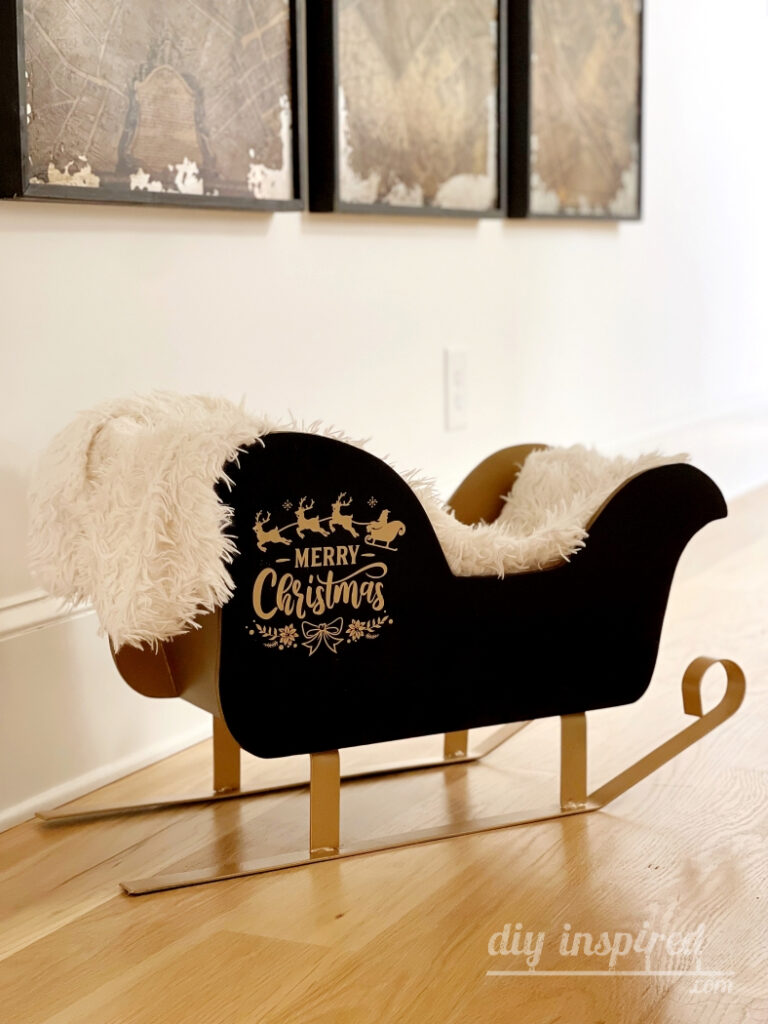
On a thrift store treasure hunt not long ago, I found this wooden Santa sleigh for only $8.00. It was a good size, so I thought it was a great deal. Although it is cute and kitschy the way it is, I made it over to fit my style. This is my thrift store Santa sleigh makeover with some helpful DIY tips and decorating ideas.
Here is the BEORE photo.

Here is the AFTER.

Watch the Video Tutorial
Here’s a quick YouTube video of my thrift store Santa sleigh makeover. I’d love it if you subscribed to my channel!
Removing the Paint
This particular sleigh had dimensional paint on it. It was raised an electric sander alone wouldn’t cut it. Here’s what you need.
Materials:
- Hand Torch
- Scrapper
- Sander and Sandpaper
- Putty
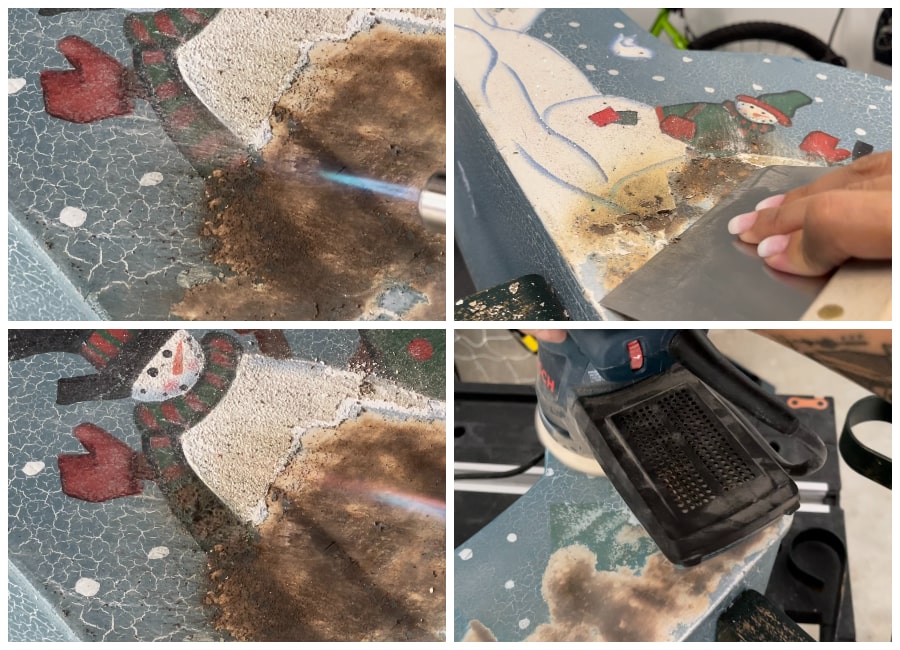
Instructions:
Simply heat the existing paint with the flame of the torch and scrape off the paint while it is still hot. Next, use an electric sander to smooth out both sides of the sleigh.
If there are any blemishes or repairs needed, apply putty, dry, and sand.
Spray Painting the Sleigh
I wanted to use two different colors, so below you’ll find out tips on how to spray paint with two colors without having to use painter’s tape.
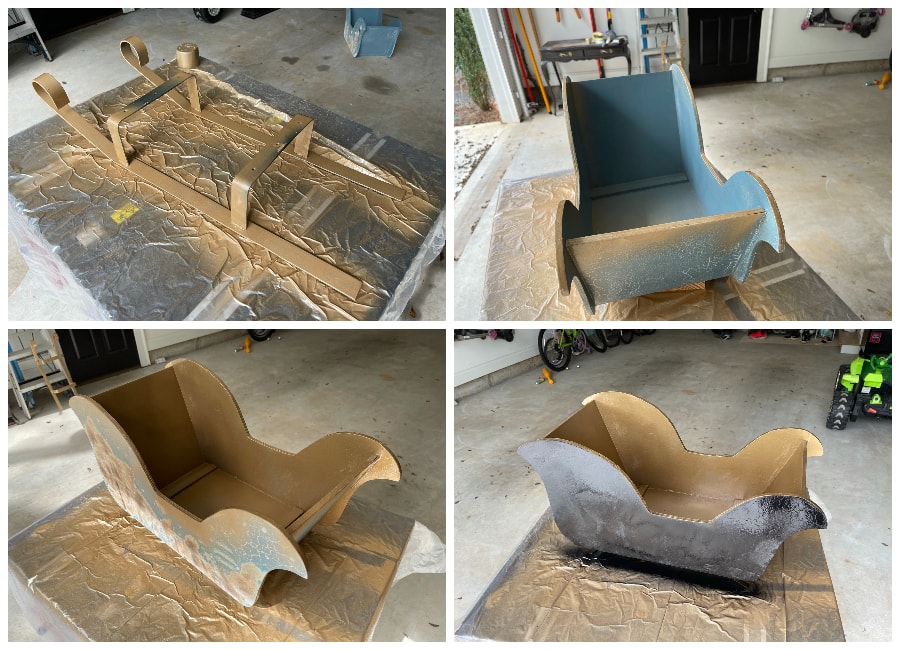
- Once you are finished repairing and sanding, clean the sleigh from debris. I used a wet clean cloth.
- Remove the blades by removing all the hardware. Spray paint the blades.
- Spray paint the rims and inside of the sleigh with the first color. I also used this color for the front and back.
- When painting the sides, spray paint with the second color by spraying in an angle and working out. You can touch up with the other color after.
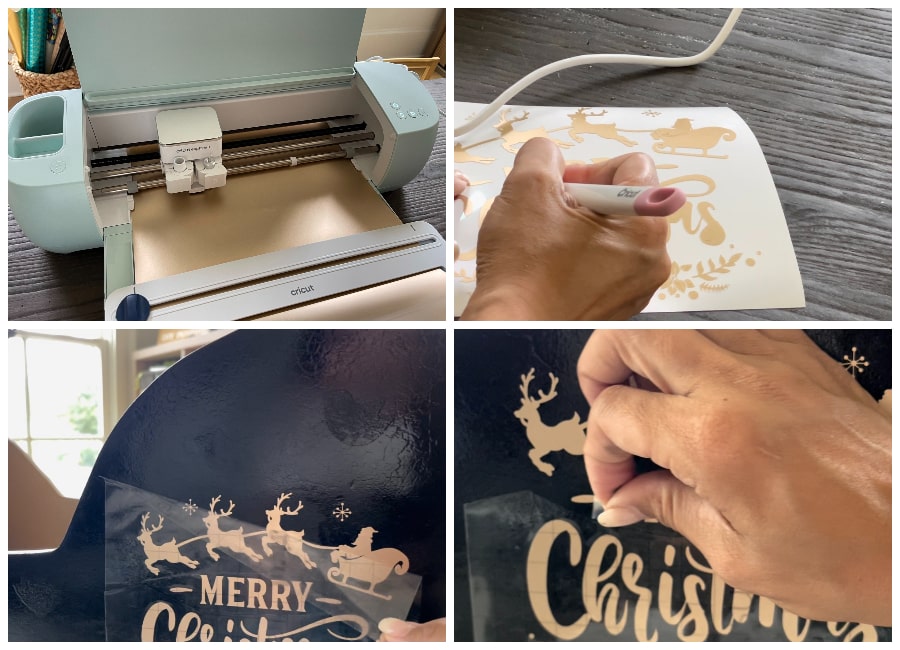
Add Embellishments with a Cricut Machine
Tools Materials I Used:
- Cricut Machine
- Permanent Vinyl
- Cricut Transfer Paper
- Weeder
Instructions:
- Use the Cricut Design Space to create your design.
- I have the Cricut Explore 3 and used Smart Permanent Vinyl in gold. I cut out two images; one for each side.
- Add the image onto the sleigh using transfer paper if desired.
There you have it!
More Fun DIY Christmas Ideas
- DIY SNOW GLOBE ORNAMENTS
- WINTER WOODLANDS DIY ORNAMENTS
- DIY QUARTZ CHRISTMAS ORNAMENTS PAPER CRAFT
- INEXPENSIVE NEIGHBOR GIFT IDEAS FOR ADVENT
Like it? Pin it!