• Project Gallery
  • DIY
    • Recycled DIY
    • Upcycled DIY
    • Repurposed DIY
    • Refurbished DIY
    • DIY Furniture
    • Repurposed Furniture
    • Thrift Store Transformations
  • Crafts
    • Wood Crafts
    • Paper Crafts
    • Photo Crafts
    • Kids Craft Ideas
    • Doll Crafts
    • Felt Crafts
    • Stenciling
    • Gift Wrapping
    • Printables
  • Party
    • Birthday Party
    • Baby Shower
    • Bridal Shower
    • Wedding
    • Team Sports
    • Sweets and Treats
    • Cocktail Corner
  • Holidays
    • Father’s Day
    • Fourth of July
    • Back to School
    • Halloween
    • Halloween Costumes
    • Thanksgiving
    • Elf on the Shelf
    • Christmas
    • New Years
    • Valentine’s Day
    • St. Patrick’s Day
    • Easter
    • Earth Day
    • Teacher Appreciation
    • Mother’s Day
  • Home & Garden
    • Storage & Organization
    • Cleaning Tips
    • Gardening
    • Makeovers
    • Kid Stuff Makeovers
    • DIY Tips & Tricks
    • DIY Artwork
    • Curb Appeal
  • Health & Beauty
    • Health & Wellness
    • Bath & Body
  • Nav Social Menu

    • Facebook
    • Instagram
    • Pinterest
    • Twitter
    • YouTube

DIY Inspired

Repurpose, Reinvent

  • About
  • Contact
  • Advertising
  • Featured
  • Disclosure

Crafts Holidays

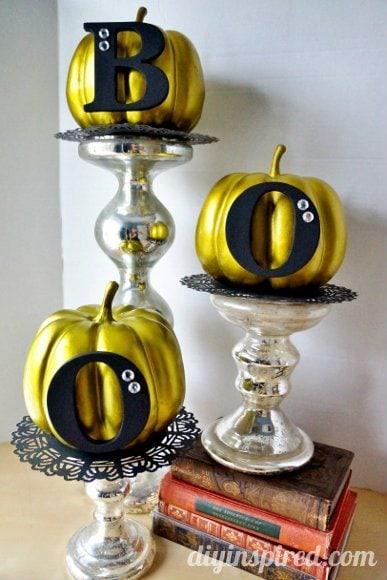
Easy Pumpkin Halloween Decoration

halloween-pumpkin-display

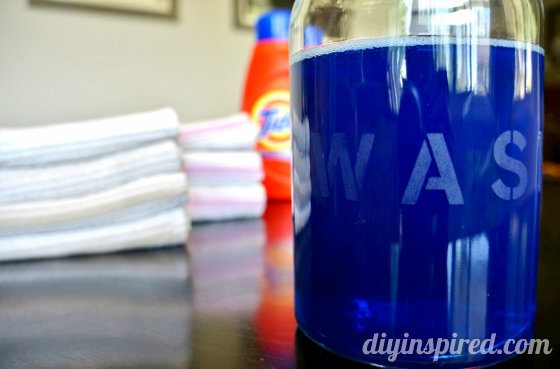
I am so thrilled to participate in yet another Craft Lightning hosted by Angie from Country Chic Cottage and Carolina from 30 Minute Crafts. This is my third one and I’m particularly excited because it’s the Super Spooky Edition! The last two times I participated I made craft storage jars and a DIY rope vase.  This time, I am sharing a fun and easy 15 minute Pumpkin Halloween Decoration my daughter and I made.

Here is what you need:

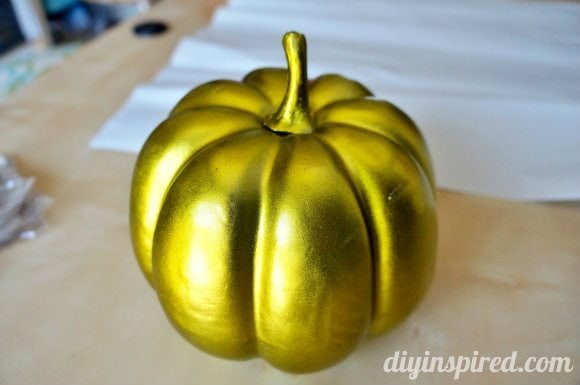
  • Three craft pumpkins
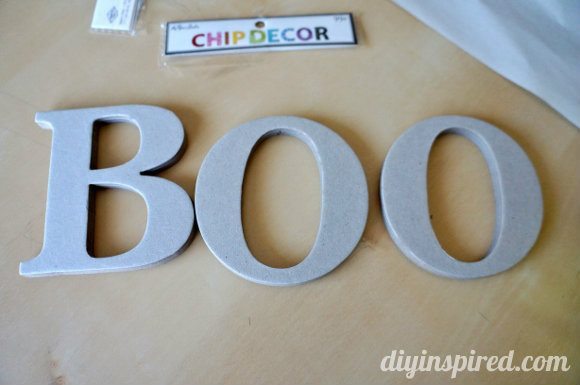
  • Pre-made MDF or wooden letters that spell “Boo”
  • Black craft paint
  • Paint brush
  • Hot glue and glue gun
  • Rhinestones

I found these craft pumpkins for a steal at Goodwill for .99 each! Most craft pumpkins are around $5-$10 each. AND they already came in a funky green metallic color so we didn’t have to paint them.

easy-halloween-pumpkin-decoration

I also bought these pre-made letters from Hobby Lobby for .99 each.

easy-halloween-pumpkin-decoration (1)

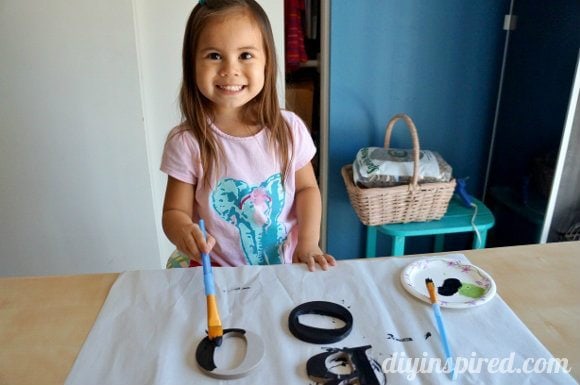
My daughter and I painted them black.  I love that she’s old enough now to do things like this with me.  Although she’s only three, I love sharing in the creativity. It’s a great age!

easy-halloween-pumpkin-decoration (2)

Once they were dry, I hot glued them onto the pumpkins.

easy-halloween-pumpkin-decoration (3)

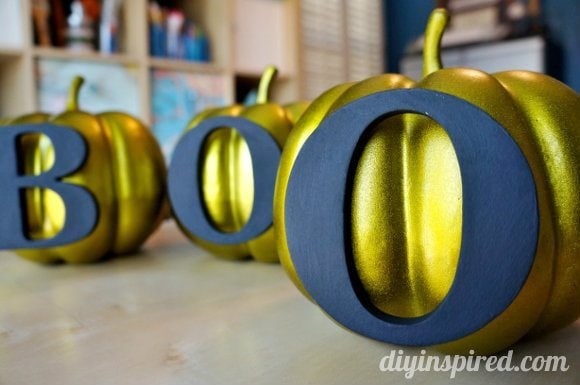
Finally I added rhinestones to give it a little Halloween sparkle.

easy-halloween-pumpkin-decoration (4)

Here they are posing on the spider doilies I made! I think I might display them at my front door.

easy-halloween-pumpkin-decoration (5)

halloween-pumpkin-display

A big THANK YOU to Angie and Carolina for allowing me to participate in the Halloween edition of 15 minute craft lightning. It was a blast as always!  Make sure you visit their blogs to see what the other participants have in store.


More DIY Pumpkin Projects:

  • Upcycled Metal Pumpkin Tutorial
  • Spooky Stagecoach Pumpkin 
  • Easy Gold, Black, and White Pumpkins DIY
  • Fall Pumpkin Centerpiece
  • Decoupage Fabric Pumpkin How To
  • Share
  • Twitter


9 Comments

Join our Community of Crafters!

Stay updated and never miss a thing!

Disclosure and Privacy Policy
Previous Post: « Halloween Spider Lace Doilies
Next Post: Upcycled Dining Room Chandelier »

Reader Interactions

Comments

  1. Tara says

    September 23, 2013 at 10:40 am

    Adorable! I love them, Dinah! And Mia…she’s so stinking cute <3

    Reply
    • Dinah Wulf says

      September 23, 2013 at 10:43 am

      Thanks Tara!! We had so much fun making them!

      Reply
  2. Angie @ CCC says

    September 23, 2013 at 11:30 am

    I love these! Great use of color!

    Reply
  3. Carolina says

    September 23, 2013 at 1:17 pm

    I love the extra sparkle the rhinestones add! So fun!

    Reply
    • Dinah Wulf says

      September 23, 2013 at 3:29 pm

      Thank you Angie and Carolina! Once again, I loved participating in Craft Lightening. Thanks for including me!

      Reply
  4. Joann says

    September 23, 2013 at 5:06 pm

    They are really cute!! And your little helper is such a Doll!!! Neat idea!!

    Reply
  5. Ryan says

    September 24, 2013 at 2:21 am

    I like it that you did not stop with just painting the letters black. You went out of your way to make the letters look more attractive. That is what I call CREATIVITY.

    Reply
  6. Mimi says

    October 2, 2013 at 11:17 am

    This is a wonderful display idea for my boutique flower shop. Thanks for the idea.

    Reply
    • Dinah Wulf says

      October 2, 2013 at 3:28 pm

      Oh that’s great! Glad you liked it and can use it!

      Reply

Leave a Reply Cancel reply

Your email address will not be published. Required fields are marked *

This site uses Akismet to reduce spam. Learn how your comment data is processed.

Primary Sidebar

Welcome!

DIY Inspired Profile Picture 2015Thank you for visiting! I'm Dinah and I'm honored to have had an exciting career in blogging over the last 11 years. {Read more about me here}

Join our Community of Crafters!

Stay updated and never miss a thing!

Disclosure and Privacy Policy

Stay updated and never miss a thing!

Footer

You might also love these

DIY Classroom Mobile Phone Holder

Classroom Smart Phone Drop Station

How to Make Cotton Stems

DIY Fabric Covered Switchplates

DIY White and Gold Nightstands

Over Ten Years of Do-It-Yourself Inspiration

DIY Paper Flower Party Decor

Accordion Flowers How To

Copyright © 2022 · Divine theme by Restored 316

Copyright © 2005–2022 DIY Inspired. Installed and customized by TCN Design Studio