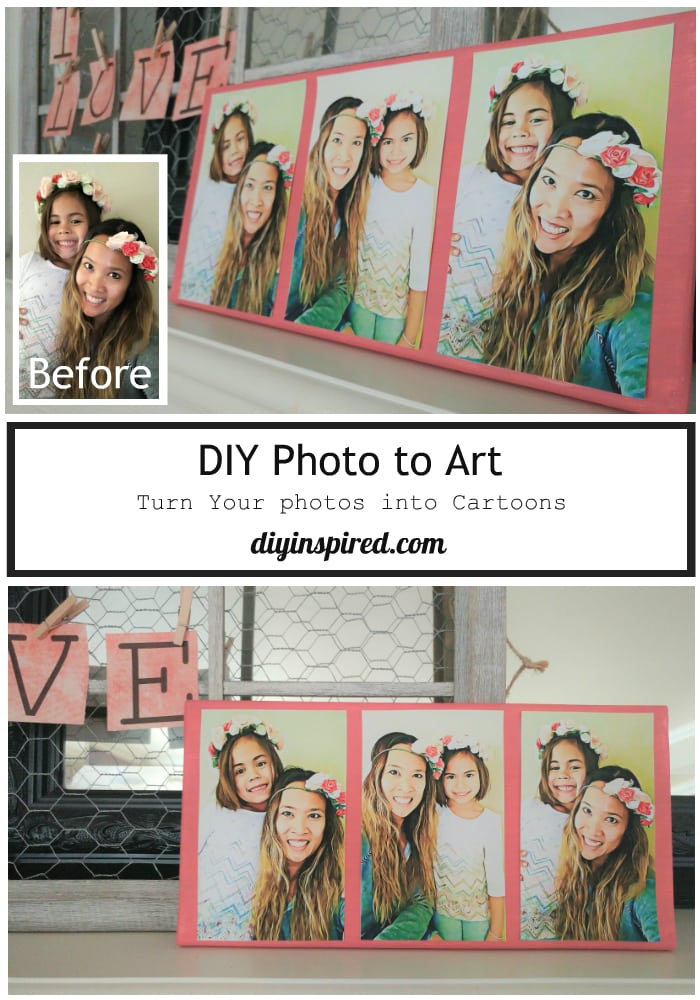
DIY Photo to Cartoon Art
This article, DIY Photo to Cartoon Art, is sponsored by BeFunky. All opinions are 100% my own.
The best thing about this DIY photo to cartoon art project was the look on my daughter’s face when she came home from school and saw these cartoon pictures of herself. I did this project while she was gone and placed it on her shelf in her bedroom. She did not notice it right away and nor did I say anything. As I was putting away the dishes downstairs in the kitchen I hear, “Mom! Cool! What is this?” I double stepped it up the stairs and she was beaming with the biggest grin on her face. “How did you do this?” she said. Here’s how…
Time: 45 Minutes
Tools and Materials:
- BeFunky Photo to Art Effects Tool
- Brochure Paper or Photo Paper
- Printer
- 14 X 7 Canvas
- Acrylic Craft Paint
- 2 Foam Brushes
- Mod Podge
Watch the Video Tutorial:
BeFunky Photo to Art Instructions:
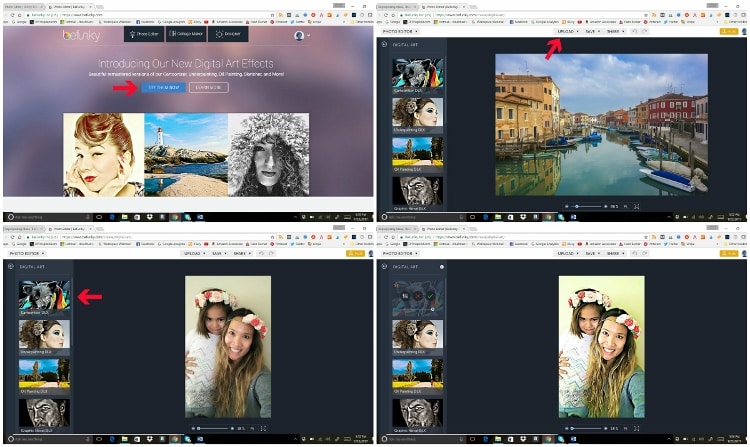
- Go to www.Befunky.com and click “Try Them Now”. You will be directed to their Digital Art page. In it you can play around with the photo to art
- Upload a photo of choice and play around with their new Digital Art effects. There are so many cool effects like Impressionist, Oil Painting, and my favorite, Cartoonizer.
- Once you are satisfied with your new and improved photo, you can save it to your computer.
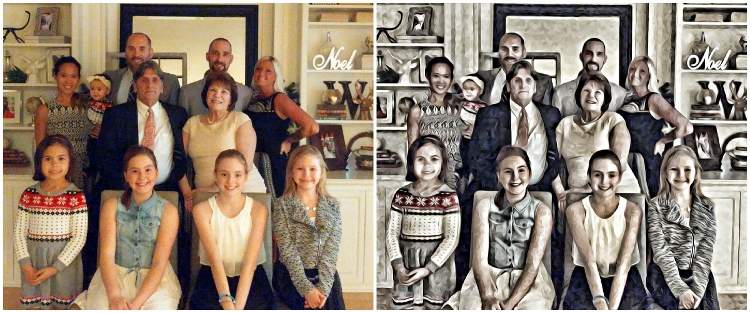
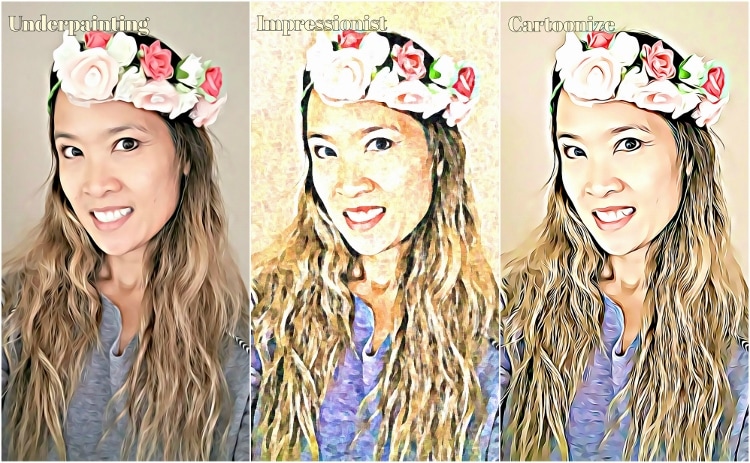
Here are some before and after examples of the effects you can use. The family photo is the Graphic Novel effect. I also did a side by side of the Underpainting, Impressionist, and Cartoonize effects so that you can see the differences. Aren’t they cool?
Once you have you photos saved, it’s time to place them on a canvas.
DIY Photo Canvas Art Instructions:
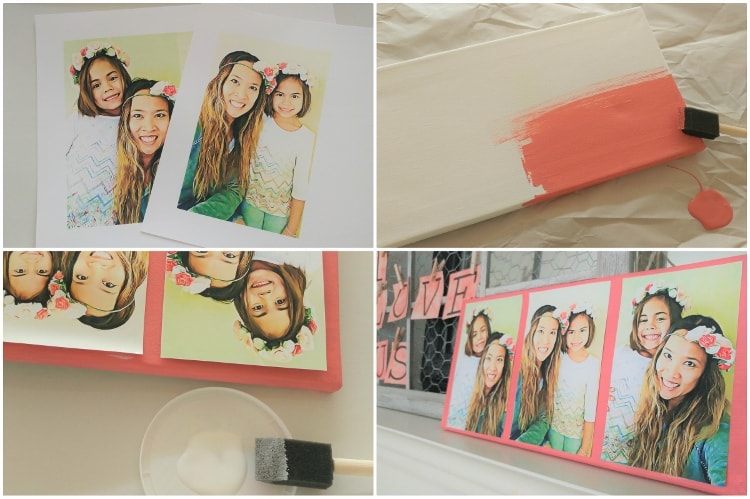
- Print and cut out your photo (s). I used brochure paper, but you can also use cardstock or photo paper.
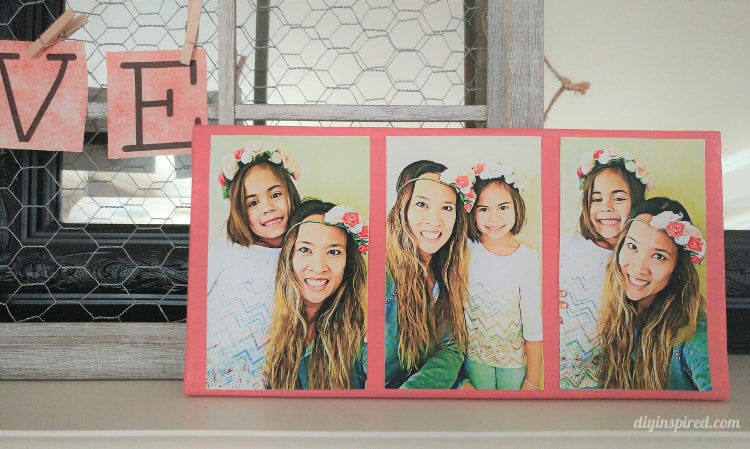
- Paint the canvas the color of your choice. I chose a 14” X 7” blank paint canvas which fits three photos nicely.
- Once the paint is completely dry, Use Mod Podge to adhere them to the canvas.
The BeFunky Artsy effects are Plus features, so users must be BeFunky Plus members to have access, but you can try the Artsy effects for free and BeFunky has tons of other totally free features and effects like their photo editor, collage maker, and designer. Upgrading to Plus costs $4.95/month or you can opt to do a yearly subscription for $34.95/year which works out to only be $2.91/month!
So give BeFunky’s Photo to Art a try and impress your kiddos like I did!
Like it? Pin it!