How to Build a DIY Pallet Wall
A Simple and Inexpensive Way to Build a DIY Pallet Wall
Did you know I have a second home? It’s called Fitness On Fire; my gym. I’m there about five, sometimes six days a week. I’m obsessed… and the reason I learned How to Build a DIY Pallet Wall.
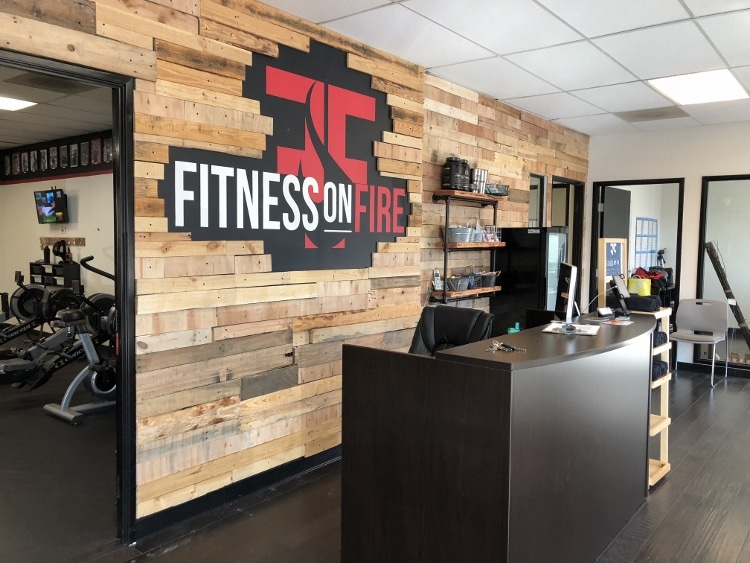
This project was a weekend project done by the Fitness On Fire community, lead by co-owners Josh and Haydee Graves. The team got together one weekend to put up a beautiful pallet wall for the gym entrance during the last expansion. Here’s how they did it.
Watch the Video
How to Build a DIY Pallet Wall
Time: Weekend Project
Materials:
- Pallet Boards
- Fine Thread Dry Wall Screws
- Thin Plywood
- Black Paint
- Painter’s Tape
- Paint Rollers and Brushes
Tools:
- Circular Saw
- Hammer
- Ladder
- Crowbar
- Stud Finder
- Drill
- Level
Finding Free Pallets and Preparing Them
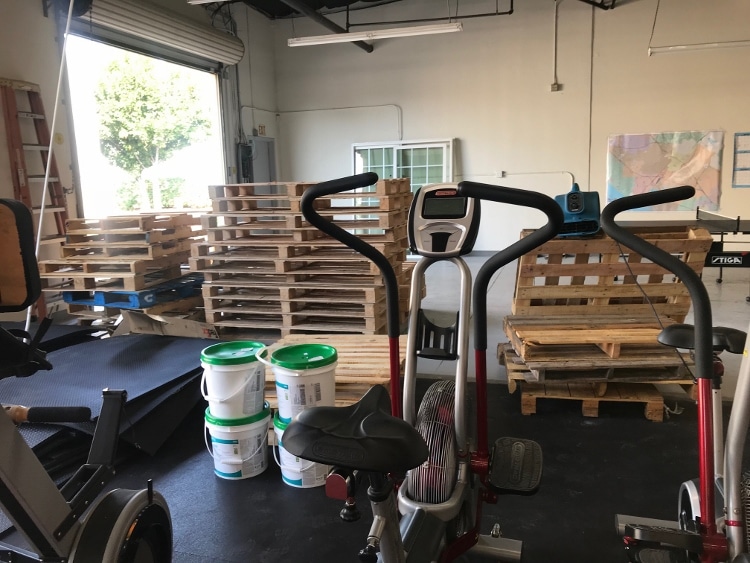
First, even though reusing pallet boards is a big DIY trend right now, surprisingly you can still find them for free. Many businesses will gladly give them away or some will charge a small fee. These pallet boards were found abandoned in the back of random business complexes near the trash.
Prepping the pallets to build a wall is the most time consuming of this process. Each pallet needs to be disassembled using a crow bar and the nails need to be removed. First, use a crowbar to wedge in between the boards and then gently hammer the back of the crowbar to remove and lift each board.
Note: Be careful when using a crowbar as you may crack and splinter the boards.
Also, depending on the room, you may also consider sanding them as well. For example, if you are accenting a bedroom or kid’s room, I recommended using 220 grit sand paper to sand each board.
Prepping the Wall
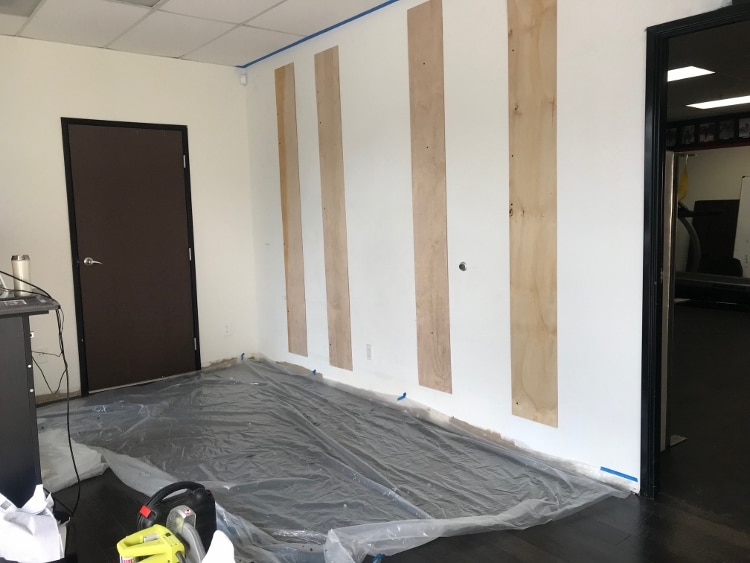
The Fitness on Fire crew screwed 4 feet by 8 feet pieces of plywood into the wall studs using fine thread dry wall screws. Next, use a stud finder to help and mark the studs. Each piece of plywood is about $20 each. You can buy a 1 lbs. pack of wall screws for about $6.50.
Once the plywood is installed, paint the wall black or another dark color. Be sure to tape off any wall or ceiling edges with painter’s tape. One coat will suffice.
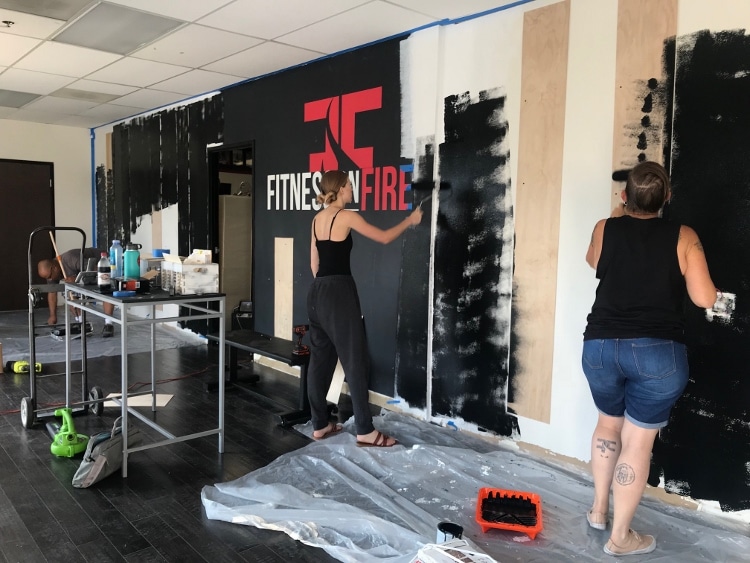
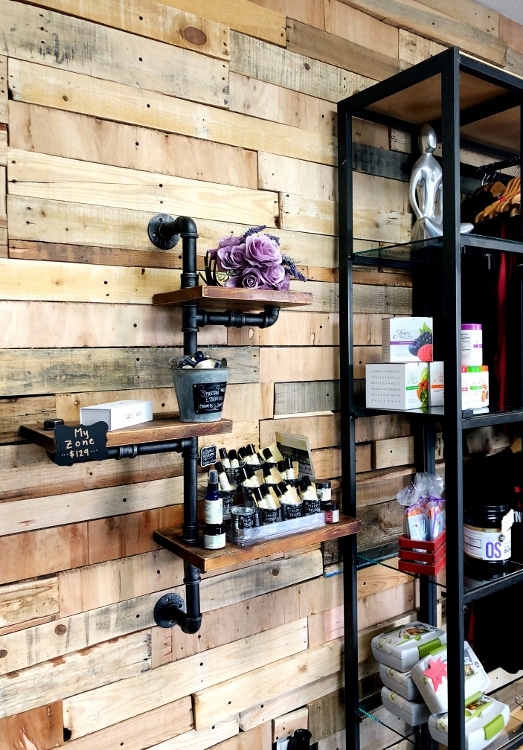
Because of the imperfections of each pallet board, the dark paint will hide any gaps.
Installing the Pallet Boards
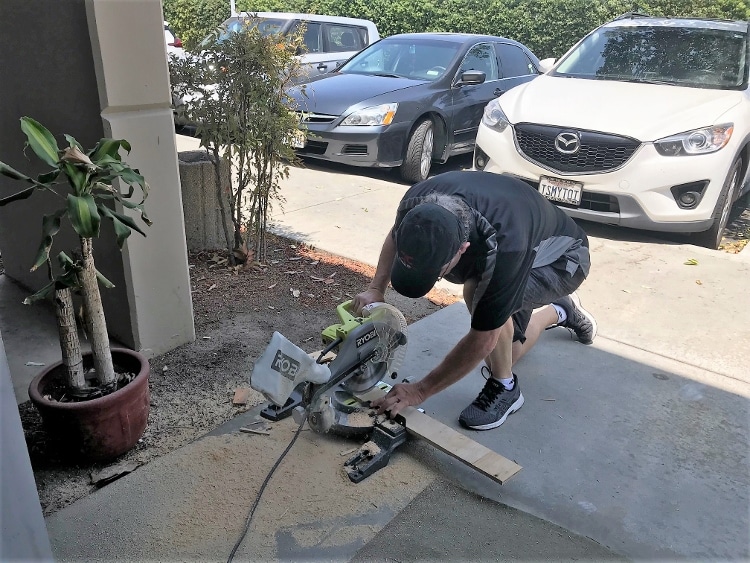
Using a miter saw, cut the boards into various lengths.
You can start on top and work your way down or vice versa. Use a level to ensure that each board is straight. Keep in mind that depending on where you find the pallet boards, they will be different lengths, widths, and thicknesses. You can either 1) fit each one together like a puzzle, or 2) make sure you use the same size board in the same row across the wall. Attach each board with a drill and screws.
About Fitness On Fire
Holy crap, you guys! If you are local, you MUST check out this gym. I’m not kidding when I say, Fitness On Fire changed my life. When you first walk in you are not only will you see this DIY pallet wall, you are greeted by the beautiful Bianca.
Five days a week I drive to Irvine to my happy place. It’s full of friendly and inspiring people that know your name and push you to be better and stronger. Every coach is certified and willing to work with you on your personal goals whether it’d be training for a Spartan race, EPIC Series, or just looking for a mommy makeover like I did.
I have to give a shout out to my cousin Jenny Flores who introduced me to FOF and to my first coach, Gabriell Smith, who played an integral part in keeping me, excited, motivated, and in shape both mentally and physically. I have taken classes from other coaches as well, all of which you would be lucky to have.
- Josh Graves
- Haydee Graves
- Brian Matthews
- Cody Ayala
- Taylor Broderick
- Ryan McQuarter
- Crystal Salaz
Sign up for semi private lessons and take all the classes you want from Cardio on Fire to Total Strength.
Fitness On Fire is located at 1350 Reynolds Ave #105, Irvine, CA 92614. Call (949) 502-5815 for more information. If you stop by and take the first class for free, tell them Dinah from the Wulf Pack sent you!
Five FOF Tips
To give you an idea of what Fitness On Fire is like, here are five tips I learned in the first 30 days I joined:
- Don’t wear white; an early lesson after my first tire flip.
- Grunting and funny faces are welcomed and socially acceptable.
- The rower will seem like a vacation at some point.
- You will finally know how Norm from Cheers feels (aging myself with this one).
- Lastly, and mostly for the ladies. Learn to hover; because after your workout, the paper toilet seat cover will ALWAYS win.
Finally, I’ll leave you with a quote I found on the Fitness On Fire homepage.
“Surround yourself with the dreamers and the doers, the believers, and thinkers, but most of all surround yourself with those who see Greatness within you…”
Note: Special thanks to Haydee Graves for shooting some of the pictures and video clips.
Like it? Pin it!
It’s really a very professional work. Very successful. Congratulations.
wow, good job, I wish I had a daughter to be able to make this furniture for her