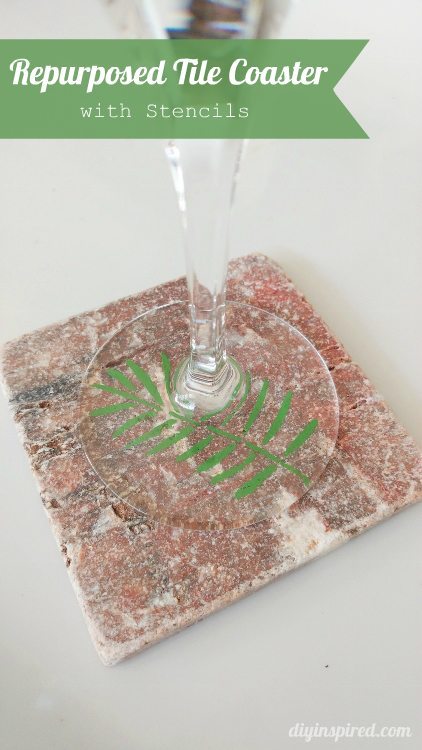
Repurposed Tile Coaster with Stenciling
Last weekend I taught a workshop at the Habitat for Humanity. It was a DIY workshop on how to repurpose items you can find at the Habitat for Humanity Restores and transform them into home décor. I met a lot of great people and one of them brought over a piece of tile. She asked me if I could stencil it. Naturally, I said “of course” and in minutes we had a repurposed tile coaster with stenciling.
Note: I used affiliate links so you know where to buy the supplies I used! 🙂
Time: 5 Minutes!
Materials:
- Ceramic tiles

- Martha Stewart Adhesive Stencils
- Acrylic Craft Paint
- Spouncer
- Paper/Paper plate/Plastic Lid (for paint)


Instructions:
Gather your materials. You can choose any type of stencils. I personally like these Martha Stewart Adhesive Stencils because they prevent bleeding and can be easily washed and reused. For paint, be sure to choose multipurpose acrylic craft paint that is good for ceramic.
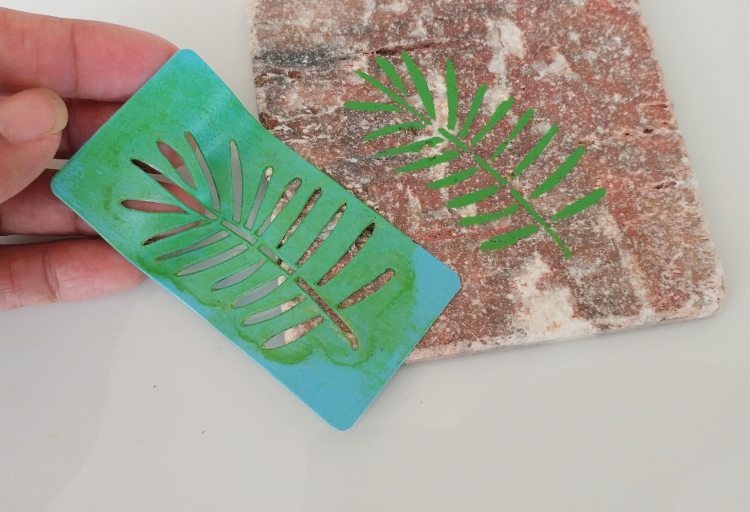
Place the stencil on top of the tile. Dab a small amount of paint onto your spouncer. Remove excess. You do not need very much paint for this. Apply the paint onto the stencil in a straight up and down motion. Once the stencil is covered, you can remove it right away. Wash your stencil with water.
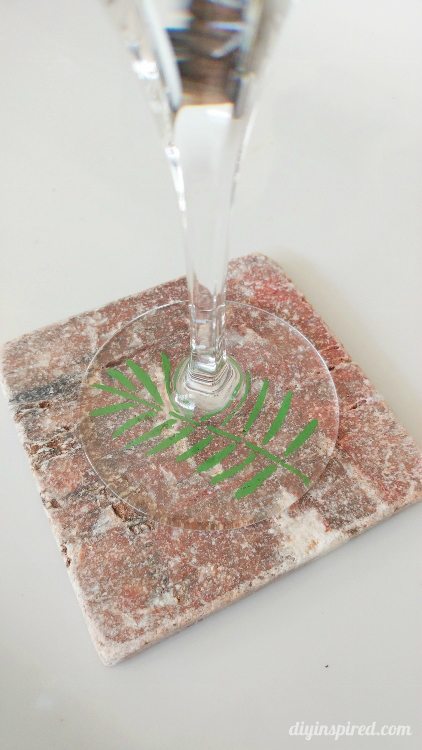
Allow the paint to dry. We used Martha Stewart Satin craft paint. This one I like because once the paint cures for 21 days, you can wash it in the top rack of your dish washer. I’ve had great success with this over the years. If desired, seal the paint with a coat of polyurethane.
These make quick, easy, and budget friendly gifts! With Christmas coming up, you can make a set for teachers, friends, or neighbors.
I love stenciling! Here are some of my most recent tutorials:
- Vintage Toolbox Serving Caddy
- Repurposed Coffee Cup Succulent Garden
- DIY Stenciled Metal Laundry Trash Can
- DIY Wooden Laundry Room Sign
- Stenciled DIY Coat Hanger for Kids
- Upcycled Soccer Medal Holder DIY


Do you have to seal this in any way? Does it just “cure” itself after 21 days? So, just let them sit, without using, right? Thanks! 🙂 Love the tile btw 🙂
Thanks, Christy! You can use the tile once the paint is dry (you don’t have to let them sit). I would just gently wipe them off to clean them. After the 21 days, you can wash them in the top rack of the dishwasher. If you want, for added protection, you can seal the paint with a coat of polyurethane. I hope this helps!