DIY String Art
I recently attended the Elevate Blog Conference 2013. One of the fun activities we did was a nail art and string art craft. There were several patterns we could choose from and for some reason yours truly decided to pick the hardest one! What was I thinking? I know… I was thinking that I love antlers! Needless to say, I ran out of time and had to finish this project at home so I decided to share it today.
I have to make as early disclaimer… IT DIDN’T TURN OUT! My antlers look horrible, but I had to share it mainly because my friends Tara and Joni would get a kick out of the final product. They both thought I was insane for choosing it in the first place.
Although it didn’t turn out, here is how I did it. Perhaps if you printed a simpler pattern, OR you can kick some nail art antler booty, this project’s for you!
Materials: Contains affiliate links for recommended materials.
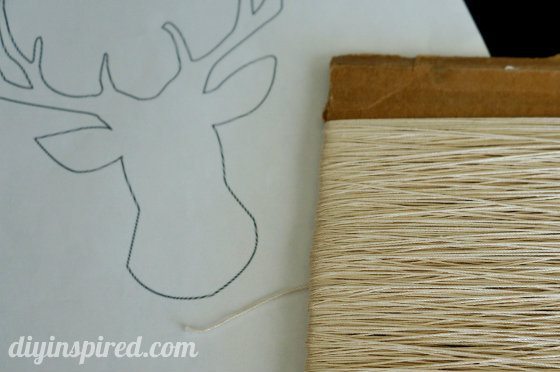
First, place your pattern on the wood. Secure it by hammering in a few nails along your line. Here is a photo of the pattern and string I used.
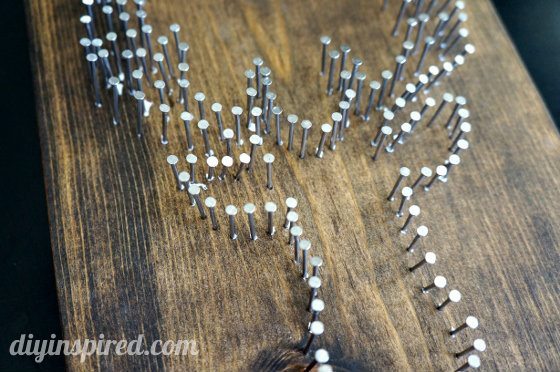
Continue hammering nails along your pattern. Once you are finished, remove the paper. Here’s is what mine looked like. I know I know, not perfect.
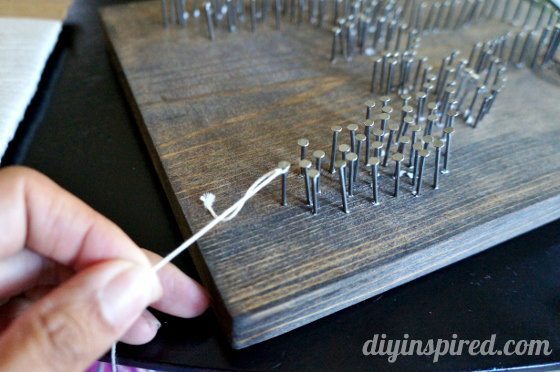
Next, tie your string to one of the nails and make a knot.
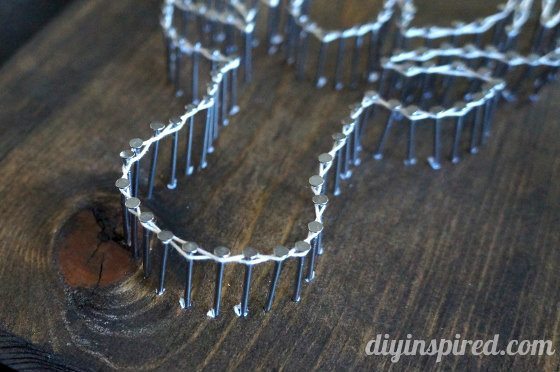
Start weaving your string. I went around twice.
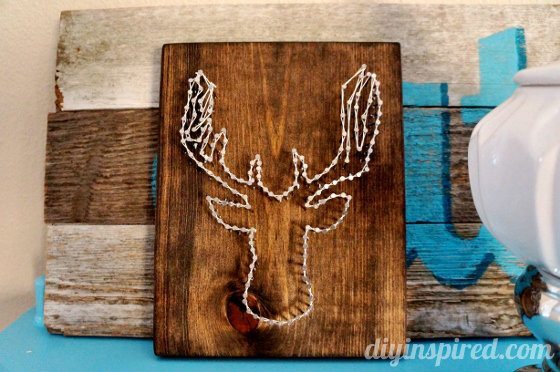
Here is the after photo. If you look quickly it’s not that bad. If you look closely, the antlers look horrible! Oh well! I think I may need to mark this one as a craft fail!





It looks ok! I get it though. It looked like a pant-load of nails when you were hammering them in. Now you know what to do next time. I’ve always wanted to try this.
-JJ
The pattern was just too intricate but I wanted the challenge! We should do one together!
Ah man, all that hammering work! Sorry it didn’t work out. I did really like the craft & plan to do a couple more but it won’t involve antlers 🙂
I know, Tara! I’ll try a different one too! 🙂