DIY Tree Trunk and Toadstools Table
DIY Kid’s Table: DIY Tree Trunk and Toadstools Table by Grillo Designs
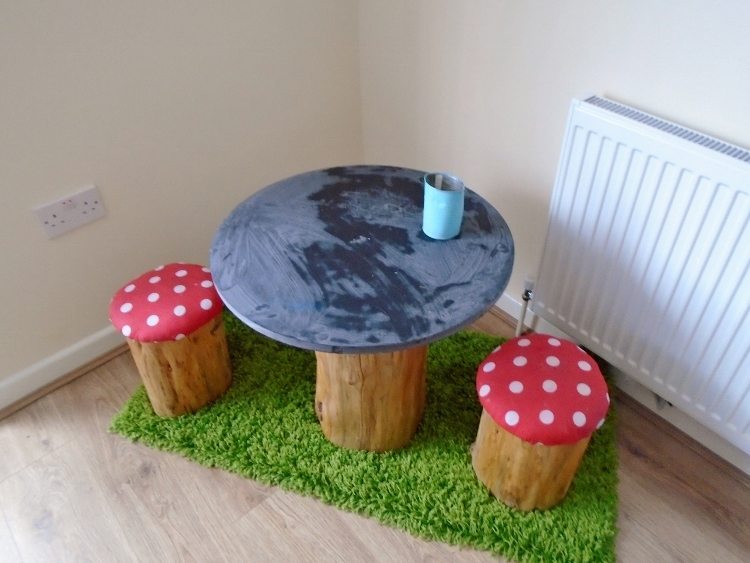
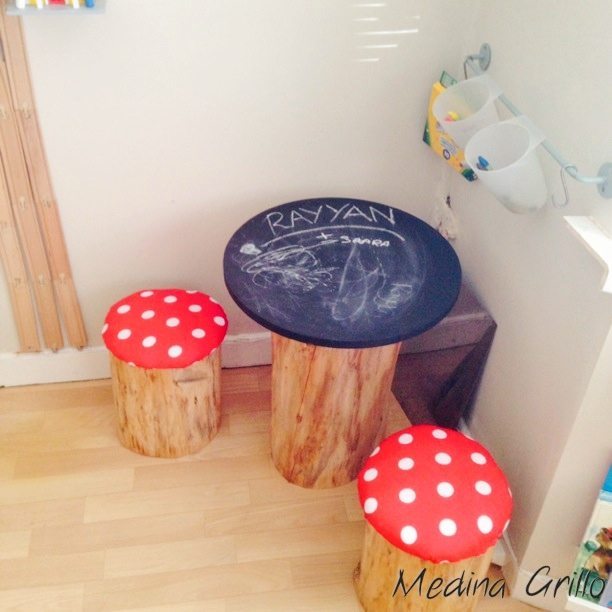
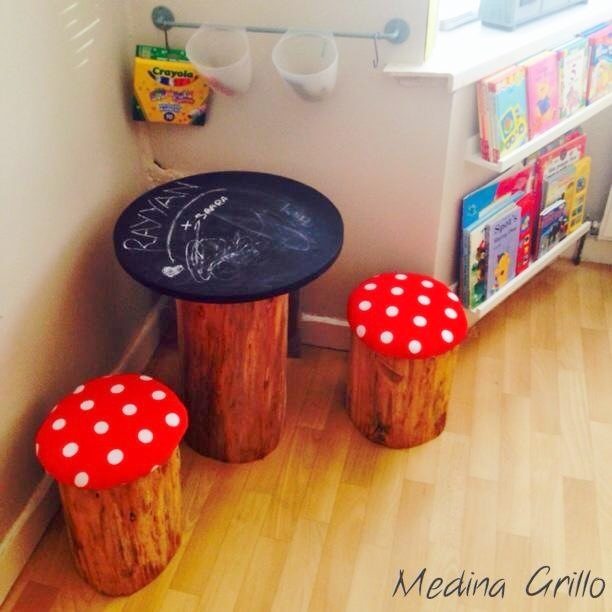
Hi there! Today I would like to share with you one of my most favorite makes from 2014. It’s a table I created for my son using tree trunks. I am so in love with toadstools. They are so magical and whimsical – appropriate for my son’s playroom at the time which followed a Dr. Seuss/ Alice in Wonderland theme. See here for playroom pictures.
Materials I used:
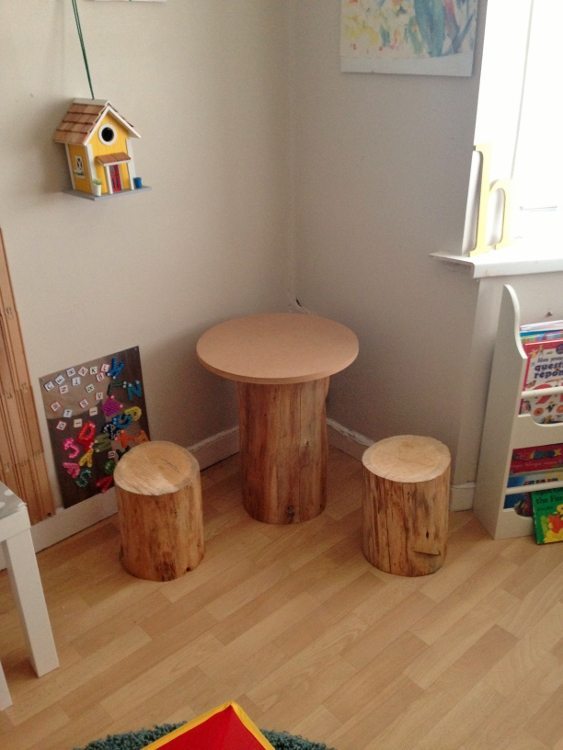
- Tree Trunks: Table – approximately 35cm diameter and 55cm Height
- Stools – approximately 30 cm diameter by 35cm height.
- MDF circle wood: Table top: 45 cm diameter by 2cm thickness
- 2 30cm diameter by 0.5cm thickness
- Chalkboard Paint
- Paint Brush
- Very long Nails
- Hammer
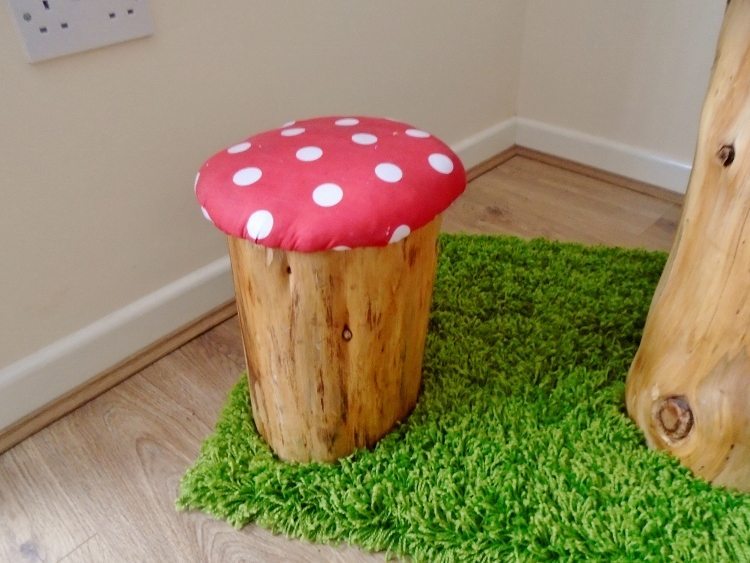
- Polka Dot fabric
- Stuffing
- Linseed oil
- Cloth
- Staple gun
How I did it:
I had sourced the tree trunks off Ebay from a local wood surgeon. They had already been cut to the size I wanted and debarked so they didn’t require much prep from myself.
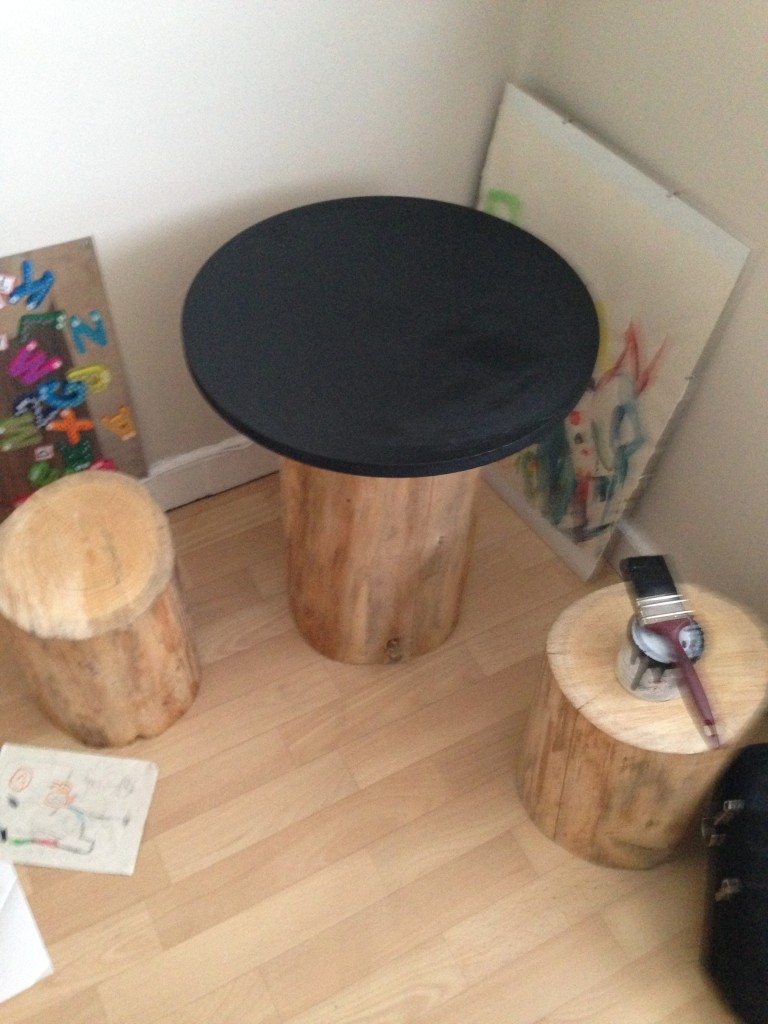
To make the table top: I placed the larger MDF piece over the tallest tree trunk. Once happy with its position, I hammered in 3 long nails to the middle of the wood – attaching the wood to the trunk.
I then sanded the wood and painted with the chalkboard paint. I did 3 coats leaving 2 hours drying time in between. I wanted a chalkboard surface because my little boy loves getting creative with chalk!
To make the seating: I nailed the MDF circular wood (30cm by 0.5) to the center of the smaller tree trunks. I placed stuffing atop of the wood and then the fabric over this. I flipped the trunk over and stapled the fabric around the wood to create a seating. To better understand this method I used to create this seat, please watch the video.
To seal and protect the trunks, I rubbed each trunk with linseed oil using a dry cloth.
You May Also Like:
- IKEA Hack: Expedit Cubes
- IKEA Recycle Bins to Industrial Storage
- Kid’s Picnic Table Makeover
- Playhouse DIY Mini Makeover
- Upcycled Thrift Store Bench for Kids

