Recycled Book Page Butterfly Wreath
How to make a Recycled Book Page Butterfly Wreath out of pages from a damaged book and branches.
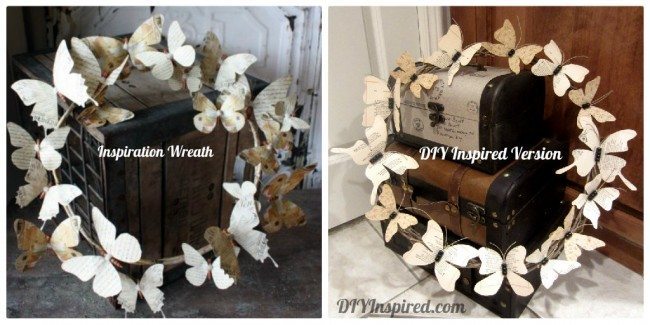
If you follow me on Facebook, you saw this Recycled Book Page Butterfly Wreath I found on Pinterest. A few of us were commenting on how to make it and inspired each other to take this project on ourselves (Thank you, Elise, Rose, Katie, Jo, Michelle, and Zach & Lois… you all are the best!).
The best part? This wreath cost me NOTHING! This is my version.
I ended up making two, a large one and a small one. Here is my tutorial on how to make a Recycled Book Page Butterfly Wreath.
Time: One to two hours
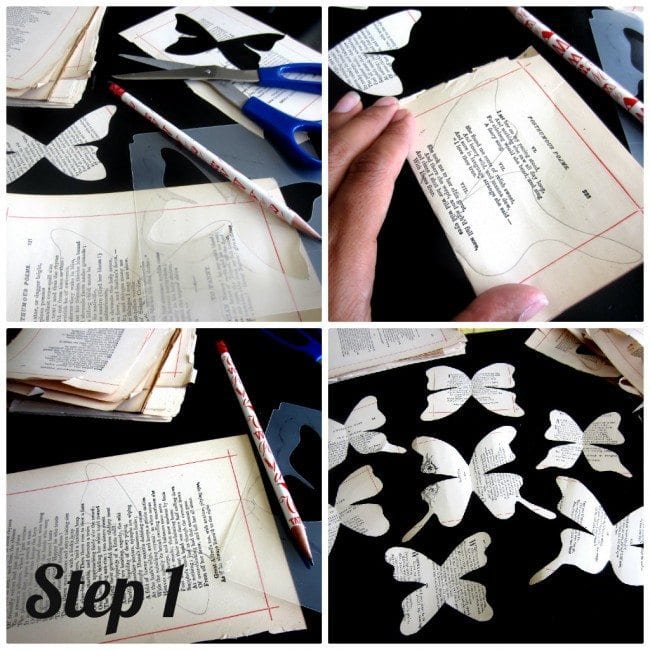
Step One: Make the butterflies
Materials:
- Old damaged book, map, magazine, etc.
- Scissors
- Pencil
I used an old damaged book I had from another recycled book page wreath I made last year. At first I used a butterfly stencil that I had but after tracing and cutting the first three, I thought it’d be more fun to free hand them instead. It’s easiest to fold the page in half and draw half the butterfly so that you have two identical sides. Use a pencil so that you can erase any lines if need be.
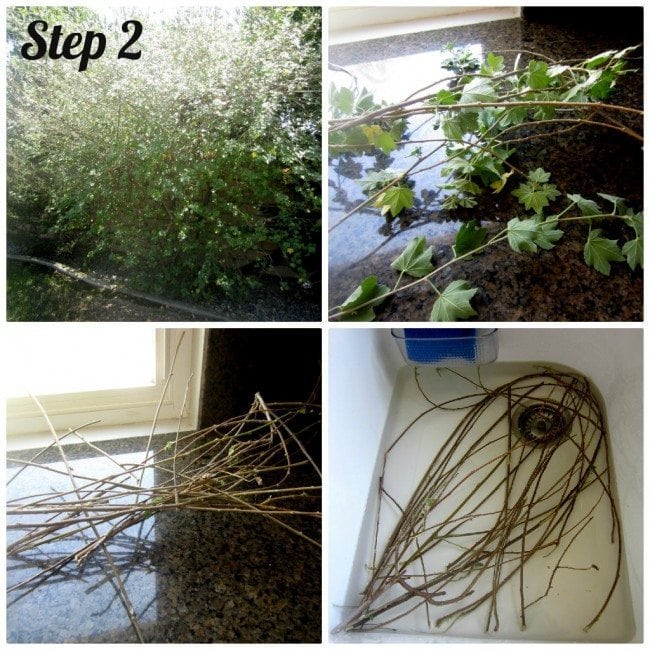
Step Two: Gather the branches and prep them
Gather your branches. Remove any leaves from the branches and soak the naked branches in water. This makes it easier to work with and will cause less breakage.
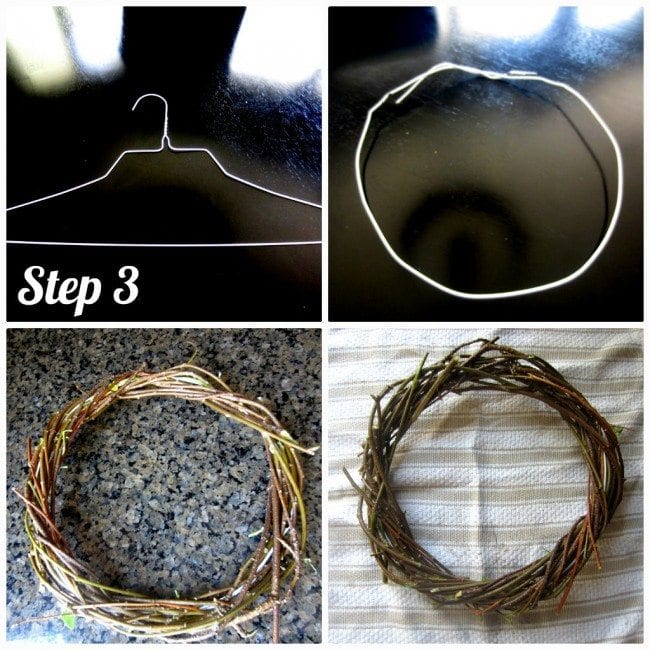
Step Three: Construct the wreath
Materials:
- Wire hanger
(one for small wreath, two for large wreath)
- Prepped Branches
- Water
- Sink
- Hot glue
Simply unwind the wire and create a circle, twisting the end together. One by one, wrap, twist, and tuck each branch around your wreath until you have the desired width.
Allow your wreath to dry. (Optional step) Once it is dried, on the BACK of the wreath, use a hot glue gun to secure and loose branches.
Step Four: Assemble the Butterflies
Materials:
- Pre-cut butterflies from step one
- Plastic Beads
, Pearls, Shells (anything you want to use for the bodies)
- Hemp string (I found this to work best so that the antennas will stay erect)
- Scissors
- Hot Glue
You can use whatever your heart desires for the bodies. I chose to use plastic beads and hemp string. Using a hot glue gun, glue your beads together and while the glue s still hot, insert your antennas (as shown). Next, glue the body onto your butterfly. Make sure the butterfly wings are folded up so that they appear as if they are in flight.
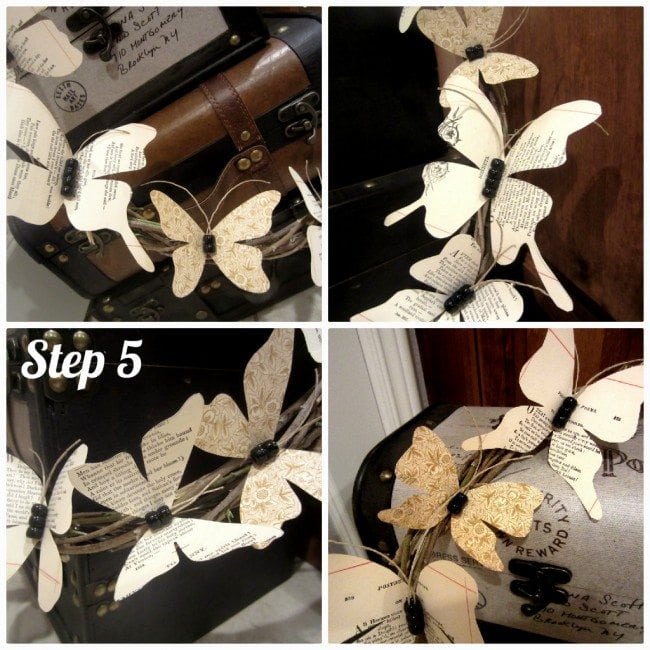
Step Five: Attach the Butterflies to Your Wreath
Materials:
- Assembled butterflies from step four
- Constructed wreath from step three
I placed the butterflies on the wreath and moved them around to arrange them in the order and position I wanted BEFORE I used the hot glue.
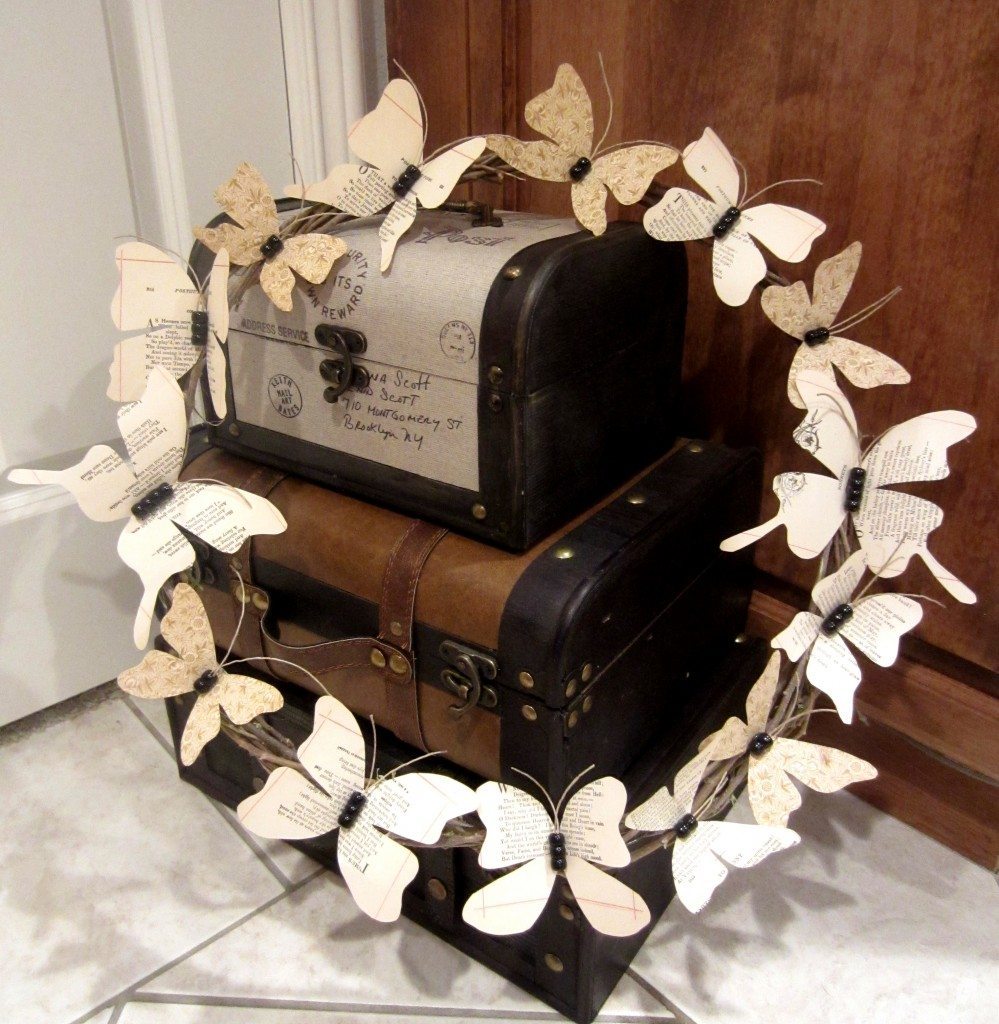
Ta Da!
Here is a photo of the large wreath.
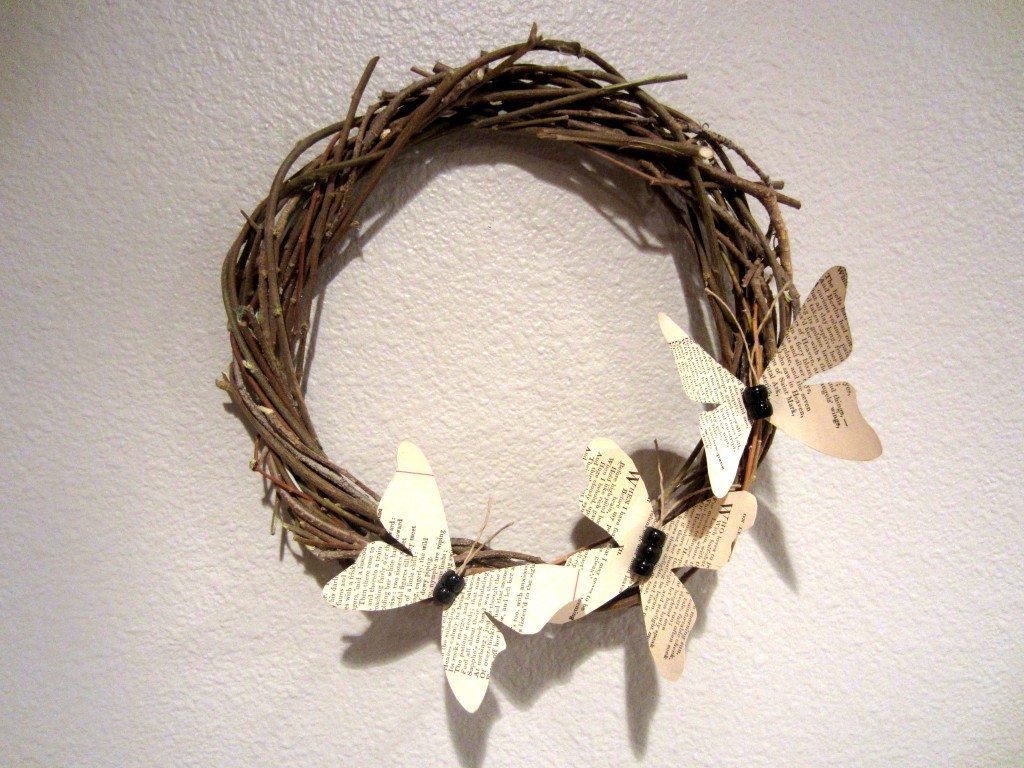
Here is a photo of the small version.
You can make these wreaths for the holidays and embellish them as you wish! I hope you try it! Email me a photo if you do… oh and say hi! 🙂 dwulf@diyinspired.com
For more repurposing ideas and trash to treasure ideas, check out this fun round-up of garage sale and thrift store transformations! There are over two dozen original projects I have done including housewares and furniture transformations.
Update: I originally wrote this post on August 22, 2012. I had these wreaths for four years! I ended up throwing them away after they were damaged in a move.



WOW!!! This is amazing! Love it!
love it
So pretty! Love it!
Thank you, Everyone!!!
Whoa. I am in love with this!! The butterflies are magical!
Gonna have to try this! Love it!
Thank you, Jaime!
so cool!
Thank you so much!!
Great job on this. I found you through picket fnce blogs. new fan and I love your website
Thank you so much!!! I TRULY appreciate it, Ann!!
You are so creative. This is so cool. I love it. I have a similar tree in my back yard and this wreath looks easy enough for me to make. Thanks
I hope you try it out! Post it on my Facebook page if your like! I’d love to see it! http://www.facebook.com/diyinspired
You did such a great job on this! I wish I was this crafty. I may try it with a store bought wreath, though! Thanks… it’s super cute.
I LOVE this idea! You have some really classy-looking DIY projects on here! I’ll definitely be back!
Thank you so much Jessica! I had a great time making ALL of them (I’m obsessed)! Thank you for stopping by!
This is genius! I’ve been wanting to make a wreath but without spending on an overpriced craft store wreath. So glad you shared this 😀
Thank you, Patricia! I made these a while ago and they are still holding strong!
What a beautiful wreath. This really is so doable & so attractive. I have plenty of old books & can’t wait to get my glue gun out. Thanks for the inspiration. P.S.. I’m so glad I found your blog through Shabbyfufu!
Thank you so much, Dawn! I’ll have to check it out!
How do you keep the paper and string from “wilting or curling” in humid weather. I live in the south and Im sure you know how humid that can be. Thanks
Hi Dana! You can try spraying a couple coats of clear acrylic glaze to it. It works on paper and protects from moisture. Here is my affiliate link: https://amzn.to/2GXmLTr