Book Page Wreath
I’ve been looking for the perfect book page wreath to make because I have a damaged antique book with beautiful gold leafed pages. The book is a book of poems by Keats, however it is falling apart and some pages are missing.
There are several book page wreaths out there for inspiration. I finally came across one at this little boutique in Tustin (of course I didn’t have my camera on me at the time to take a picture). Because I’m such a cheapskate, of course I didn’t buy it rather I did peep at the fifty dollar price tag! Ha! I’ll make it myself for much less!
I wanted to get some tips before I tried to make it, so I did a little research. I couldn’t find an exact tutorial on the one I wanted to make, but I did find some good tips from Living With Lindsay and The Penny Parlor.
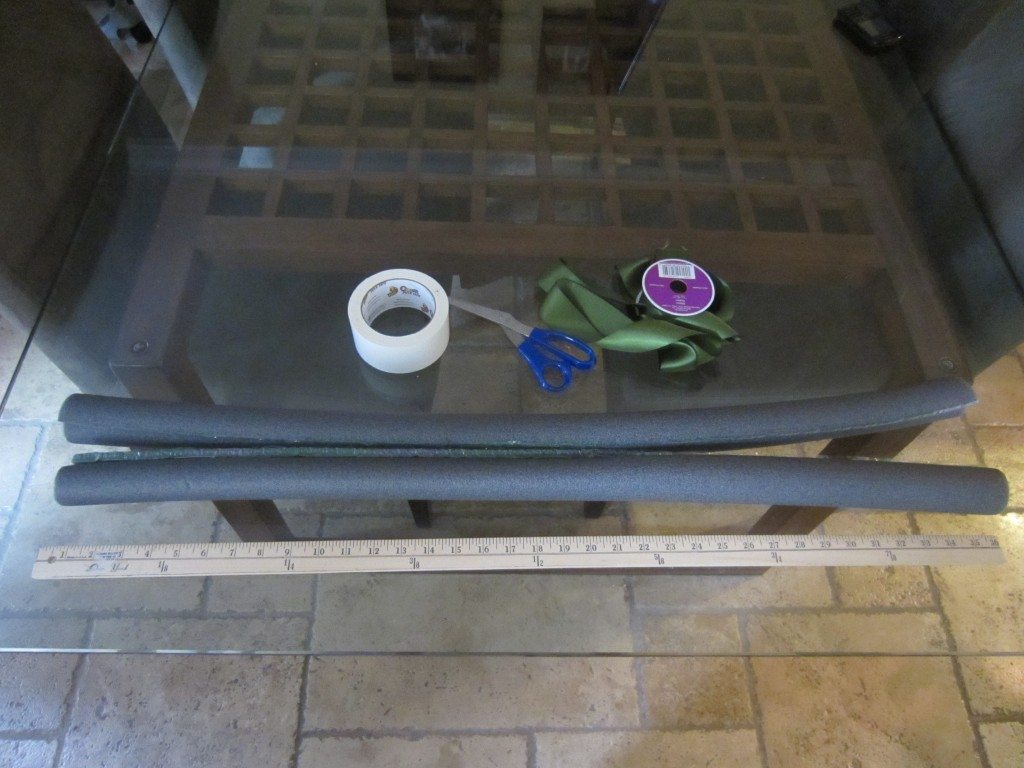
Believe it or not I had everything I needed already, so I only spent a total of $1.04 for this project!!! Here is what you need.
- Plumbing Insulation Tube
- Scissors
- Duct Tape
- Book
- Glue Gun and Glue Sticks
- Sharp Knife
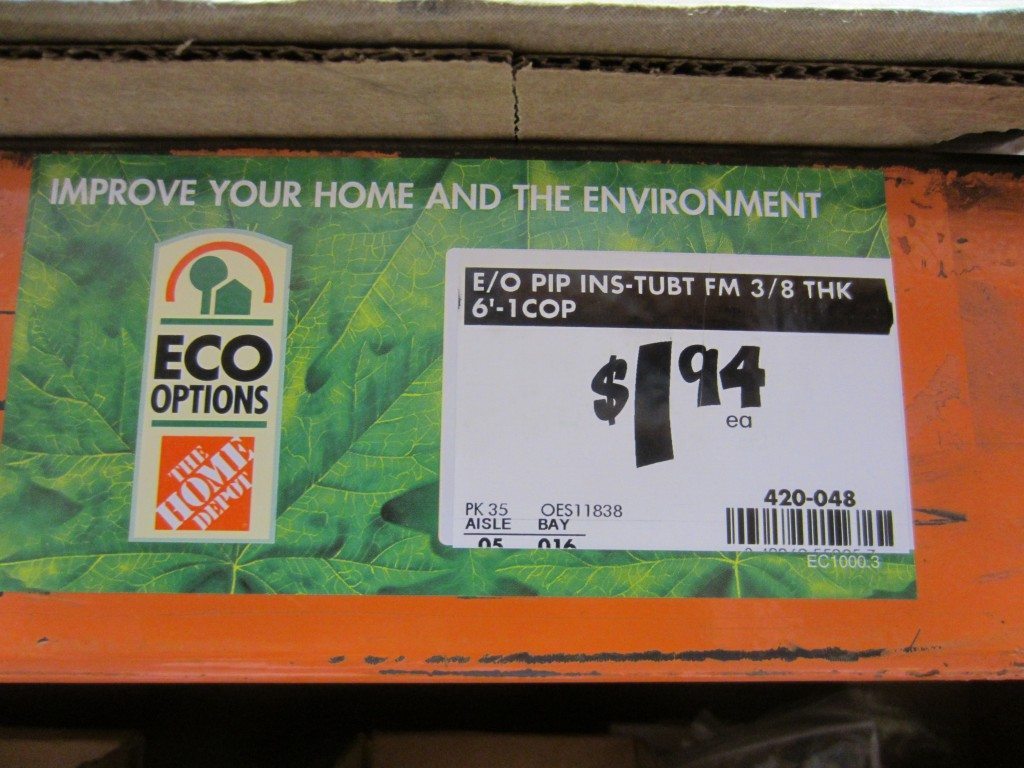
The Penny Parlor had a brilliant idea of buying a “foam tube” from Home Depot. I had no idea what department a “foam tube” would be in and after research, it’s in the plumbing department. Here is a picture so you know what to ask for.
I chose the thickest tube for $1.94 ($2.08 with tax). It is six feet long, the perfect size for two (maybe even three)wreaths, hence the $1.04 TOTAL I spent for this Book Page Wreath.
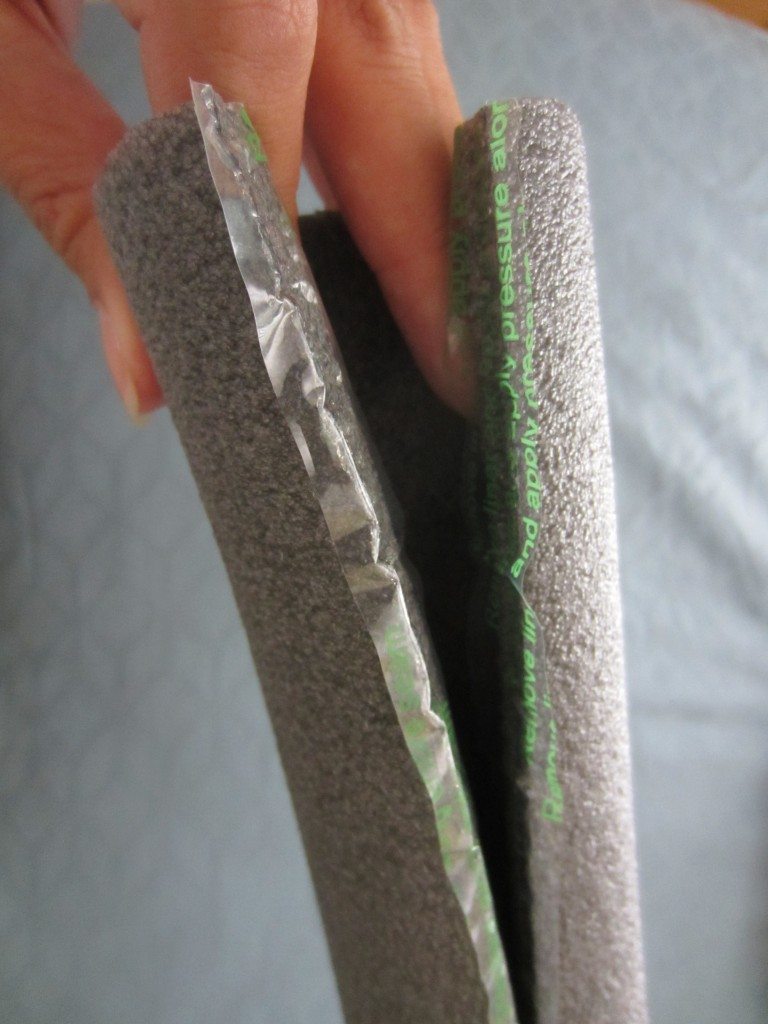
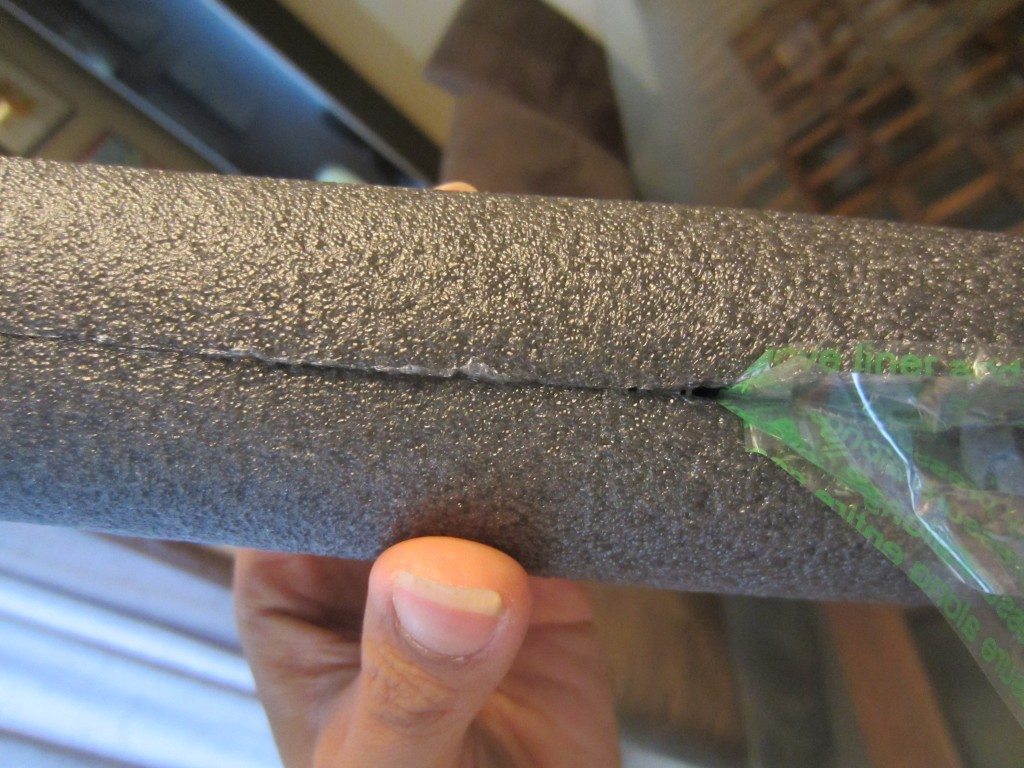
Start by cutting the tube in half. Set aside one tube for another project. Carefully and gradually peel away the adhesive strip and stick the two sides together. I say “carefully and gradually” because this sucker’s extremely sticky.
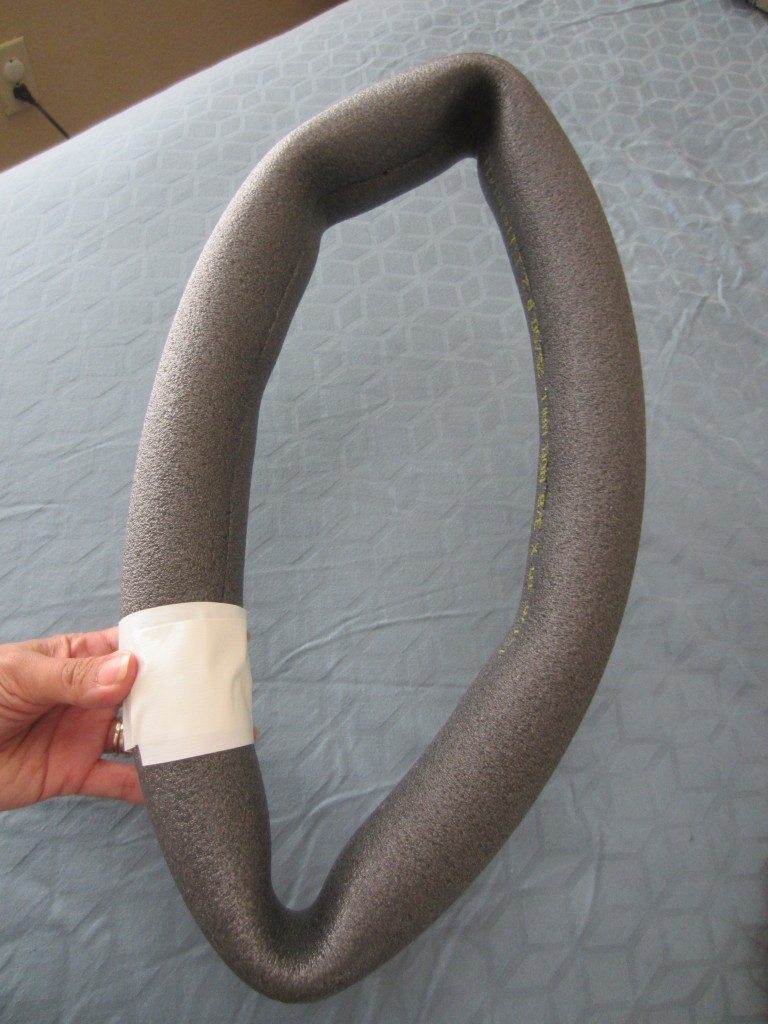
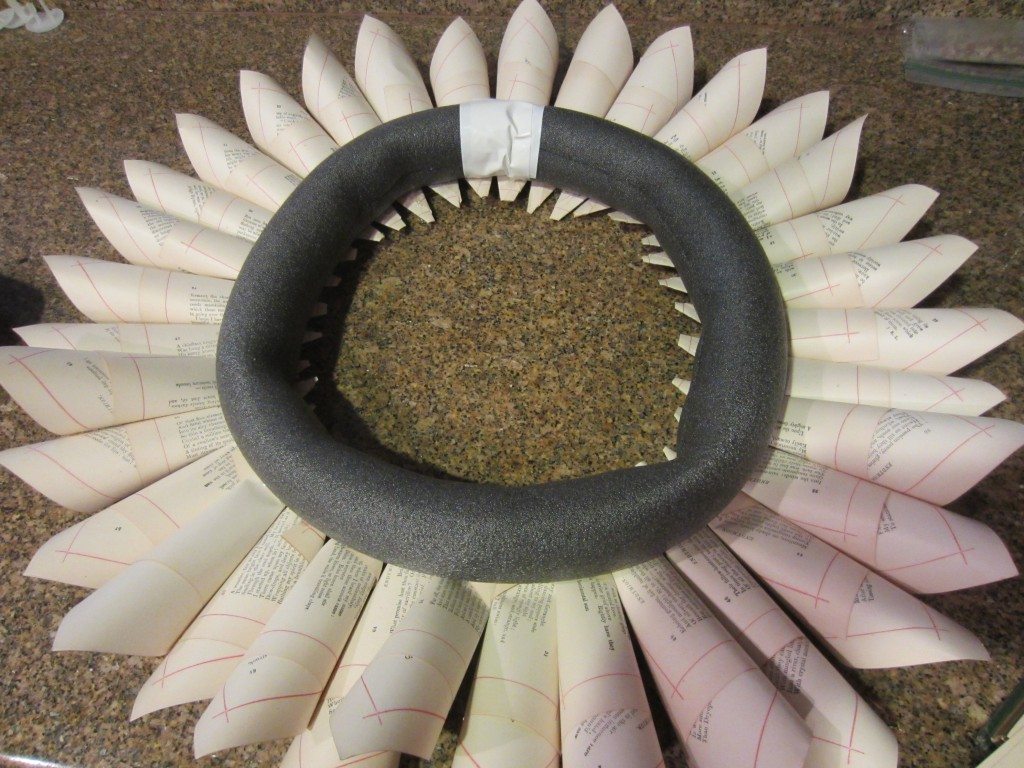
Next, tape the two ends together with duct tape. It will look something like this.
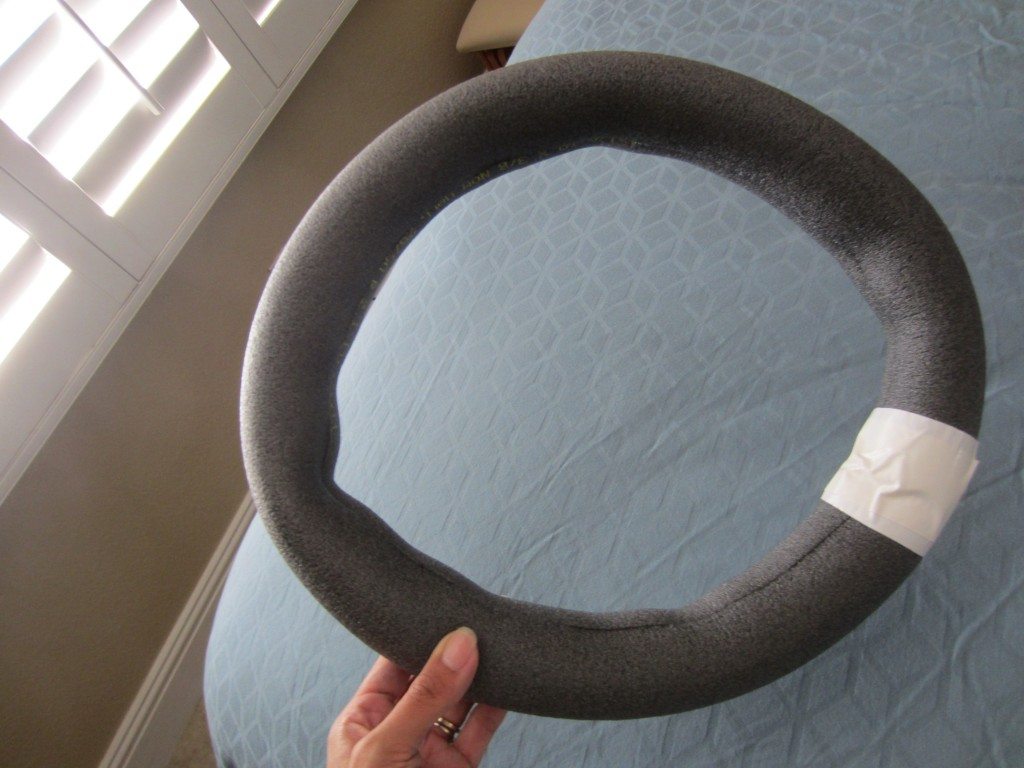
Don’t panic like I did! If you pinch and massage the tube, it will form into a circle and end up looking like this.
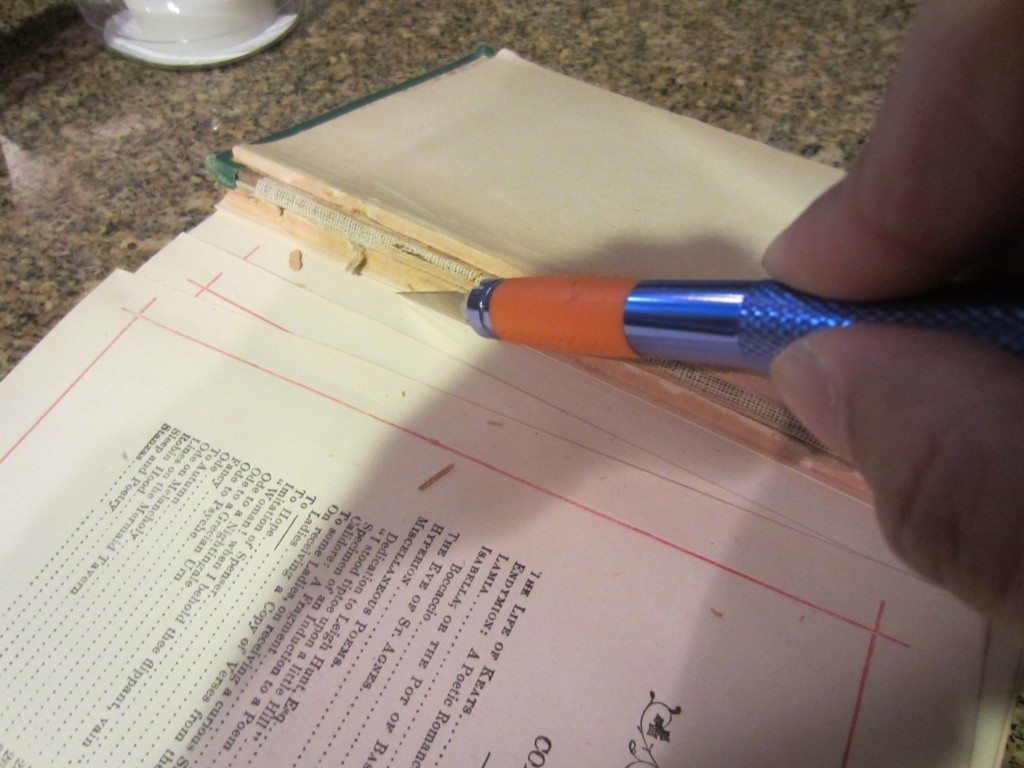
Next, cut your pages out of the book. I found that the fastest and cleanest way is to use a sharp knife.
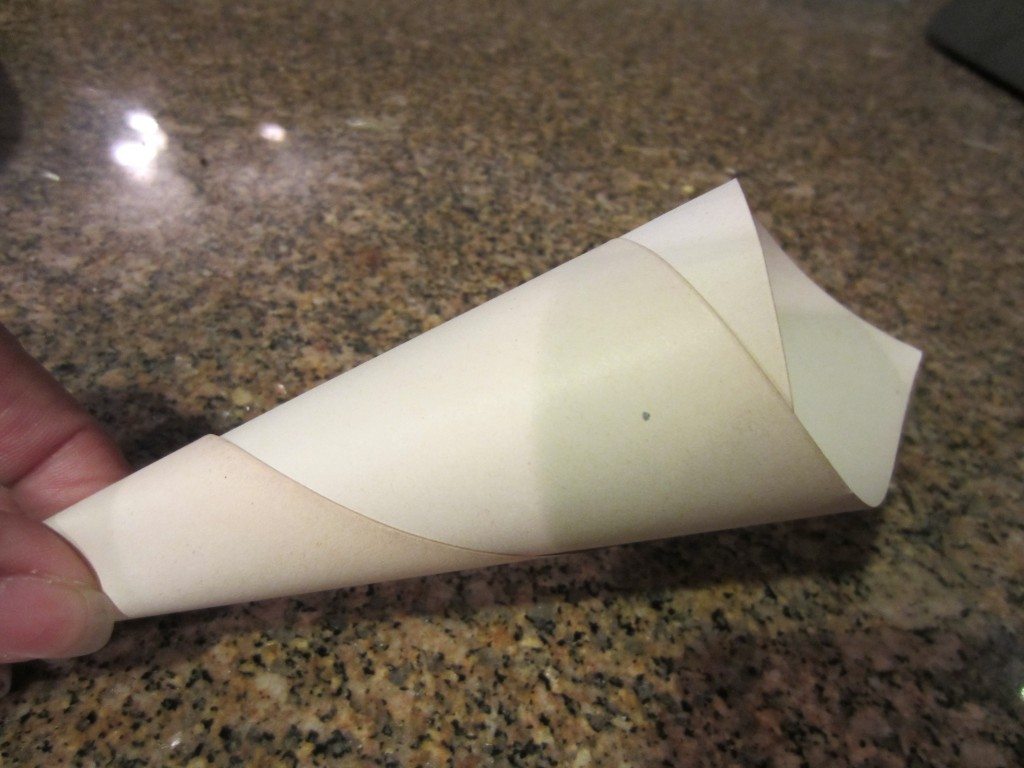
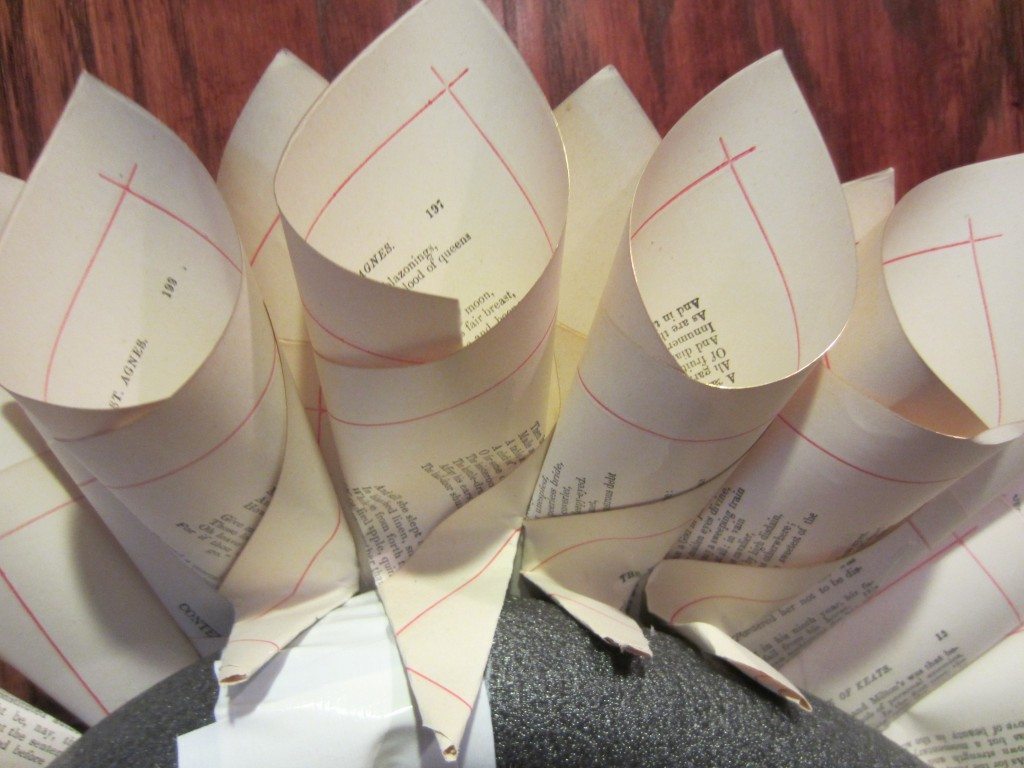
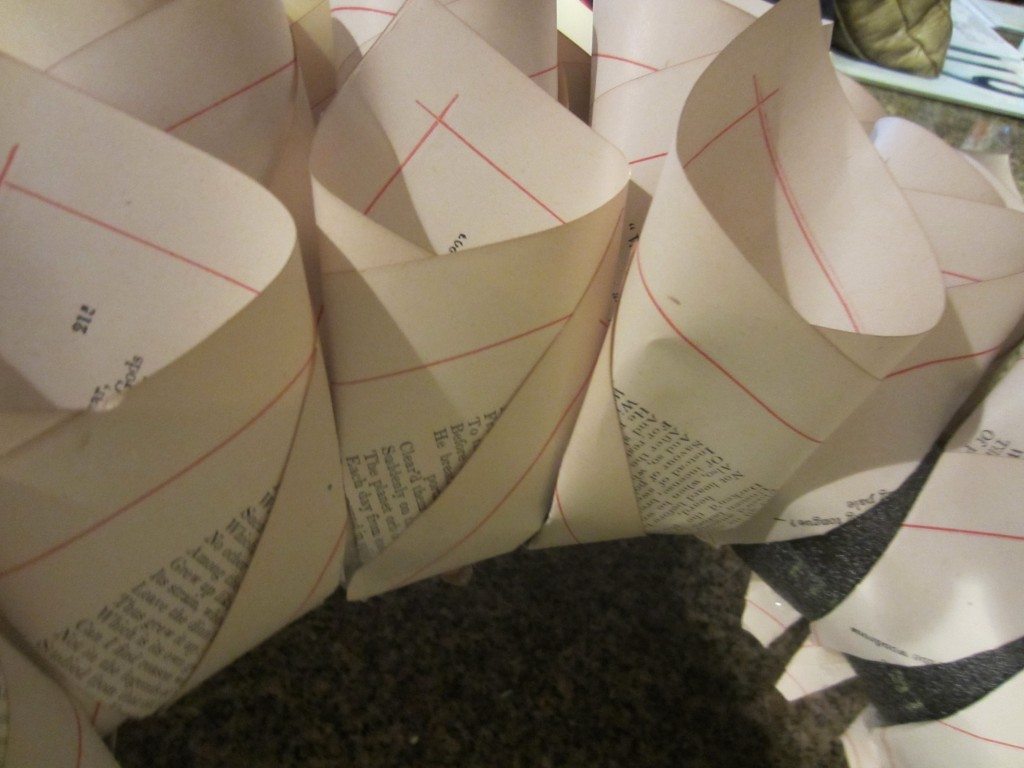
One by one, roll each page to make a cone shape and flatten the bottom part.
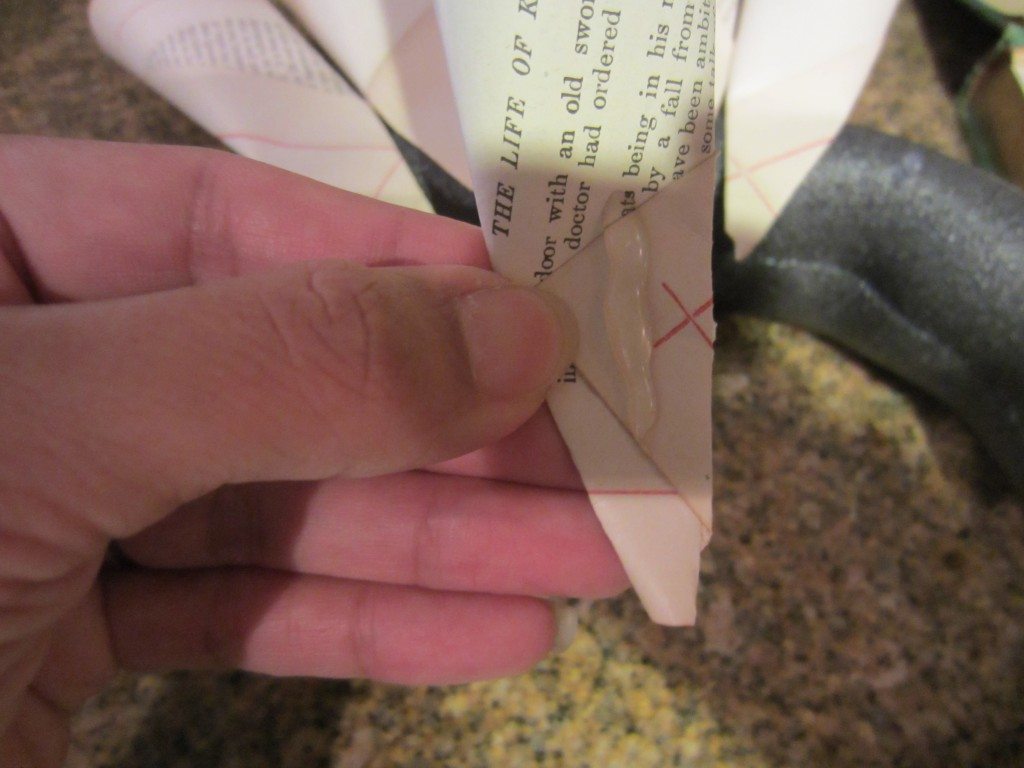
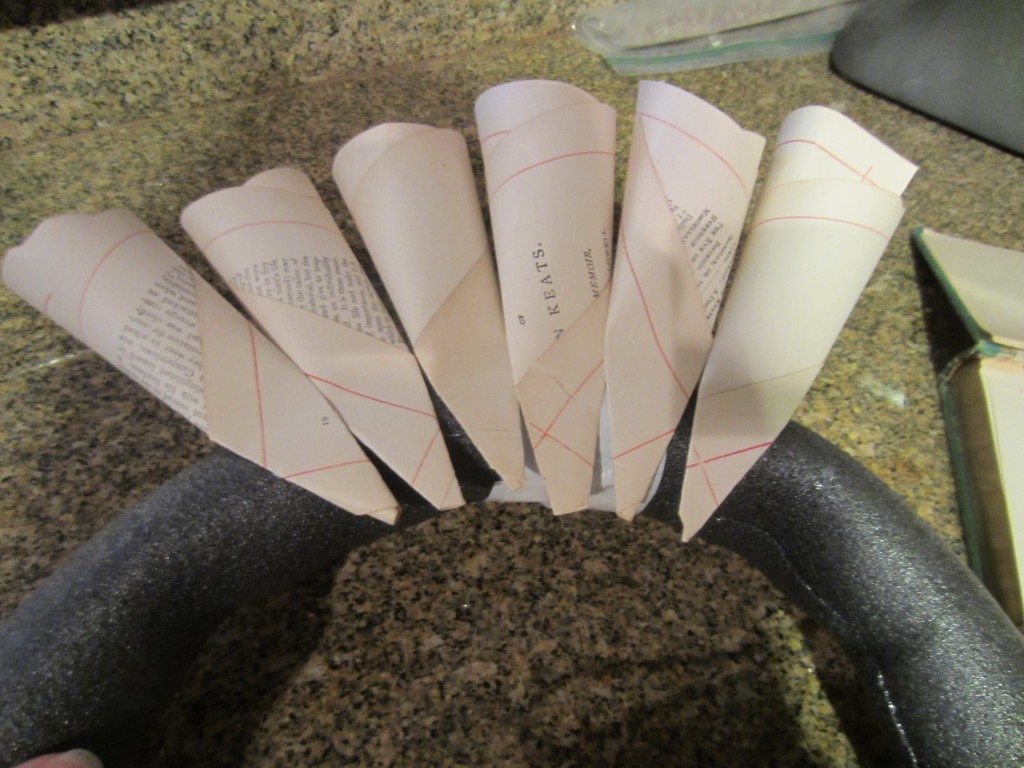
Using a hot glue gun, glue the cones onto the foam wreath. After your first layer, turn the wreath over. You have just finished the back of the wreath. I used approximately 35 pages for the first layer.
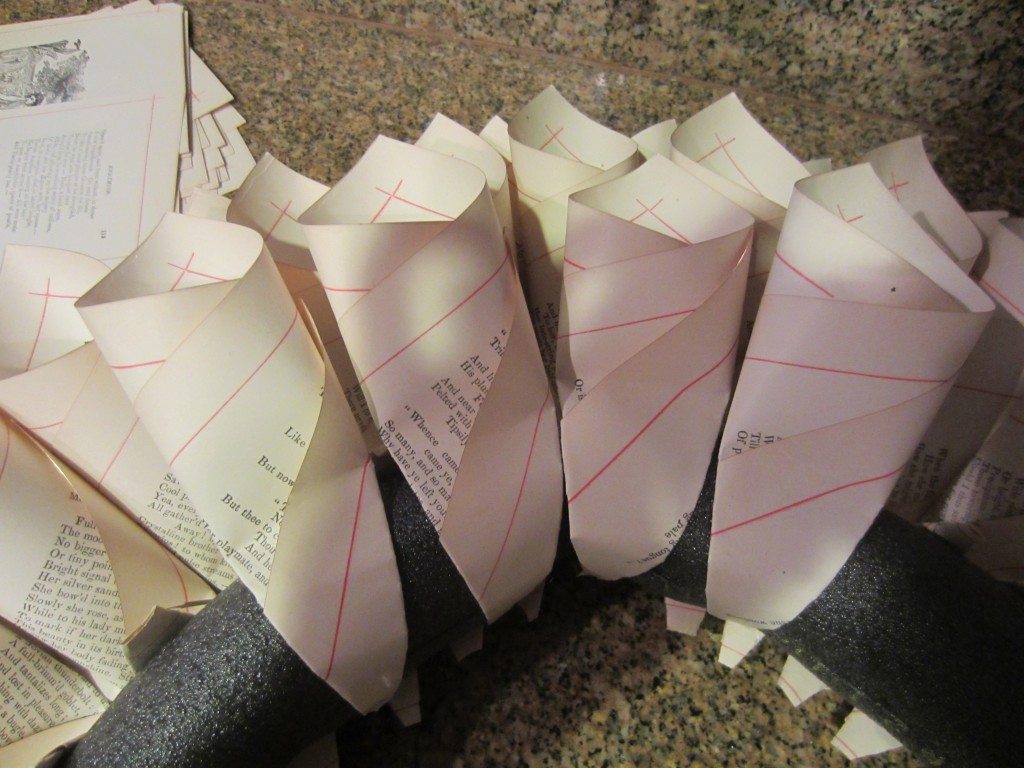
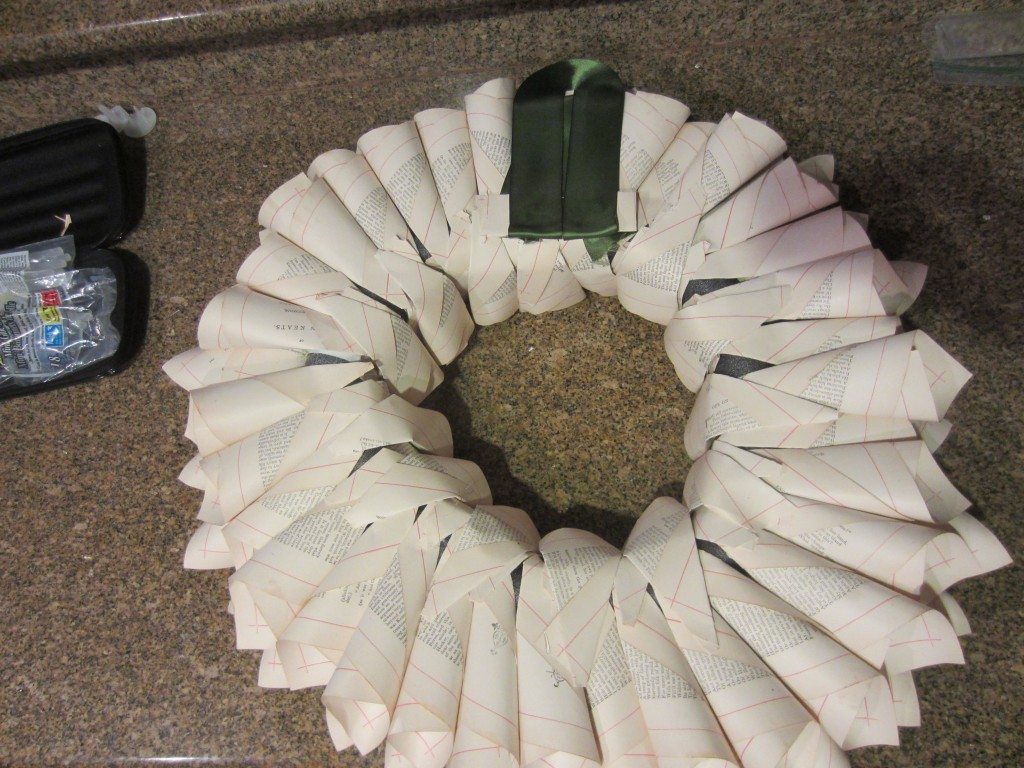
Start your second layer as pictured below (approximately 30 pages).
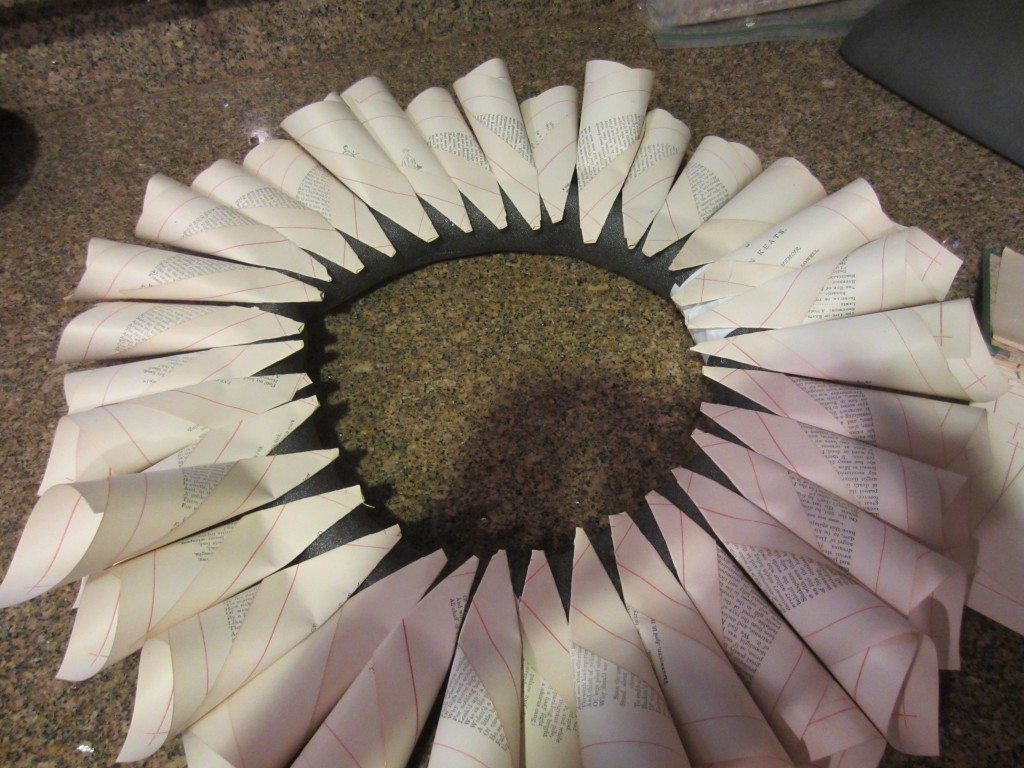
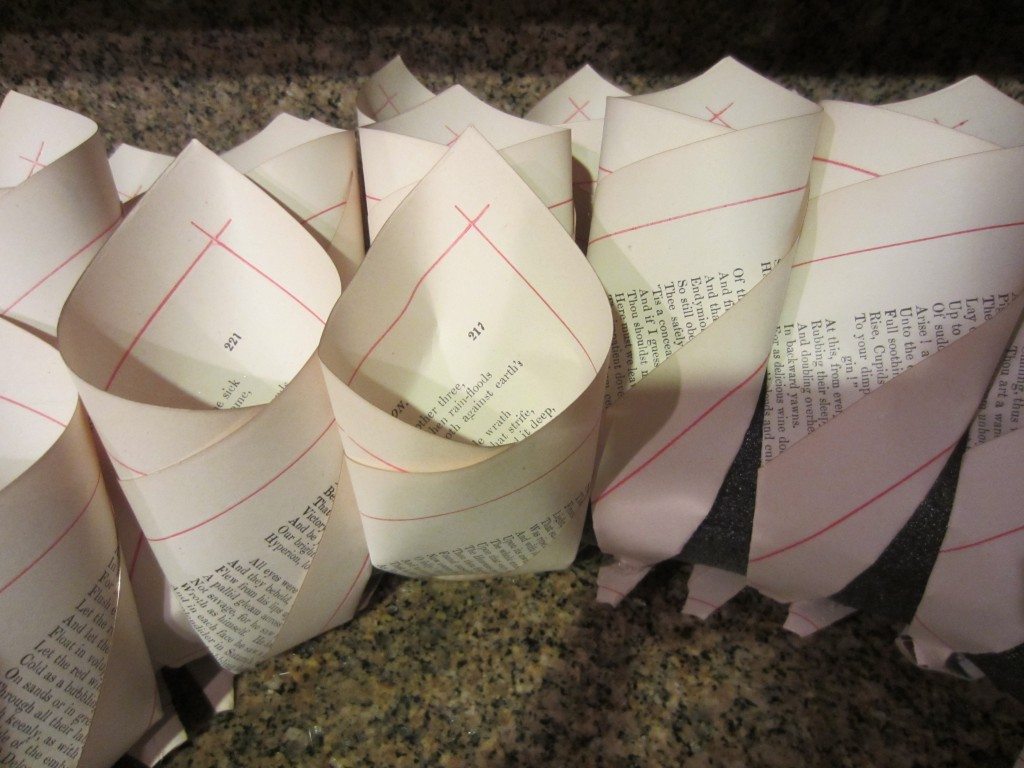
For the third, fourth, and fifth layer, you will glue the cone over the ring as shown below. After the fifth layer, “QC” your wreath and fill any open gaps with another cone.
Here is a picture of the back. Use a glue gun to attach a ribbon to hang it.
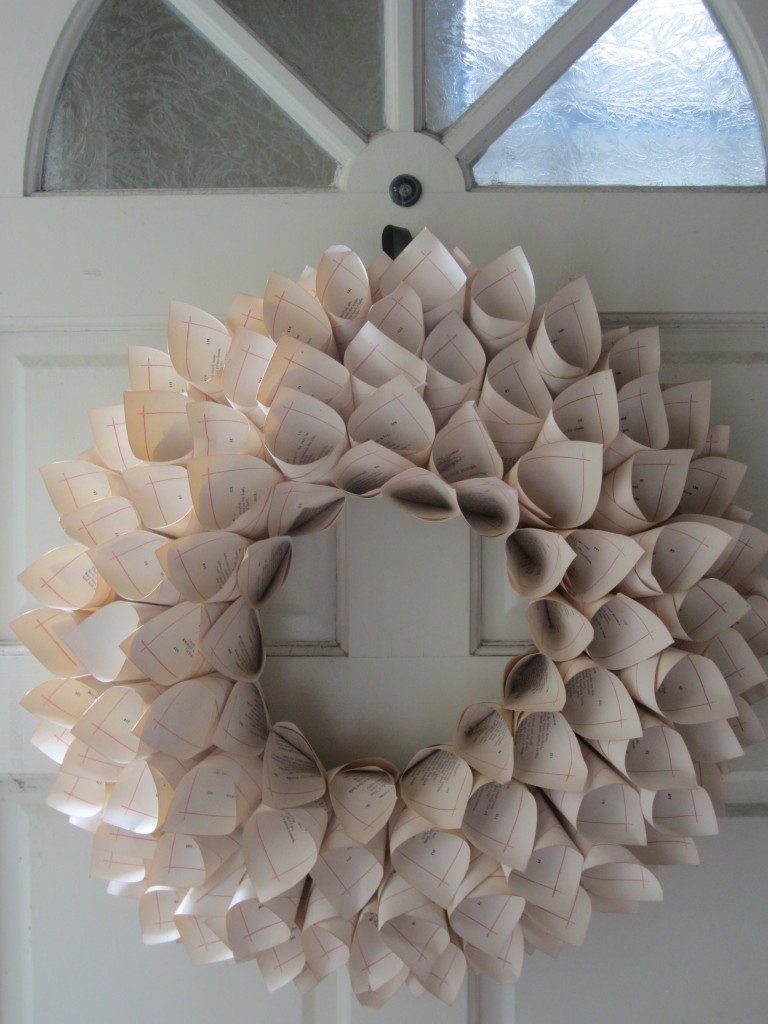
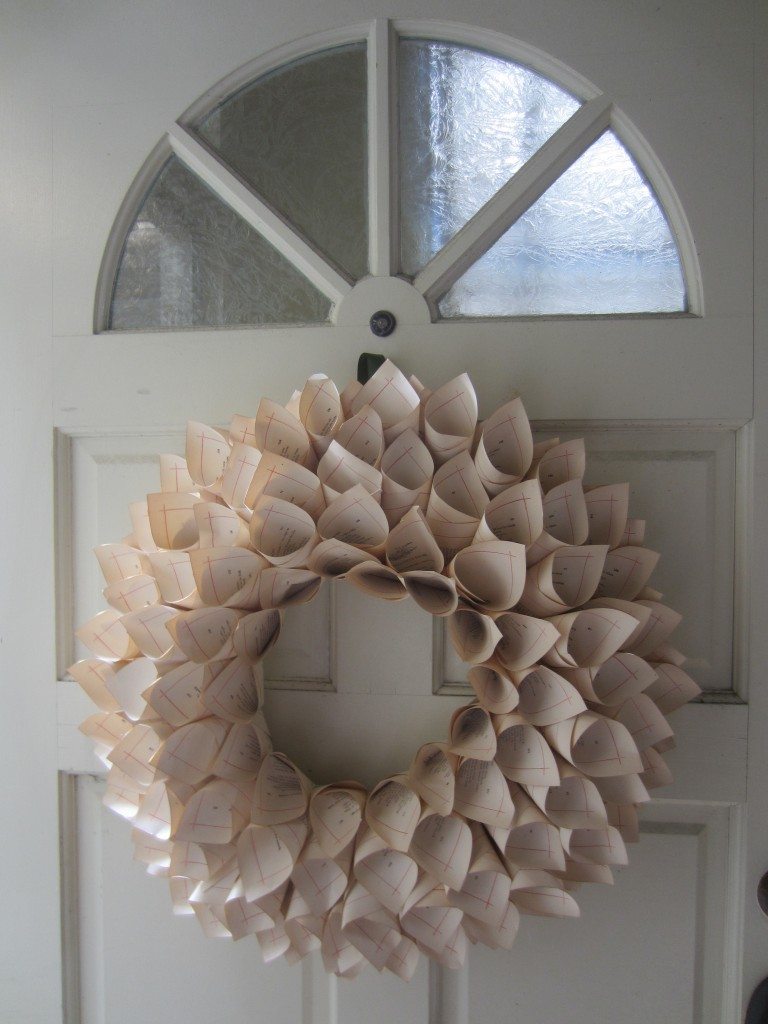
Here are some after pictures.
{Back to 12 Recycled Book Page Crafts}
More Repurposing and Upcycling Ideas:
- Upcycled Spoon Stamped Garden Markers
- Clever Repurposed Furniture Ideas
- Repurposed Thrift Store Serving Tray
- Recycled Jar Utensil Holders with Printable
- Long Beach Antique Market
- Roadside Rescue to Worktable





Beautiful!
Thank you!
I love love love this! My mom and I are meeting to do xmas decorations – this would be a fun project to do together.
Thank you!! You should try it for sure… So easy! Let me know how it turns out!
This is gorgeous! I love it!
Thank you so much! I hope you try it!
This does not look like a five dollar wreath. It looks very expensive! I like your focus on recycling.
Thank you! I admit that I am pretty proud of it! 😉
Does the plumbing insulation keep shape?
Yes it does! I have had the wreath hanging for over a month and it still looks great and has held it’s shape.
By the way, I don’t reccommend hanging it outside, or where there is moisture or humidity.
Don’t forget to vote for DIYInspired.com on Top Mommy Blogs! Just click on the “Vote For Us!” icon on the right sidebar. One click and you’re done! You can vote once a day! Thank you in advance for your support!