Hollow Book Safe How To
How to Hollow Out a Book to Make a Secret Book Safe
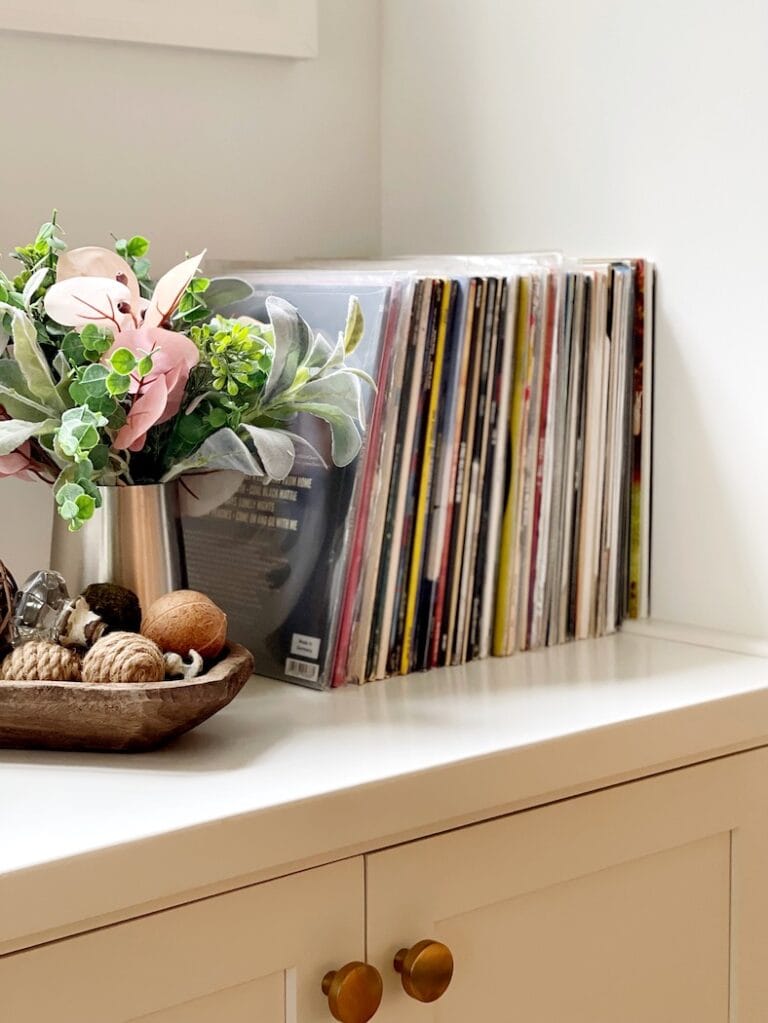
Arguably, “vintage” is anything 50 years or older while “antique” is considered anything that is 100 years or older. The difference between the two always confused me, so naturally I Googled it. I tend to Google everything that I am unsure of (which is a lot of things). That didn’t help, because everyone and their mother has a different definition of the two meanings. Where was I going with this? Oh yeah, I inherited boxes full of “antique” books. I had so many and in my diyinspired head, I wanted to do something creative with them.
I know what you’re thinking… so FIRST I tried to see if anyone else would enjoy them before I altered them. I took them to three different antique book shops and none of them would take any of them because they were in poor shape and were “not worth anything”. I put them on Craigslist three different times and only sold a handful. So now I am left with two plastic bins of beautiful antique books in my garage waiting
to be repurposed and given new life.
I recall writing a few blog posts on recycling old books, so I used my own site for reference and decided to tackle the book safe challenge. How hard can it be to hollow out a book? Here is the hollow book safe how to.
Time: 1-2 Hours
Materials needed:
- thick hardback book
- decoupage medium (affiliate link) or glue and water mixture
- paint brush
- sharp knife
- metal straightedge
Instructions:
Step One:
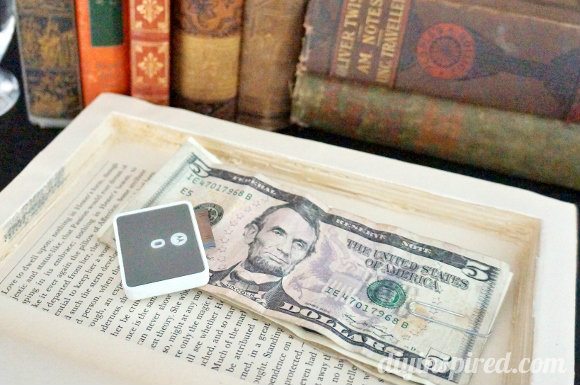
I wanted to keep a few of the front pages in tact to show the copy-write date and an illustration. I covered the front cover and those pages plus one page with plastic wrap.

Step Two:
I used Mod Podge, a decoupage medium, and a paint brush to seal the three edges. Make sure you saturate them with approximately three coats. Allow the Mod Podge to dry (about 15 minutes), meanwhile set something heavy on top of the book to create pressure.

Step Three:
Next, using a straightedge and a pencil, I marked the area I wanted to cut out.

Step Four:
Using a sharp knife and a metal straightedge, I carefully cut out a few pages at a time, making sure to remove small bits and pieces along the way. Take your time while doing this step.

Step Five:
After I reached the desired depth, I sealed the inside edges with applying Mod Podge with a paint brush and allowed it to dry completely.

Step Six:
I then used Mod Podge around the top edges and glued the extra front page on top. After a few minutes, I used the knife to cut out the center. This top page gives it a nice clean look.
Notes:
Save the book pages for other craft projects. Also, consider using ribbon to cover the inside edges or decorative paper to cover the inside back for a more finished look.
Here are more recycled crafts you may enjoy:
- Recycled Book Page Butterfly Wreath
- Easy Coffee Filter Paper Flowers
- How to Make Paper Mache Bowls
- Brown Paper Bag Gift Wrapping
Update: I originally published this article on September 12, 2011. This was just five moths into my blogging journey. I still have this book safe today.

So cool! I have always wanted to know the right way to do this. I read some of your other posts and I can tell you are quite creative and inventive. I’ll be back soon, so please keep sharing! Thanks.
Thank you SO much! I appreciate your comments and thank you for reading!
I always wondered how to do this… thanks! Love your blog!
Thank you! And thank you for stopping by!
good stuff. this is so much better than throwing away all my old books. this would be great for chirstmas… if i have time! =)
I came across your website this morning and I have to say, I am an avid “searcher” for DIY ideas, tips, and tutorials… I really love your ideas, blogs and tutorials. There is something about you that pops out and to me, is exquisite. Not knowing anything about your, personally, I got the feeling that you are a very talented and special person. Congratulations and I wish you continued success. I wish I had the confidence and ability to show myself as you do. I am just a mother and wannabe blogger and if I could do it, I wold hope to exude highs class, as you have portrayed. Again, much luck and I look forward to learning more from your pages.
Thank you for your kind words, Corinne! They mean a lot to me. You should give blogging a try. It changed my life and love doing it.
I’m going to try this and use a magnet inside the cover / hollowed out area to keep it closed. Looks like fun!
What a great idea, Kristie! I’d love to see a picture when you’re done!