Stenciled Cork Organization Board DIY
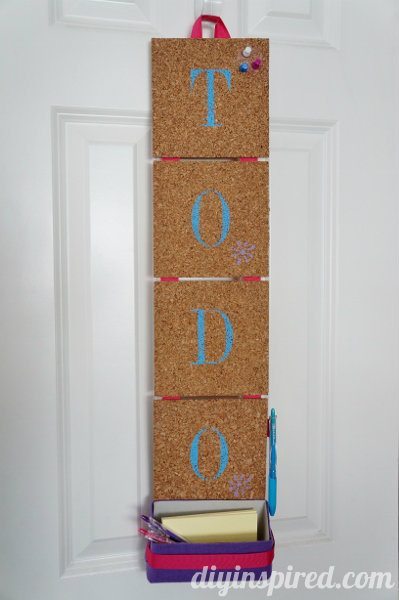
My fellow Blogger and BFF gave me a four pack of small square cork boards. I knew I wanted to make something fun and give them back to her repurposed and reinvented. As I stared at them for a couple of days, I thought it’d be fun to make a stenciled cork organization board for her older daughter’s room. Here is how I made it.
Materials:
- 8 square cork boards
- Stencils
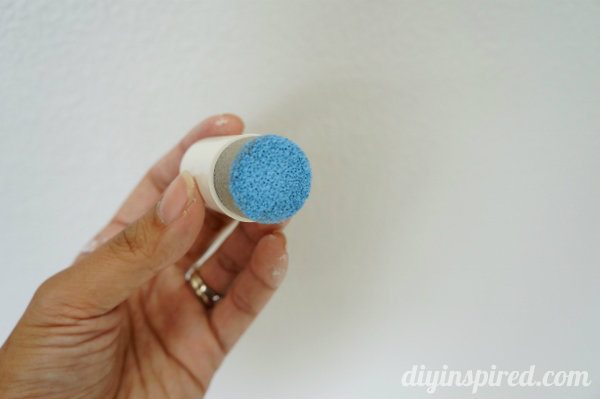
- Spouncer
- Acrylic craft paint
- Ribbon
- Hot glue and glue gun
- Old food box
- Scissors
- Felt or fabric
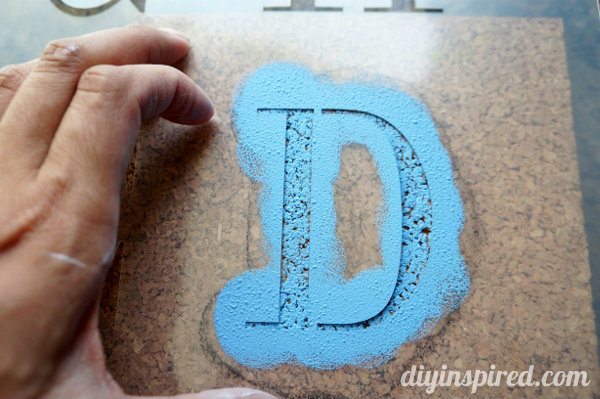
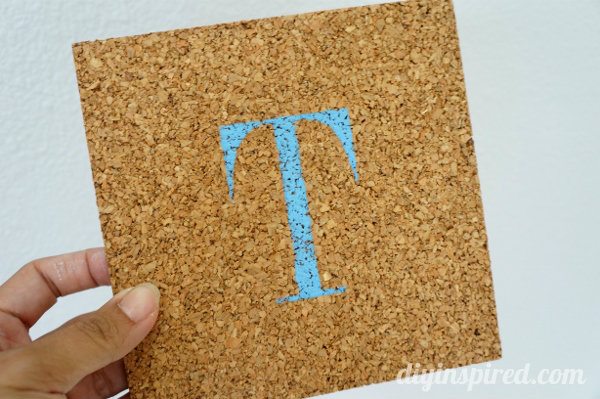
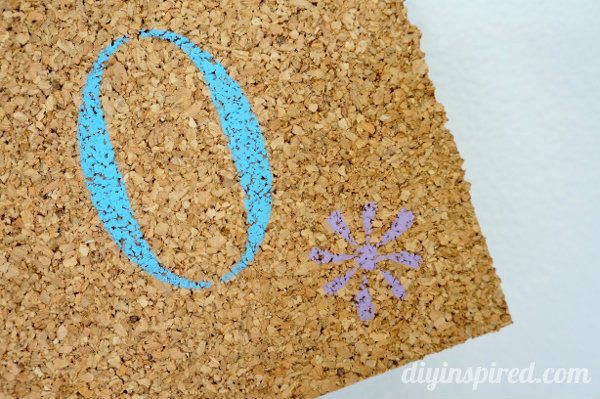
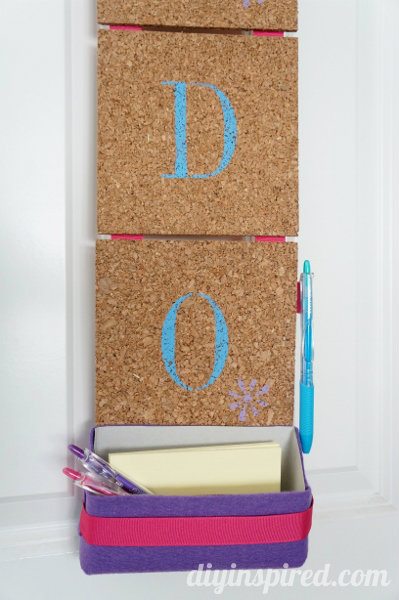
I started off by stenciling four of the cork boards. The key to a perfect stencil is less is more.
I stenciled the letters in a direct up and down motion.
I also added a little flower stencil after each “O”.
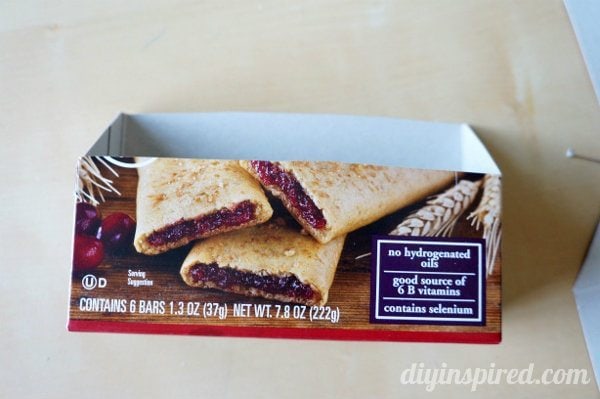
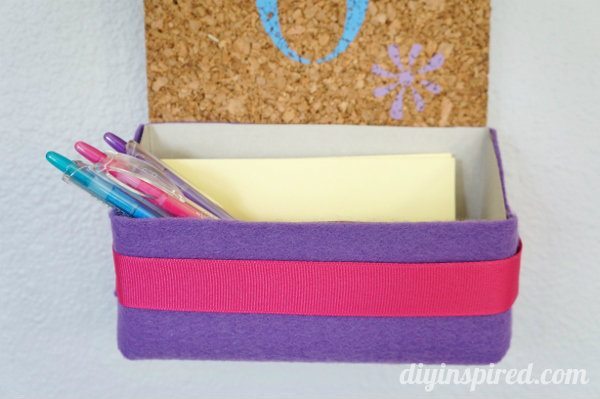
While I was waiting for them to dry, I wanted to make a container to attach to the bottom of the organization board so I reused a granola bar box and cut it.
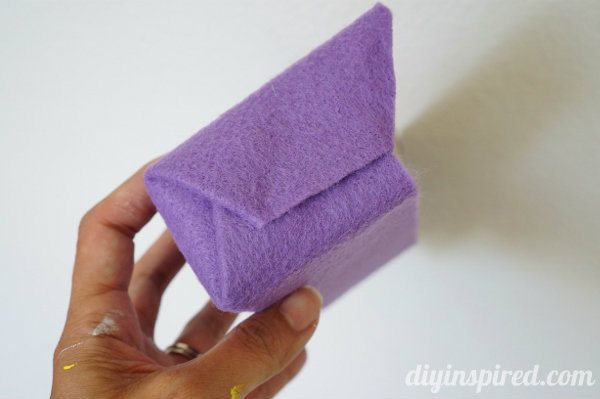
I covered it with felt and added a ribbon.
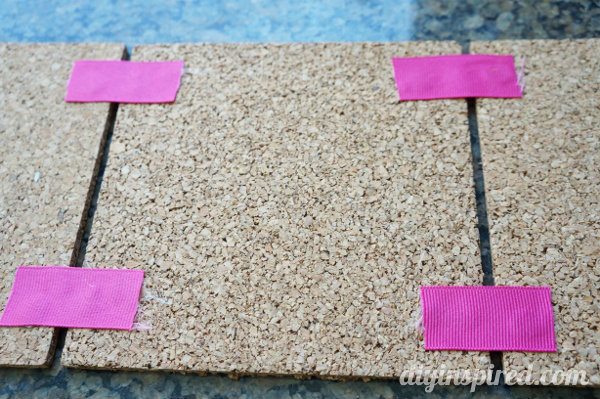
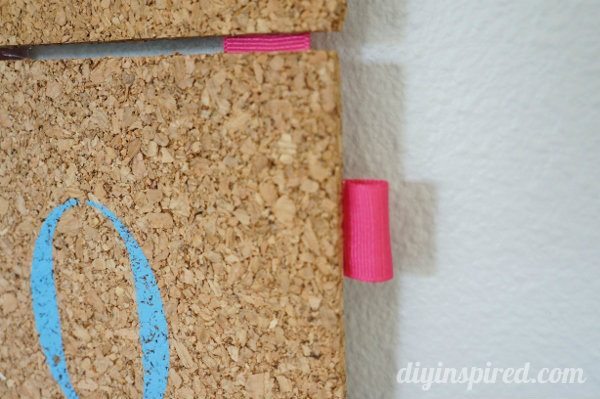
Once the paint was dry, I used ribbon to attach each board together using hot glue.
I also added a little pen holder with ribbon and a ribbon at the top to hang it.
I hot glued the container to the bottom of the organization board.
Lastly, glue the final four cork boards to the back of the organization board for a finished look. Here are a few after pictures.
I hope my friend’s daughter likes it and uses it. The little container is big enough and sturdy enough to hold paper and pens. In case you missed it, check out the organization board I made out of a frame and my daughter’s first baby blanket and the organization board I made for my craft room. Another fun project I did with these stencils are my burlap stenciled placemats.

