Upcycled Step Stool Tutorial
DIY Furniture Makeover: Upcycled Step Stool Tutorial
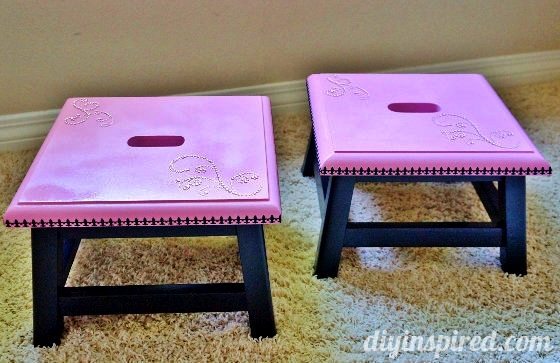
My best friend Jenny had some old stools that she wanted me to makeover for my twin God Daughters. After recently upholstering a step stool for my daughter, I had so much fun with this project probably because I knew it would be special for them. I decided to go with pink and black because Jenny is hoping to one day decorate the twins room in those colors. So, here is how I upcycled these old step stools.
You can find stools like this at any local thrift store. Check out my trash to treasure guide for why you should buy furniture secondhand. It also includes a list of trash to treasure tips and project ideas.
Materials:
- Paint
- Spray Primer
- Screwdriver
- Painter’s Tape
- Drop cloth
- Decorative adhesive decals
- Clear glaze
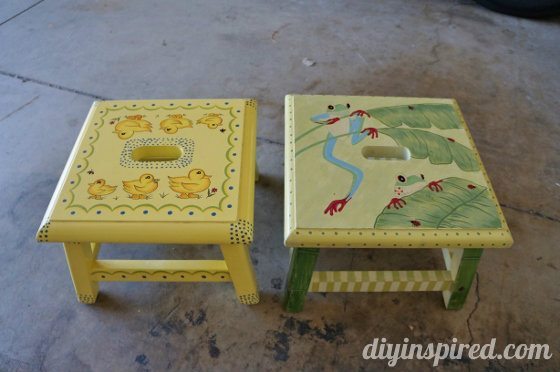
Here is a photo of the stools before.
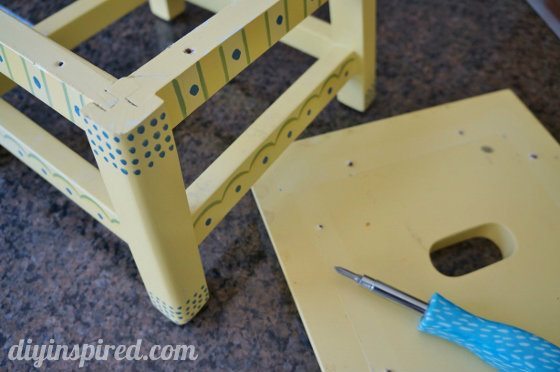
The first thing I did was clean them and disassemble them so it would be easier to paint. I used my pretty blue screwdriver from my crafty toolbox.
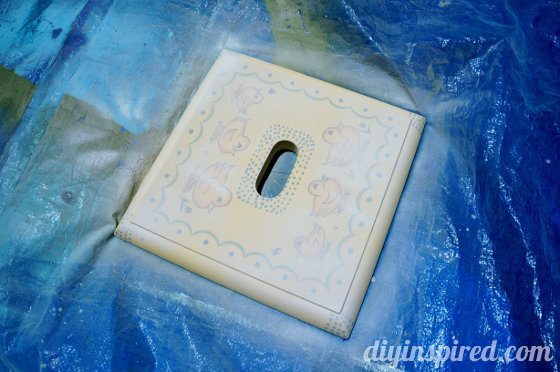
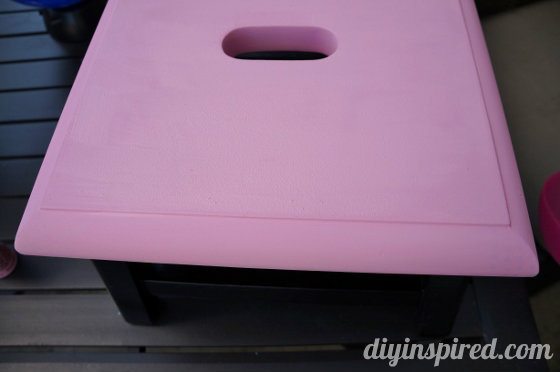
Next I decided to prime the top because the original design was so dark in color. The paint on this was smooth, so I didn’t need to sand them if I was going to prime them.
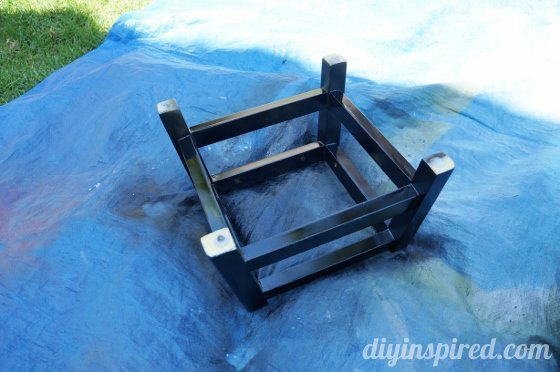
I spray painted the legs black in a well-ventilated area on a drop cloth. I did not prime them first because I was making them a darker color. Here are some more tips for how and when to use primer.
One of the stools would not allow me to disassemble it (I think it was glued) so I decided to put the other stool together and hand paint the tops.
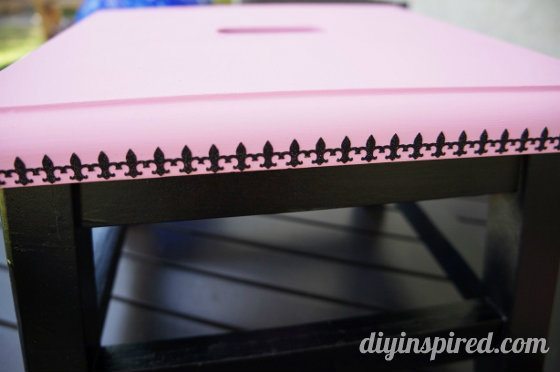
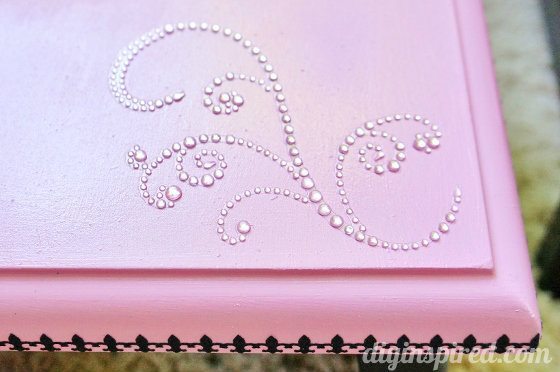
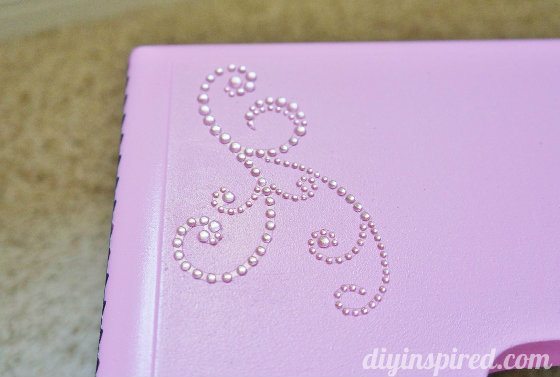
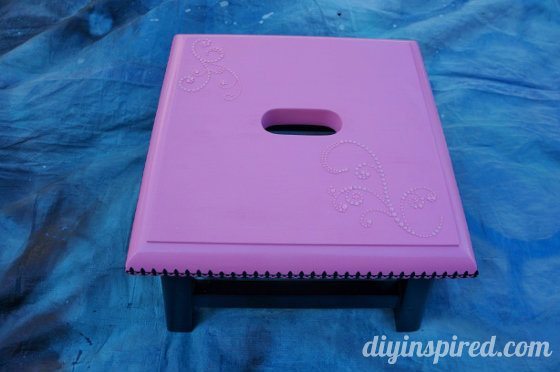
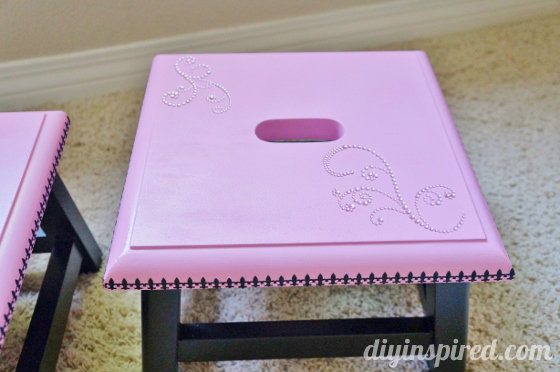
Once it was dry, I added some decorative adhesive decals for the trim around the edges and the top.
Next I sprayed the top and sides where the decals are with a permanent clear glaze.
Here is a close up photo.
Here is the before and after again.



Love this idea! I am looking into re-decorating my daughter’s room and we have a couple of these around the house which are not needed anymore since now the kids can reach things!! Great site!
Thank you Karina! It’s so easy too! Send me a pic if you end up doing it! 🙂