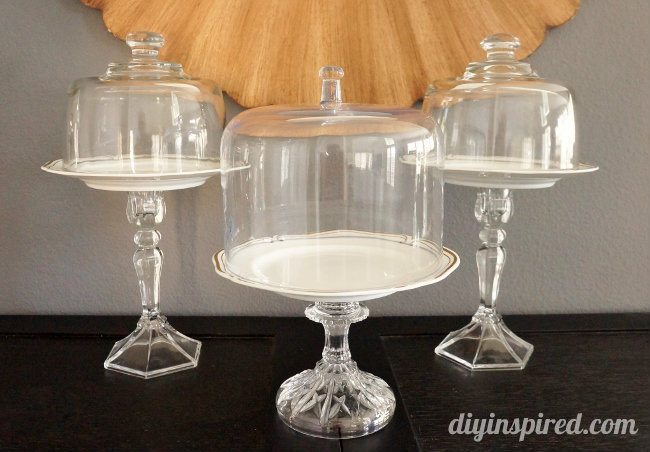
Upcycled Thrift Store DIY Dessert Stands
If you’ve been following along with me over the last couple weeks, you may have seen my posts for a Mad Hatter’s Tea Party baby shower I am decorating. I decided to make these Upcycled Thrift Store DIY Dessert Stands for the party but after making them, I’m excited to keep them and use them regularly.
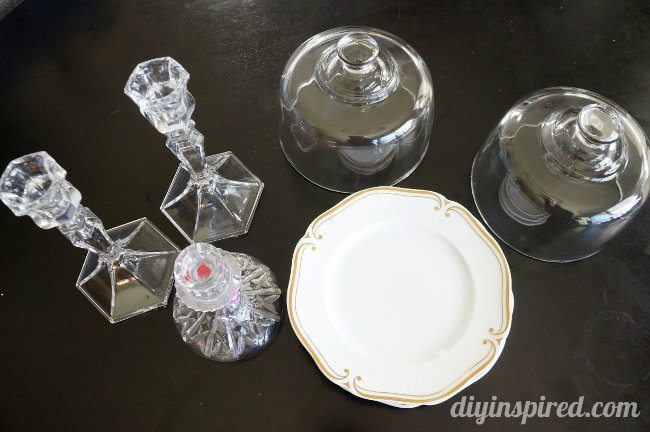
Materials:
- Candlesticks

- Plates
- Glass Covers
- Strong Bonding Agent


I found everything you see here for about $25, which is great because it made two and a half (I took the glass cover of one of my actual dessert stands for the pictures below).
Tip: To easily take off old wax and thrift store price tags, simply run the object in hot water and lightly scrub. It’ll come right off!
Make sure to clean each piece very well with soap and water. After they are dry, use a strong bonding agent to adhere the candlestick to the plate. I used Liquid Fusion , which worked beautifully.
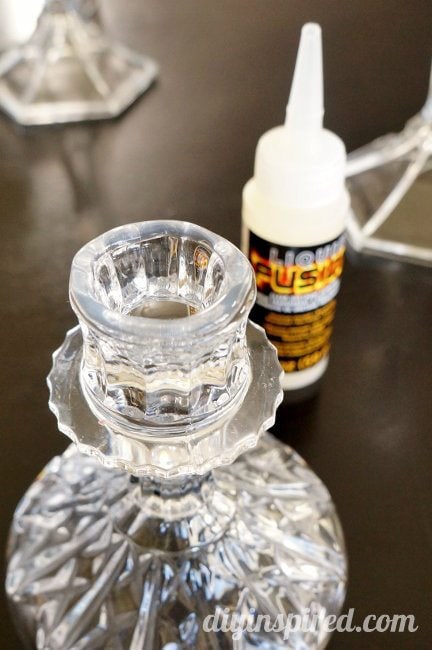
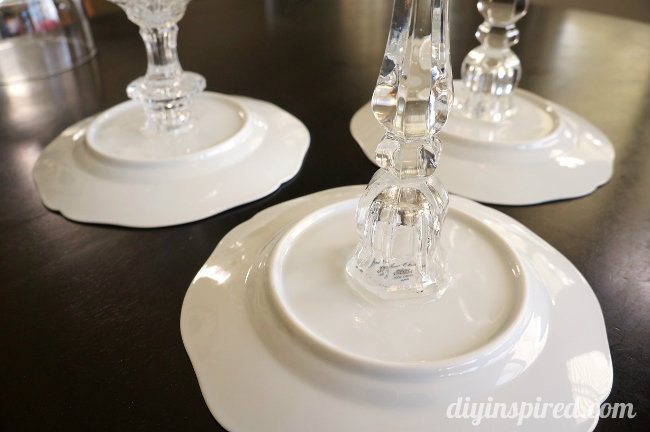
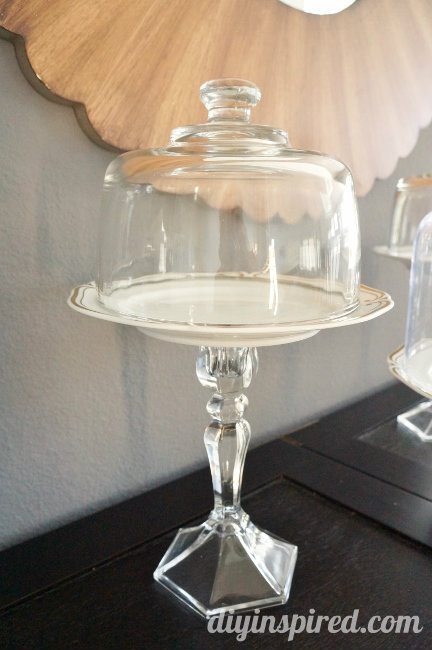
Apply a generous amount to the rim of the candlestick and place it upside down on the center of the bottom of the plate. Allow it to dry for 2-4 hours, or as indicated in the adhesive directions.
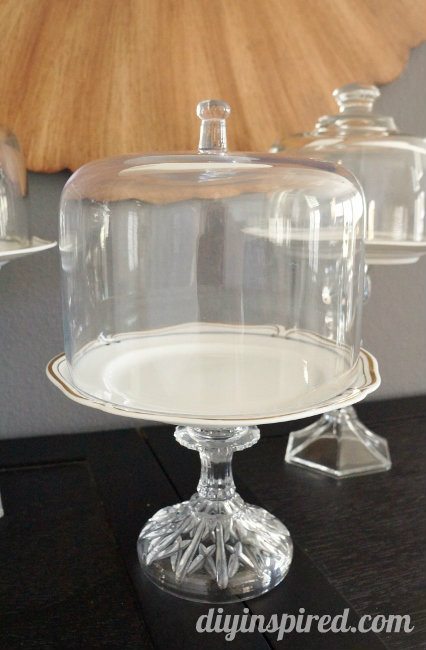
Here are a couple photos. I think they turned out great and will be perfect for the Mad Hatter themed tea party.
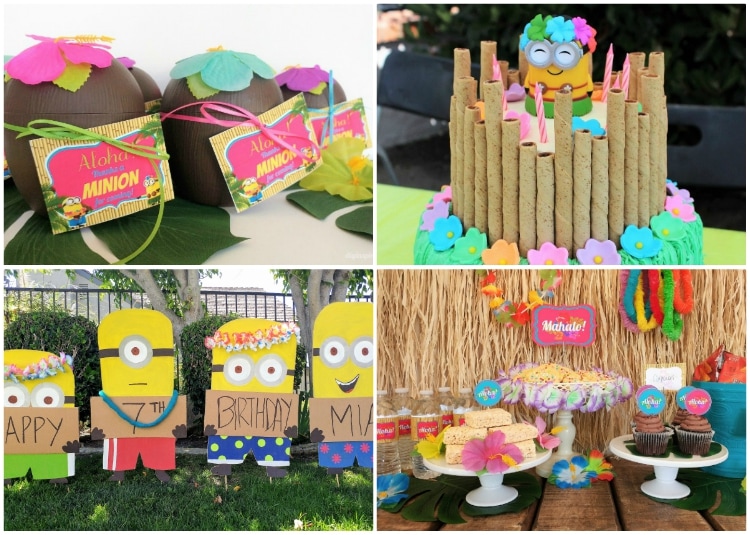
In case you missed them, here are some other decorations I am doing for this party. I am so excited about it!


I like this DIY. Maybe I should consider to make up one next year in my new house, for my kid and other family members. That’s such a sharp idea I believe!
These are so cute! I love the idea of using candlesticks as the base. Did you find those tops at a thrift store too? I can’t wait to see the rest of the party when it’s finished!
Yes! I found the tops of the two tall ones at Goodwill! They were originally cheese platters but I threw the wooden bases away (because they were a little questionable!;)
So wonderful! I appreciate your idea so much! I will have try, for my new house disigh!
Thank you so much!
Love this – I’ve tried something similar to this with small mirrors and candlesticks to make cupcake stands – and also those tin stove top covers to make cake stands….but adding the glass cover really completes the look and adds an extra touch of elegance!
Thank you Keisha! Love your idea of using tin covers!