Decorative Accent Pillow
Written by: Michal Sparks
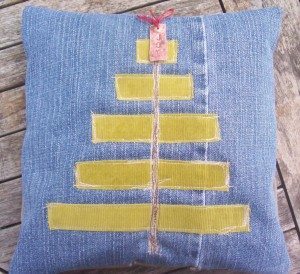
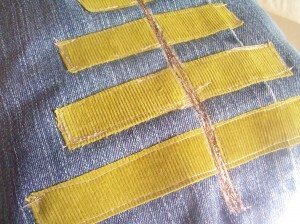
Here is an easy DIY decorative accent pillow idea that is great for decorating or giving as a gift. I thought I would share how to use the iron on adhesive that makes your projects look like you really know what you’re doing!! The design I’m doing here is really simplistic. Just think, it would be really cute to do a letter for a kid’s room kinda off center, or maybe their whole name! Actually now that I’ve mentioned it I think I just might do some custom letters…..Anyway, this is simple enough to get you started and you can go crazy from here. I’m only showing how to do the front of the pillow, I will do a pillow tutorial on super simple pillow covers with piping, ruffle , types of closures and all of that another day. Oh, I added a little copper charm on top that is tied on with red embroidery thread for an accent.
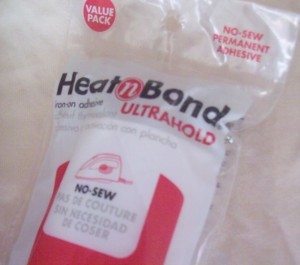
1. OK, first you need the iron on adhesive. I bought mine at the local fabric store, no brand in particular, I just like the kind that is a little more heavy duty because I like to fuse heavier fabrics together, even though I sew it too. (I never trust that you don’t need to sew, that’s my old school mentality showing through!!) This was $9.99 for 5 yards and while waiting in line a customer ahead of me passed down some extra coupons she couldn’t use (50%off!!) so it was only $5! Just have to love people like that!! She made my day!
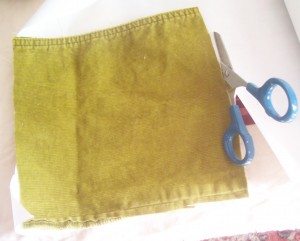
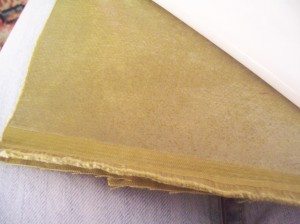
2. When you decide the accent fabric you want to adhere to the main fabric, or in this case the front of my pillow cover, lay it on the adhesive, wrong side of fabric on the textured side of adhesive, and cut out the shape. I chose this olive corduroy from an old pair of my daughters pants.
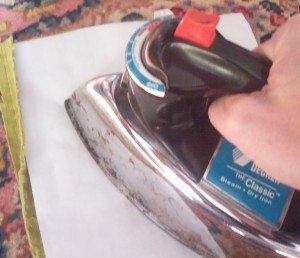
3. Flip it all over. Now fabric is right side down with adhesive on it and smooth paper facing up. Iron on the smooth paper side with setting of medium, no steam. Iron until you feel the adhesive has stuck to the fabric.
4. Let it cool for a minute then pull off paper backing. It feels weird and rubbery but really cool!
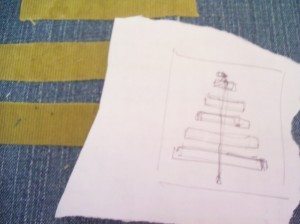
5. Since I’m using a 10″x10″ pillow, I have cut my base fabric (my son’s old jeans!) an inch bigger on all sides. This is for seam allowances and also you can always make something smaller but making it bigger usually doesn’t work. I did a rough drawing of what I was thinking for my design, kind of a modern tree, and cut out the pieces.
You can use a ball point pen on the rubbery side of the fabric to draw the shape you want to cut out. If you do decide to do a letter remember to trace your letter backwards so it will be correct when you iron it on.
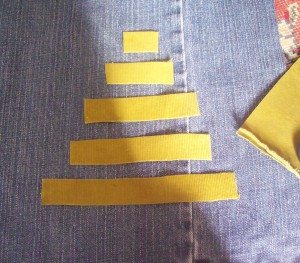
6. Cut out your shapes and lay them on your fabric. My fabric is an old pair of my son’s jeans, (kids sure come in handy!)
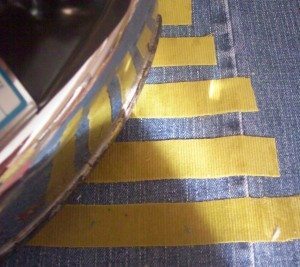
7. Press with warm iron, again no steam, until everything is fused together.
8. I can’t resist stitching, I call it scribble stitching, where I just kinda freehand move the fabric around go forward, reverse, and let the machine stitch up a storm. Change thread color for more interest.
You know if you don’t want to make a pillow you could stretch this on a craft store canvas and have wall art, just like that!! Have fun!
To see more of Michal’s work, visit her Etsy Shop, A Clever Spark!

I love the modern design of the tree and the traditional use of fabrics! Very cute!
Thanks! Hope you try it out!
Michal