Dining Room Chair Repair and Reupholstering Makeover
I am honored to showcase another great DIY furniture tutorial by Loren from Pandora’s Craft Box today! Here is her Dining Room Chair Repair and Reupholstering Makeover. Thanks, Loren!
Written by Loren Crane from Pandora’s Craft Box
You have no idea how much I have been hating my dining room chairs. They have gone through a lot with me. They have been around for about seven years, with six moves to three states and a new baby. It’s a new year and I wanted to bring some color to my home and lighten things up. I was very lucky to have my wonderful mother in-law over for the holiday season and she gave the courage to tackle this big project.
This project is rated C for Courage.
The wonderful part was that we got to bond and I did not even have to ask more than once because the next thing I knew she was tearing it apart. It was fantastic!
Dining Room Chair Repair and Reupholstering Makeover
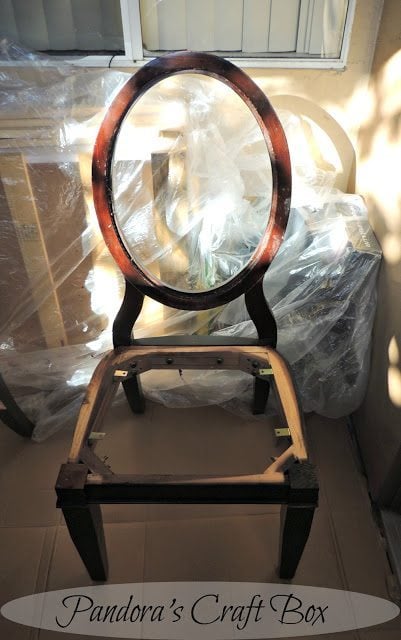
We removed the strip by pulling hard because it was only held with glue. We had to remove all the staples in the top fabric, foam, cardboard, and any other lingering staples. I am starting to hate staples a lot at this point!
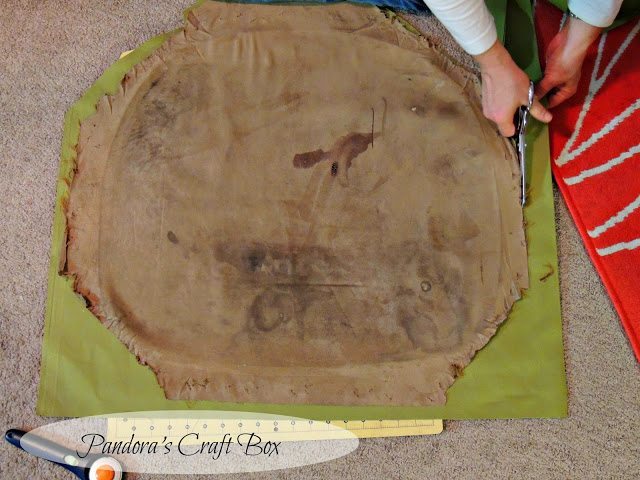
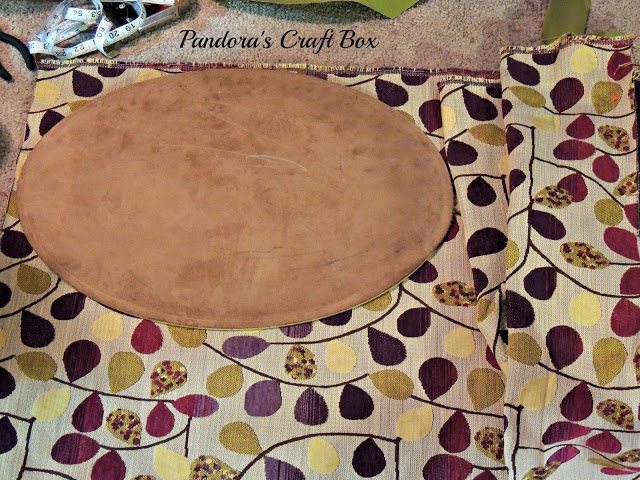
The seat of the chair was easier to remove because it was just screwed in. Once all the fabric was off you will I needed to stain parts of the chair because time has not been gentle. I also used a sealer by Krylon once the stain dried. While the sealer was drying we tacked the seat. We used the original fabric to trace a pattern to cut the new fabric.
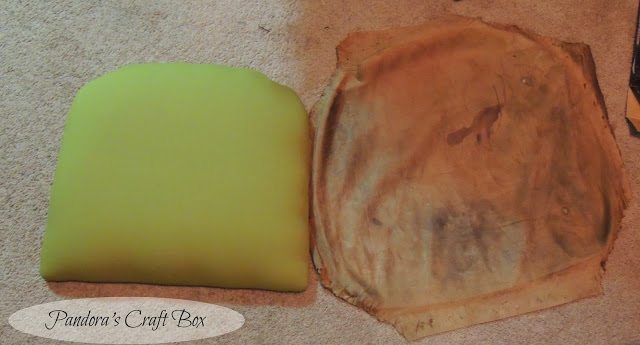
As you can see the old fabric was pretty beat up!
All we needed to do was wrap the fabric around the foam, the wooden base and staple it.
After all has been said and done all we needed to do was screw it back in to the chair base.
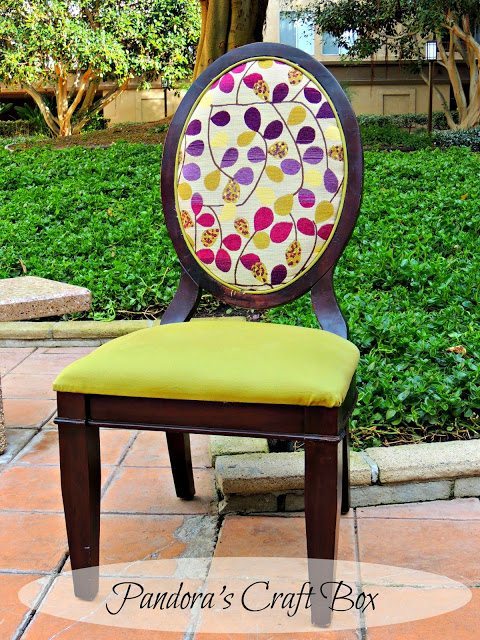
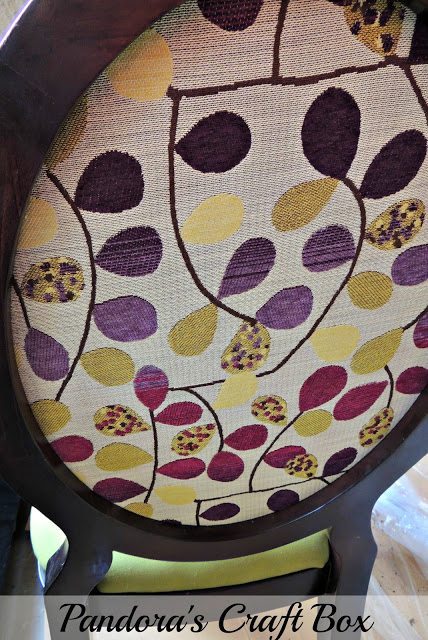
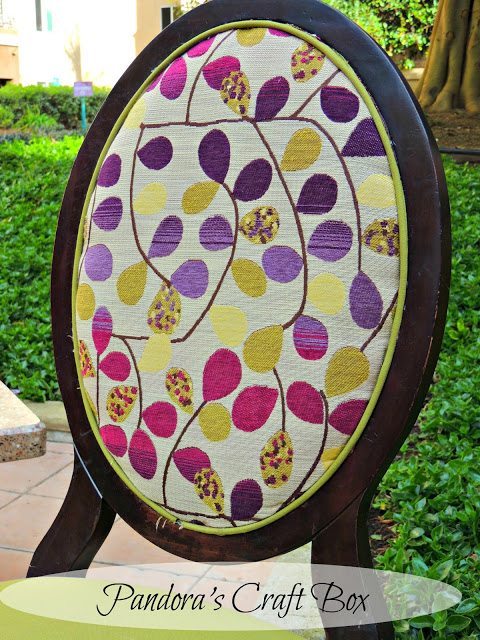
My mother in-law Laurie helped me pick out the fabric at Joann’s and I am just in love with it. It has all my favorite colors in it. Can you guess what my favorite color is?
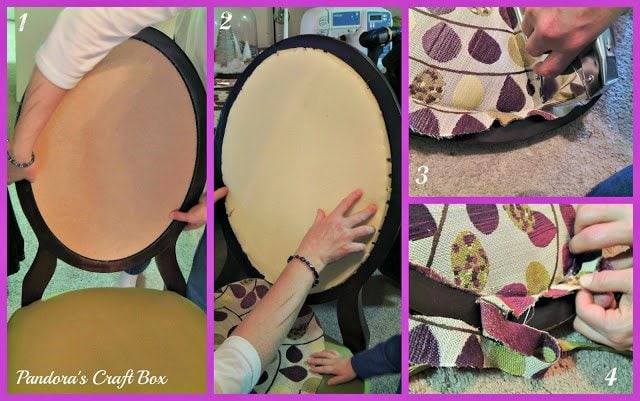
We cut two circles of fabric one the exact size of the cardboard and the other half and inch bigger all around.
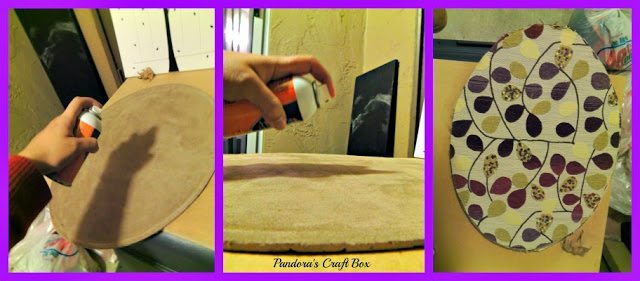
On the backside of the cardboard I had to glue the new fabric to it with spray on adhesive. I used Elmer’s Craft Bond. It worked very nicely.
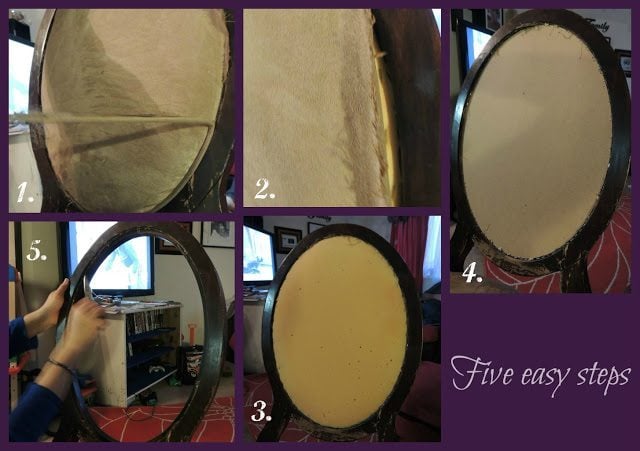
1. Once the adhesive was dry I placed the cardboard back into the back of the chair and stapled it in place.
2. I placed the foam on top of the cardboard and stapled it in place.
3. I used the fabric which I cut half an inch larger and stapled it to the inside of the chair. I tried not to pull the fabric too much because I wanted to keep some dimension to it.
4. I cut out any remnant that was sticking out once it was stapled.
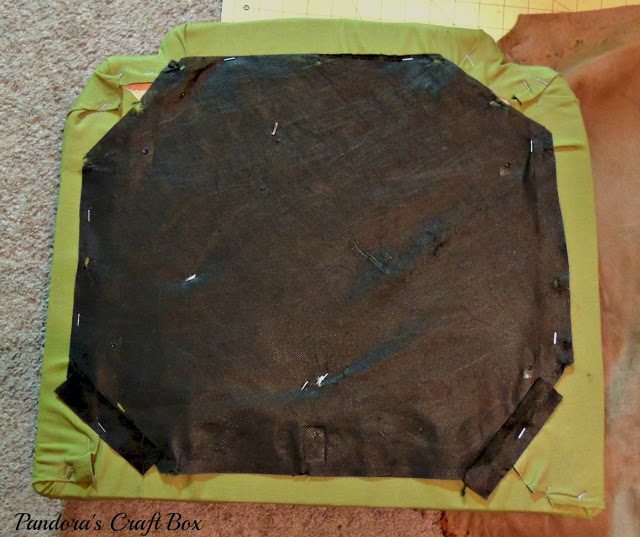
Here is how the back looks like once it was place in! Now it gives a pop of color from the back and the front. It’s time to finish the front. Just a couple more steps.
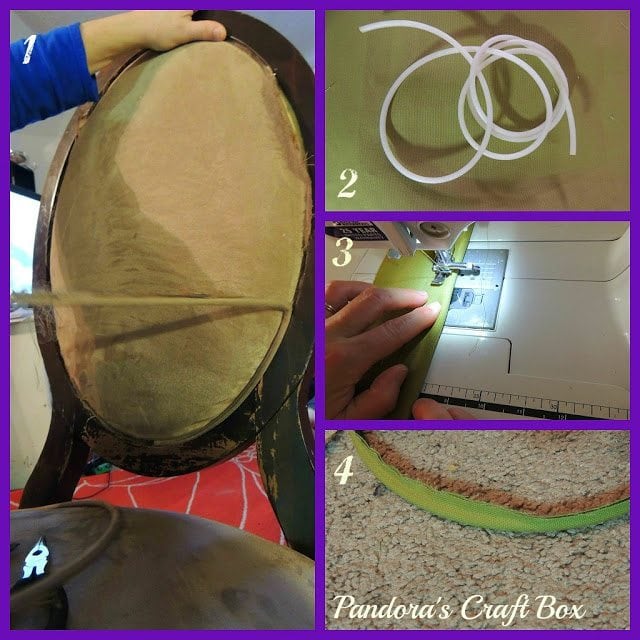
1 & 2. We used the original lining strip and removed the old fabric.
3. We took the fabric that we used on the seat of the chair to sew it over the rope.
4. Ta-Da! Now it’s time to hot glue it!
Super simple to do!
Can you see the difference now! It is so much better than before and all it takes is the courage to start. Do you have a project that you have been putting off because you think you can’t do it? Well guess what you are not the only one but it’s not that hard just give it a try.
Till next time stay crafty!!
-Loren


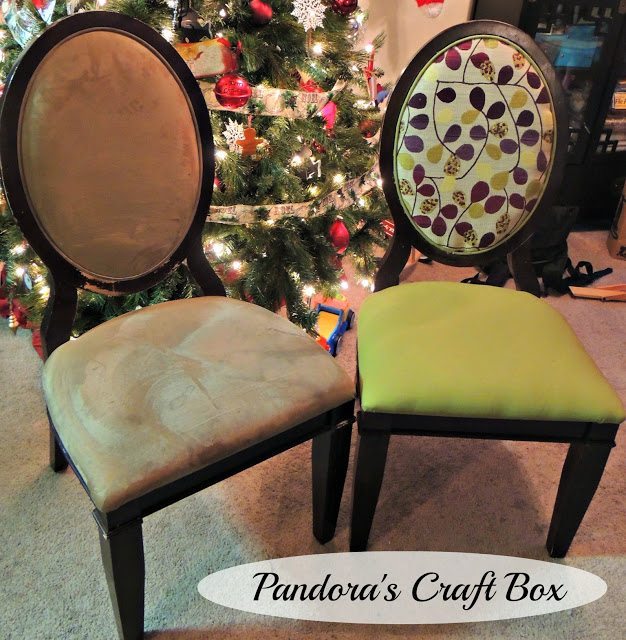


It looks fabulous!!
I know you said JoAnn’s for the material. Do you know if you’ve seen it lately? I’ve looked high & low at my store and not a bit of it. I’m in love with it too and need to find it to re-do this ottoman I have. Your chairs look fantastic and I can only hope my project turns out half as good!