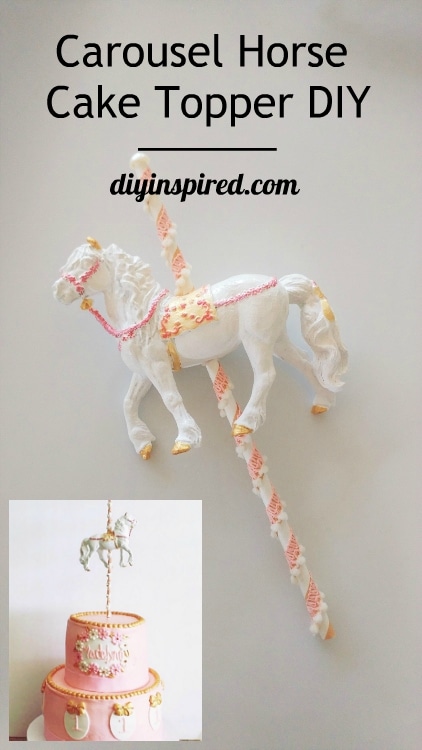
DIY Carousel Horse Cake Topper
How to Make a Carousel Horse Cake Topper Out of a Toy Horse
This DIY Carousel Horse Cake Topper is one I made for my friend Tammy from Sweet Tooth Cravings and More. I have made a carousel topper before for my daughter’s 3rd birthday and I took that idea to make this one.
Here are some other cake toppers I have done in case you are looking for some more inspiration. I do love the circus theme cake topper and it was very easy to make.
- DIY Circus Theme Cake Topper
- Glittered Number Cake Topper
- DIY First Birthday Cake Topper
- Turn Facebook Photos into DIY Cake Toppers
- DIY 3D Photo Cupcake Toppers
Watch the Video Tutorial
Here’s a quick video tutorial of this DIY Carousel Horse Cake Topper.
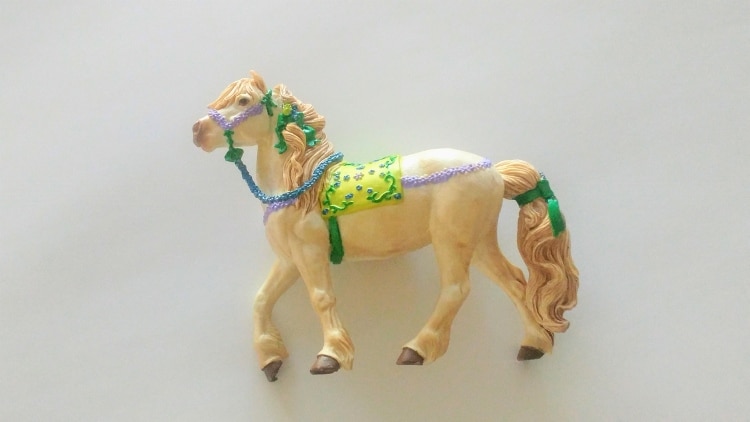
I found this horse at Michael’s. It was a little heavy, but we made due. I recommended using a plastic horse if possible. You can try searching online or at toy stores or thrift stores.
Painting the Horse
Materials:
Links contain affiliate links of products that I recommend and use.
- Toy Horse
- Acrylic Craft Paint
- Various Sized Paint Brushes
- Krylon Clear Glaze


Tips:
I first painted the entire horse white and allowed the paint to dry. My friend’s client wanted only shades of pinks and gold. You need very little paint for the details. It helped to used small foam tipped brushes since the details on the horse were so small.
On the parts of the horse with layered colors, I started with the lighter colors first and then painted the details with darker colors to make it easy.
Once the horse was dry I sprayed it with Krylon’s clear glaze.
Putting the Carousel Horse Cake Topper Together
Materials:
- Straw
- Trim
- Pearl Bead
- Scissors
- Hot glue and glue gun
- All Purpose Glue
- Skewer

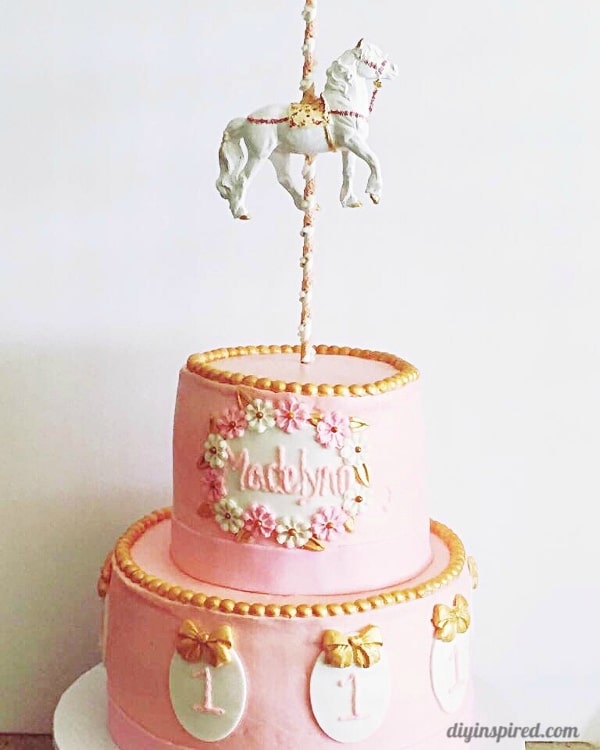
First, I cut the straw into two pieces, making the top shorter than the bottom. Using hot glue, I glued trim and a pearl bead onto the paper straw post. A strong all-purpose adhesive works well for gluing the straws to the horse. Before you put the strong adhesive, close the straw hole with a little bit of hot glue and let it dry and harden, then place the adhesive on top. Lastly, attach it to the horse.
Important Tip: If the toy horse you have is heavy, insert a BBQ skewer inside the bottom of the straw to relieve the weight of the horse before inserting the post into the top of the cake.
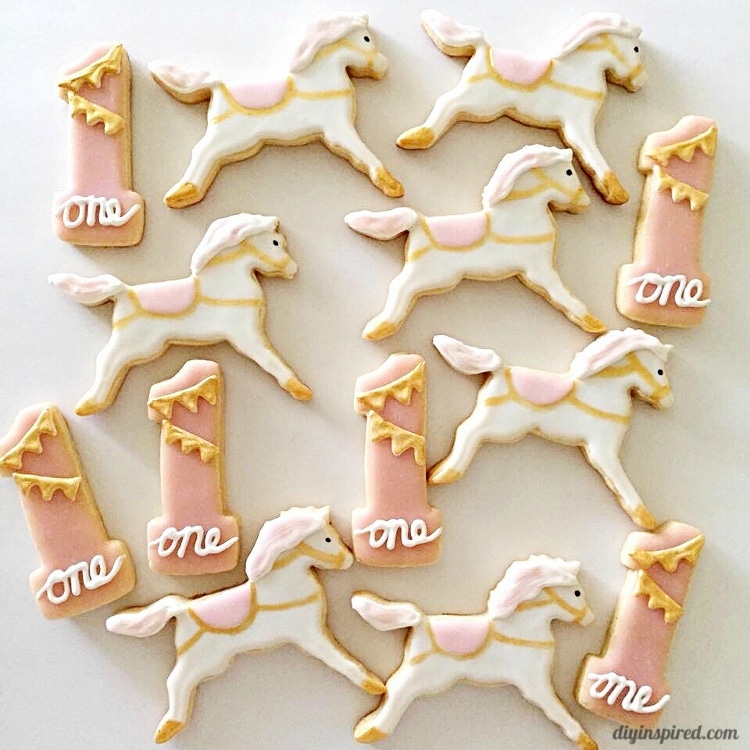
That’s it! Easy peasy! Tammy also made these adorable cookies to go with it! In’t she amazing?
You May Also Like
Here are some other fun personalized photo cake toppers I have made in the past. These are great to help celebrate any special occasion from graduations to anniversaries to baby showers. I hope you like them!
Like it? Pin it!
If you liked this project, I would love it if you pinned it and shared it! Thank you so much in advance!
LIIIIIIIIIINDOOOOOOOOOO!
What a cute idea!
So where do you find your horses to use. I have searched amazon, etsy and ebay and can’t find anything that isn’t already painted or just to expensive for as many as I need.
Hi Donna! I bought it at Michael’s. They are located next to the toys.
Donna, here’s another option if you have to make several: https://diyinspired.com/carnival-carousel-circus-cake-topper-tutorial/ I hope this helps!!