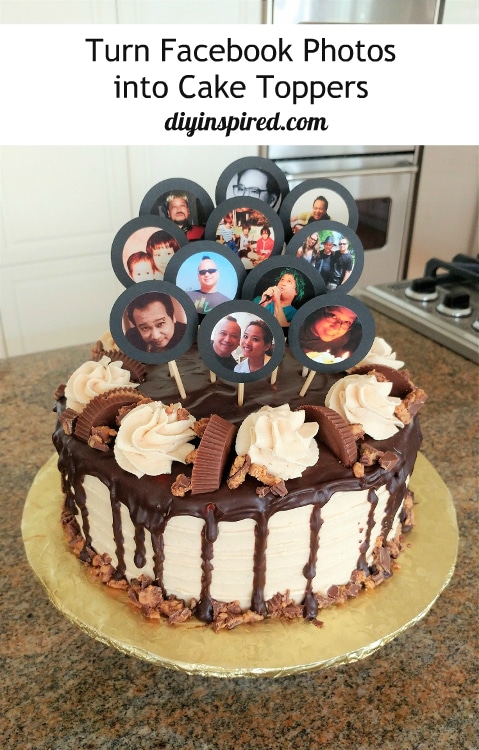
Turn Facebook Photos into DIY Cake Toppers
Make DIY Cake Toppers with Any Photo from Social Media
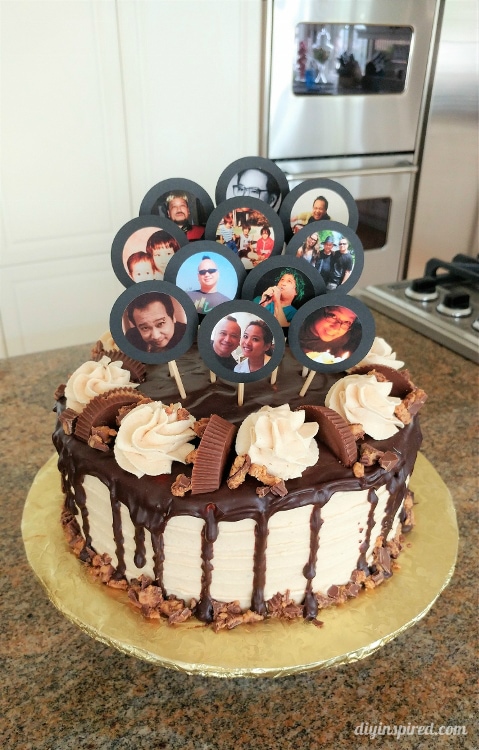
My brother and I are very close. This year for his birthday, I wanted to make his birthday cake special. So I decided to turn Facebook photos into DIY cake toppers to place all over his peanut butter and chocolate birthday cake. It was quick, easy, and inexpensive to do.
Facebook is an ideal resource for photos because:
- You can find “throwback” photos and pivotal time in their lives.
- It’s great for couple and group photos
- Find photos of people you are not necessarily friends with but important to include.
- Don’t forget to throw in a few funny ones from high school or collage or Halloween!
You can make these for:
- Birthdays
- Anniversaries
- Bachelorette Parties
- Wedding and Baby Showers
- Retirement Parties
- Sports Celebrations
- Graduations
Use them for any type of party to honor ALL the guests and not just one!
Here’s What You Need
Time: 15-20 Minutes
Materials:
This materials list contains affiliate links for recommended products that I use.
- 1.5” Circle Craft Punch

- 2” Circle Craft Punch
- Photos
- Cardstock or construction paper
- Glue Stick
- Skewers
- Mixed Media Scissors
- Washi Tape
- Paper Cutter


Watch the Video Tutorial
Instructions:
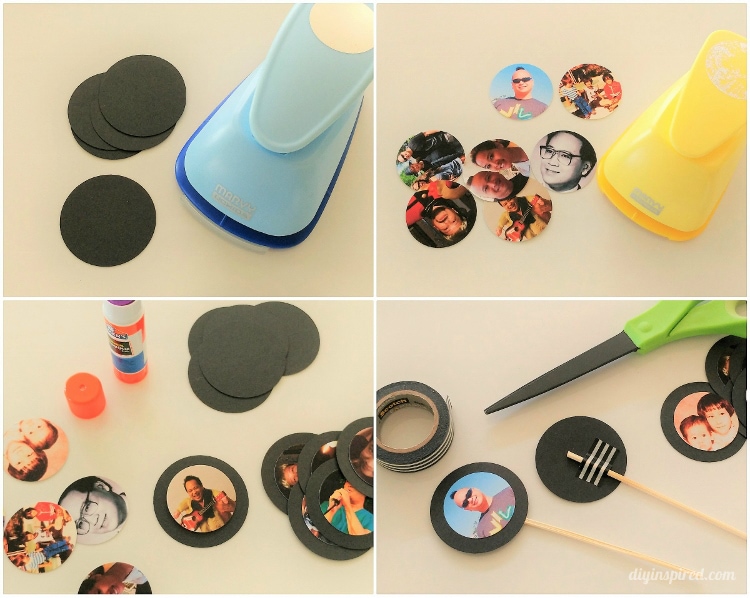
- First, search Facebook or Instagram for the photos you want and save them to your computer. Crop and resize them to about 2.5” X 2.5” or 3” X 3”. I placed them in a Word document.
- Cut the rows out and punch each photo out with a 1.5” circle craft punch. Punch out a 2” circle out of colored cardstock to match your color scheme; one for each photo. If you don’t have a circle punch, squares or rectangles work well too!
- Glue the photo to the center of the cardstock circle. Glue sticks are ideal and the least messy.
- Cut wood skewers in half or in different lengths with a pair of scissors.
- Use patterned washi tape to tape the skewers to the back of each photo.
- Arrange the photos in different heights on the cake.
Personalizing a cake like this is perfect for birthdays, anniversaries, bachelorette parties, or other special occasions. Play around with the color and pattern of the cardstock and washi tape to match the party theme.
P.S. No, I didn’t make the cake. Baking isn’t my thing as you can see by this blog…but I can buy and find a mean one! LOL
You may also like:
Check out these other free photo craft tutorials. These also make great DIY gift ideas for someone special in your life.
- DIY Photo to Cartoon Art
- Repurposed Photo Display
- DIY Photo Booth Strip Display
- Family Photoshoot Gift Idea
Like it? Pin it!
You May Also Like
This is a fun craft and gift idea to personalize a phone case. I made this for my dad for his birthday. It’s perfect for Father’s Day or Mother’s Day or a Christmas gift for grandparents. It includes a detailed tutorial for how to make your own photo collage in minutes with a free software. Get the full tutorial for this here: DIY Photo Collage Cell Phone Case.

This is such a great idea! I love using photos in different, unexpected ways.
Thank you, Lisa!