DIY Repurposed Photo Display
Easy DIY Repurposed Photo Display from Flooring Planks
Making your own DIY repurposed photo display is a simple project. With a little creativity and this five step tutorial, you can turn a cabinet door, old shelf, or flooring plank into a one of a kind piece of art.
Here’s What You Need
Time: 45 Minutes to 1 hour (excluding dry time)
Materials:
- Flooring Plank
- Tape Measure
- Pencil
- Ruler
- Saw or Router
- Metal Clips
- Industrial Strength Glue
Instructions: Making the DIY Repurposed Photo Display
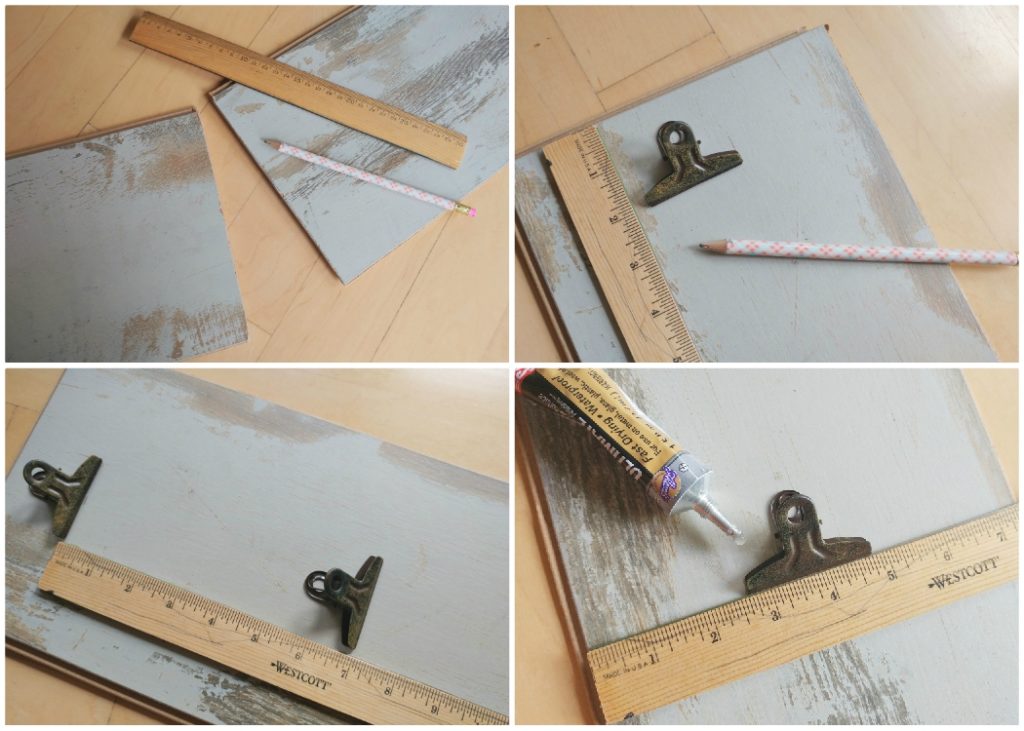
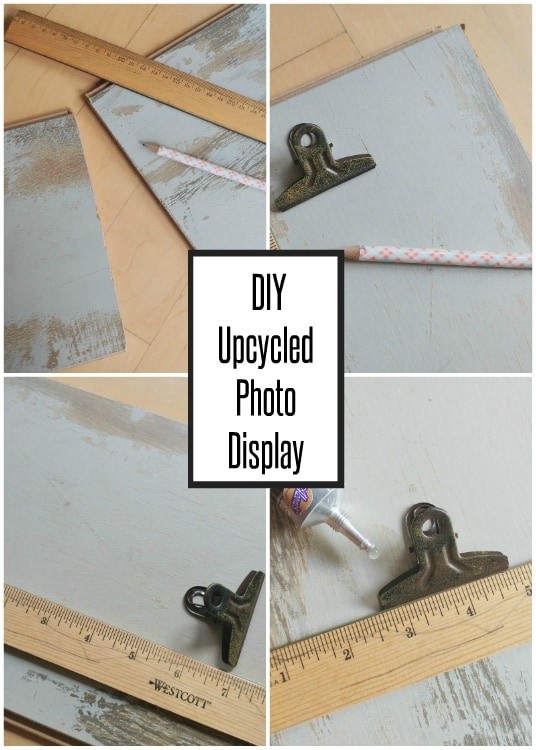
Step One: Choose your materials. Any type of wood will work, like these flooring planks.
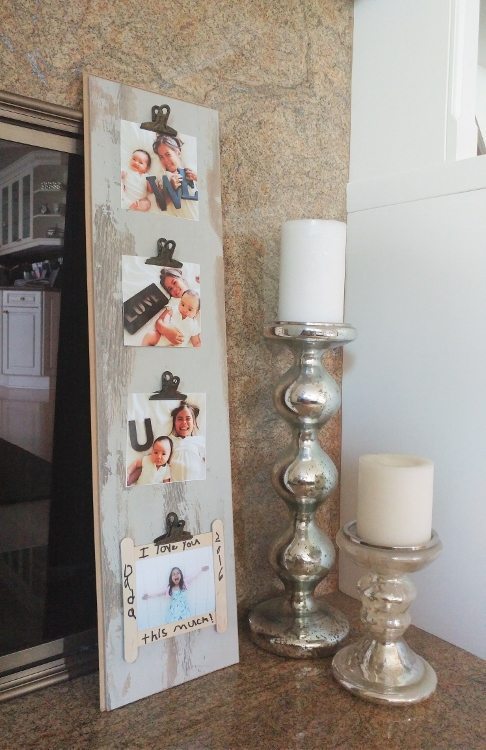
Step Two: Measure and cut depending on the desired size. This 51” flooring plank was cut to 30” with a router. It holds four photos.
Note: If you do not have the proper tools available, ask your local home hardware store to make the cut for you. If you are using unfinished wood, be sure to sand and treat it prior to proceeding to step three.
Step Three: Measure the placement of each metal clip. The bottom of this clip measure at 2” from the top of the plank. Make a mark with your pencil.
Step Four: Measure 7” down from the bottom of each clip and mark with your pencil. Be sure to center each mark. For example, the width of this flooring plank is 7.5” so a mark was made at 3.75”.
Step Five: Glue the clip to the board with a strong bonding agent. An industrial strength glue like E6000 or Aleene’s Ultimate works very well. Use the ruler as a guide to make sure that the clip is straight. Allow the glue to dry for several hours. Twenty-four hours is ideal; follow the glue instructions if necessary. If desired, add a picture hanger to the back to hang it on the wall. One the glue is dry, clip on your favorite photos or children’s artwork.
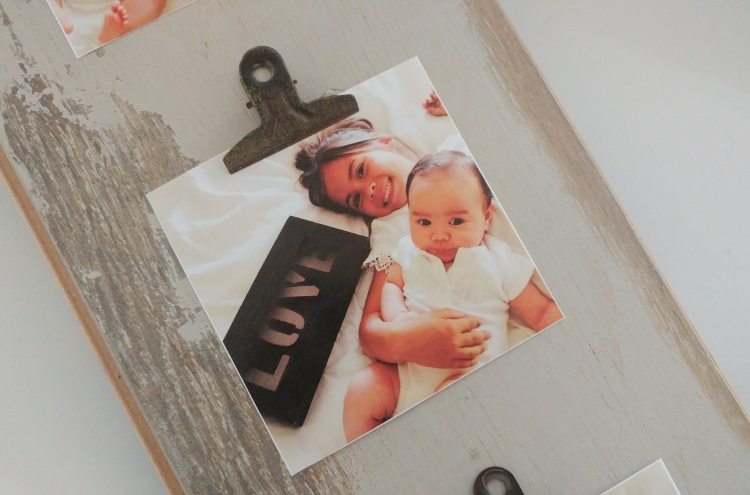
This DIY Repurposed Photo Display would be a great addition to a gallery wall or to decorate your mantel. It also makes a great personalized gift.
Here are some more photo craft ideas by me:
- Back to School Photo Frame
- DIY Photo Booth Strip Display
- Family Photoshoot Gift Idea
- DIY Envelope Photo Card
- Photo Christmas Gift Tags
- DIY Photo Place Cards with Fruit

