DIY Playroom Wall Art
Thank you to Pear Tree Greetings for sponsoring this post, DIY Playroom Wall Art. All opinions are 100% my own.
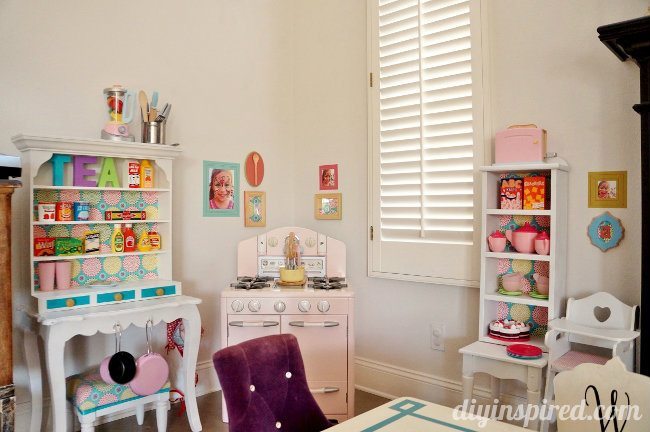
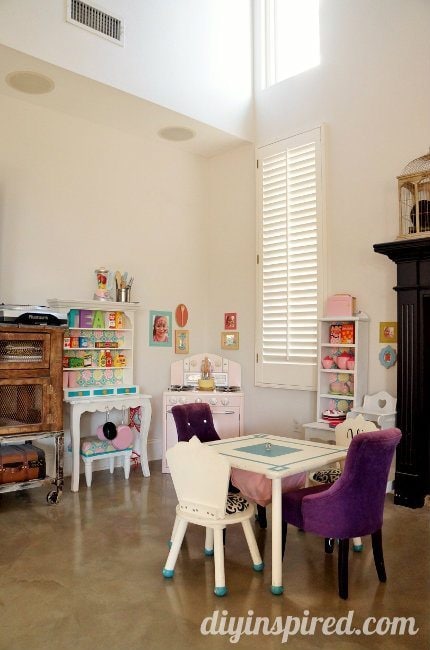
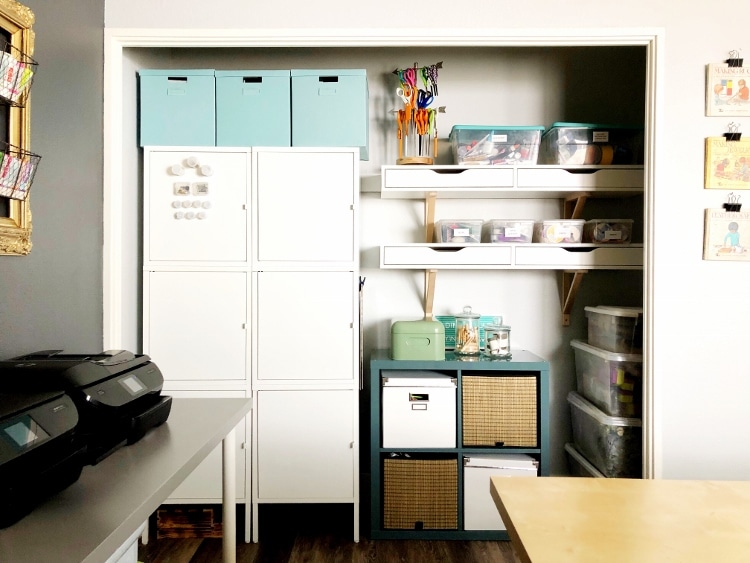
OK, so I don’t really have a playroom, however I CAN say that my daughter and some toys have officially taken over part of the family room. I know a lot of fellow parents have issues with keeping toys organized and out of site. For me, I like to make them cohesive and pretty! I know I have posted my DIY Kitchen Play set before and just recently I made another kitchen play hutch from some thrift store finds. Today, in effort to make this play area even more beautiful, I am sharing some DIY playroom wall art ideas.
Doesn’t it look cute?
Here are a few things I used:
- Pear Tree Greetings Wall Decals
- Wooden Photo Frames
- Toy Wooden Spoon
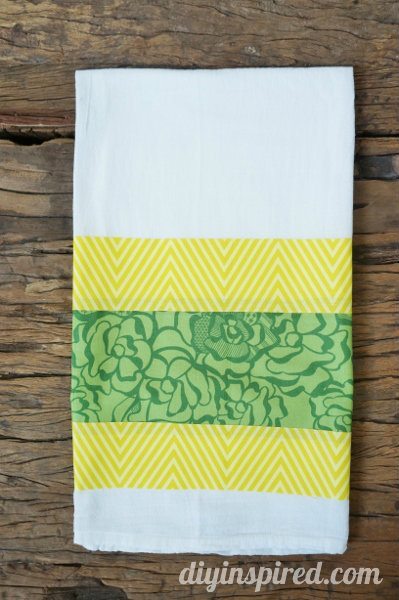
- Fabric
- Scissors
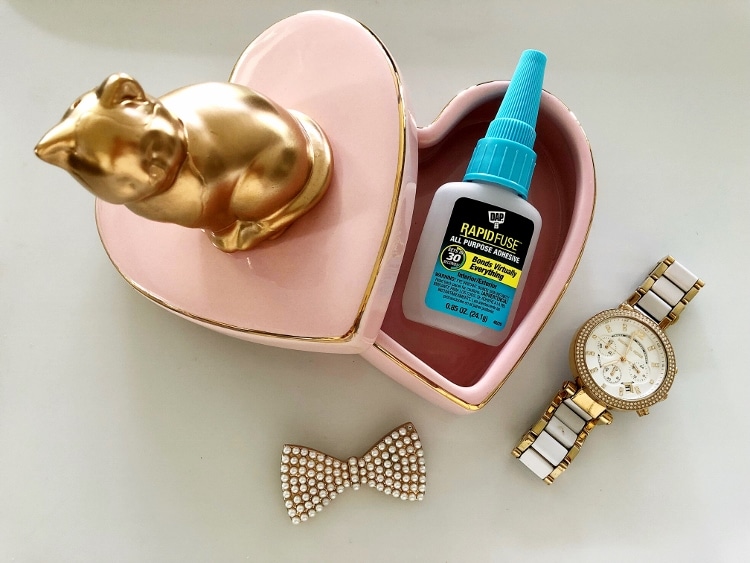
- Glue
- Craft Paint
- Paint Brushes
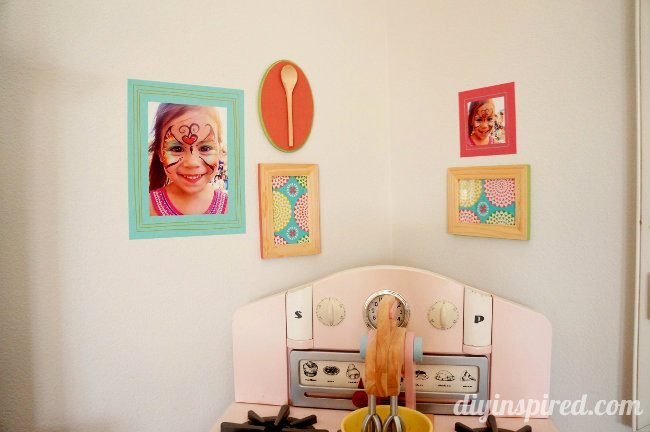
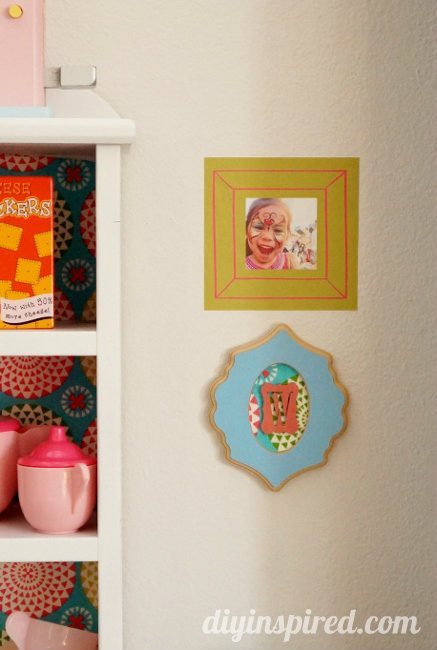
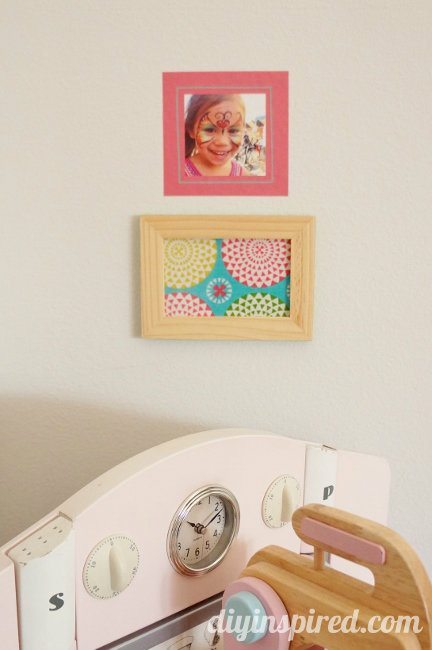
The first thing I did was design and order my wall decals from Pear Tree Greetings. First of all, THIS WAS SO MUCH FUN! The interface is easy to use and the designs and color choices are vast and modern. There is plenty to fit all styles. I chose some photos of my daughter from when we went to a recent street fair. I took pictures looking at herself on my iPhone, and I thought her reaction was just too cute.

Next, I made a few other pieces to match my wall decals. I picked up some inexpensive wood frames and painted the edges pink and green. I framed some left over fabric I had from making my kitchen play hutch and upcycled thrift store stool.

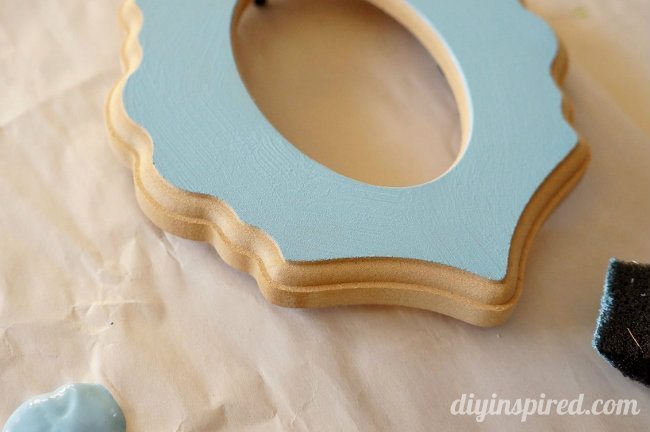
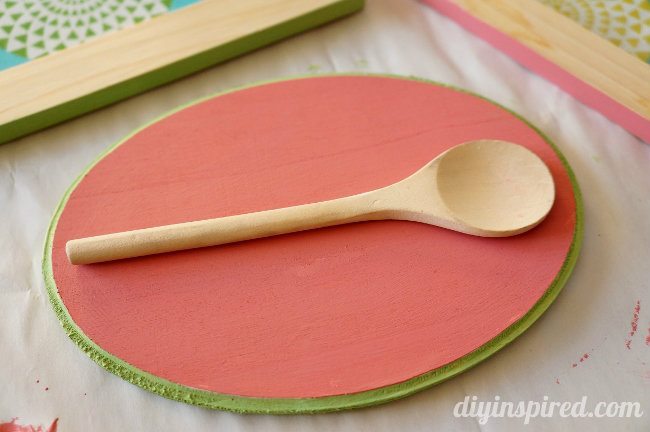
I also painted some wooden wall plaques.
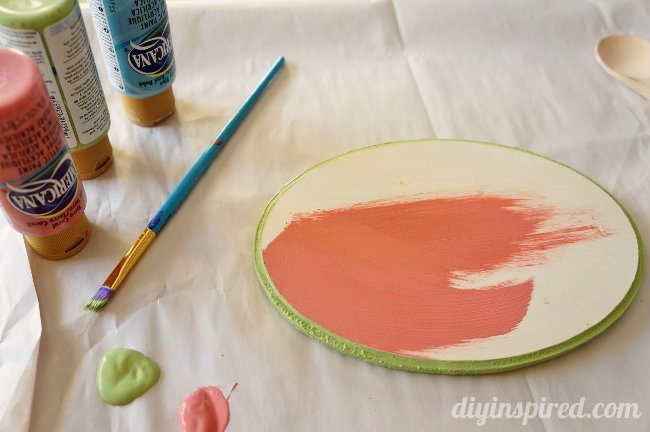
I glued on a toy wooden spoon, since these would be displayed in her play kitchen.
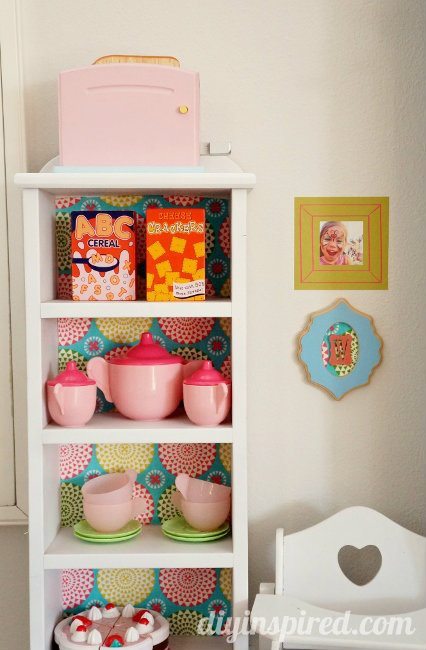
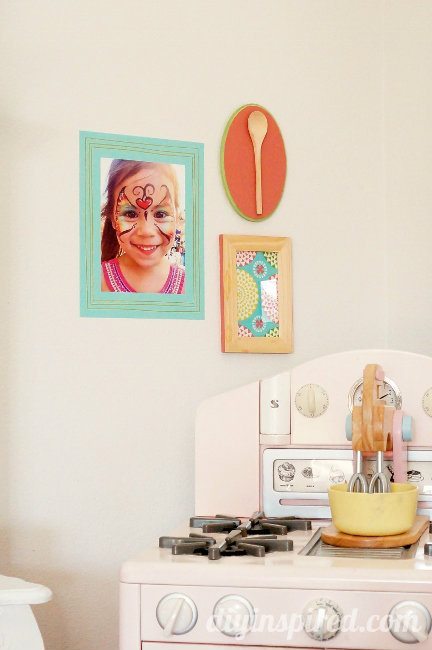
Lastly, I hung them all up in her play kitchen. Another thing that’s great about the decals is that if you don’t like your placement, you can easily remove it and stick it on again. Here are a few AFTER photos. They are really the perfect final touch for this play area.
Thank you to Pear Tree Greetings for sponsoring this post! Be sure to check out their other wall art, invitations, DIY cards, and more!
In case you missed them, here are the tutorials to make everything you see here in Mia’s play kitchen:

Super cute art… love the colors!
So cute! Love the art!
That is adorable! I love the fun colors. 🙂
CUuuuute! I want some pug wall decals! 😀
This turned out so great! Love the colors & the way you created such a fun play area. Great job!!
It doesn’t get any better than her beautiful face as artwork. The room looks amazing!