DIY Step Stool with Upcycled Vintage Rulers
How to Use Upcycled Vintage Rulers to Transform a Step Bench Stool
“If loving junk is wrong. I don’t want to be right!” – Unknown
As you know I love trash to treasure projects. My love for them was the initial inspiration to start this website. I frequent garage sales, flea markets, and everything in between and so do many of the DIY Inspired readers.
This repurposed DIY project was submitted by Lilly Meehan and Pam James. Both, no strangers to DIY Inspired, Pam has shared her Reupholstered French Rounded Back Chairs and Lilly has shared her Upcycled Garden Ladder plus many more creative DIY projects she has done.
Where to Find Vintage Rulers
Vintage rulers can be used to upcycle all kinds of things especially furniture. You can find them at flea markets and antique stores, and even better an antique flea market. I have seen them on Esty.com before as well. Look out for yardsticks as well.
You can also consider mixing both new wooden rulers and yardsticks with vintage, depending on how large the surface area is that you need to cover. Another option is to stain new wooden rulers with the color of choice.
How They Did It
This was a joint project by Lilly and Pam. This adorable step bench was found in a plain Jane condition at a BarnHouse Chicks Vintage Market.
Materials:
- Step Bench
- Paint and Brush
- Sander
- Vintage Rulers
- Power Saw
- Clear Silicone
- Painter’s Tape

Instructions:
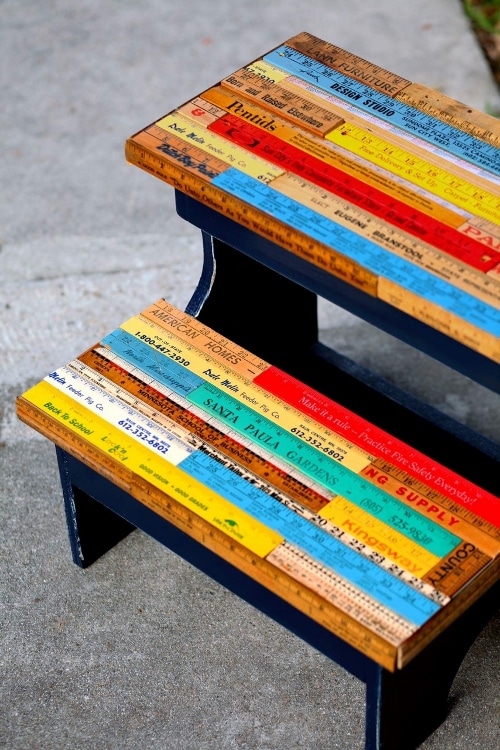
First, the unfinished step bench was freshly painted and distressed. Pam and Lilly mentioned that the rulers are mostly vintage. Next, after cutting vintage rulers to fit with a power saw, the rulers were added using clear silicone. Painter’s tape was used to hold the rulers in place through the drying process. Lastly, two clear coats were added which brought out the rich colors in the wood.
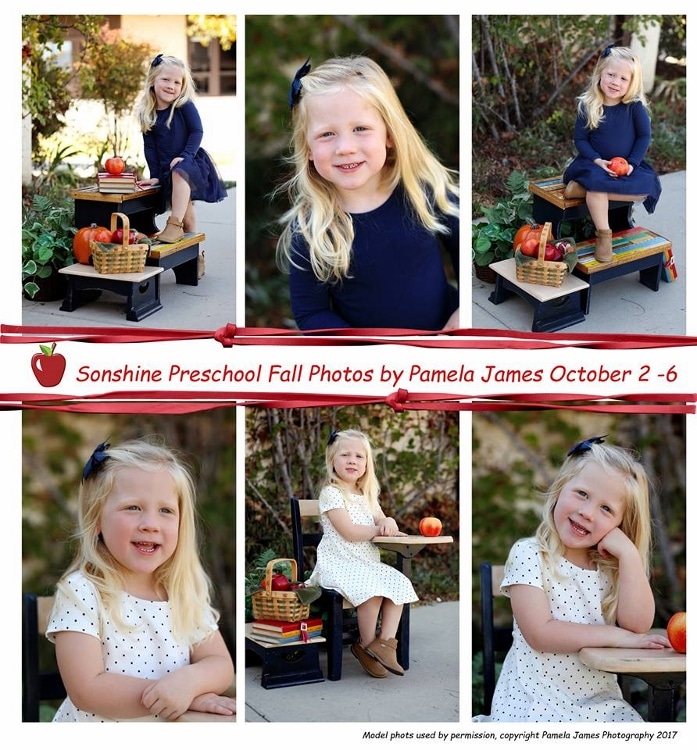
Final Product
Now it’s ready for a photo shoot of preschool children by Pamela James Photography. Here are some photos she took. This would be great to use every day for kids to use or as a display in a bedroom, play room, or even a class room.
I want to say a big thank you to Pam and Lilly for submitting another great project. If you have any questions let me know and I will reach out to them.
In case you missed them, here are some posts of my antiquing and flea market travels! They are a ton of fun and we always make it a family event!
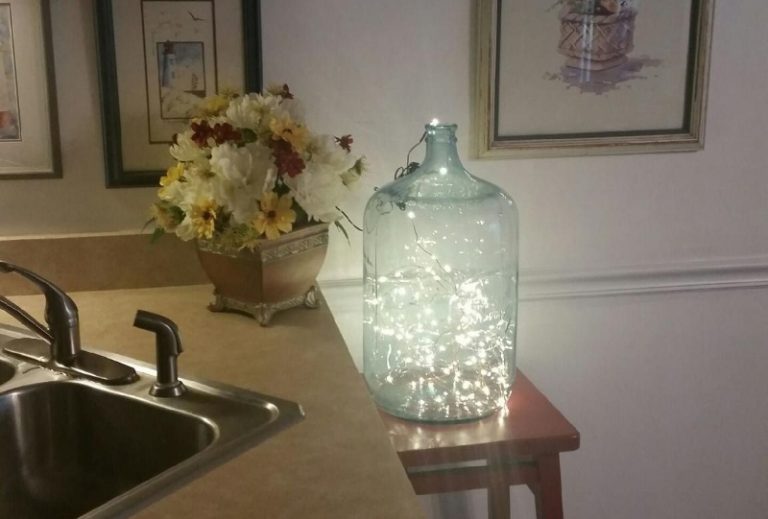
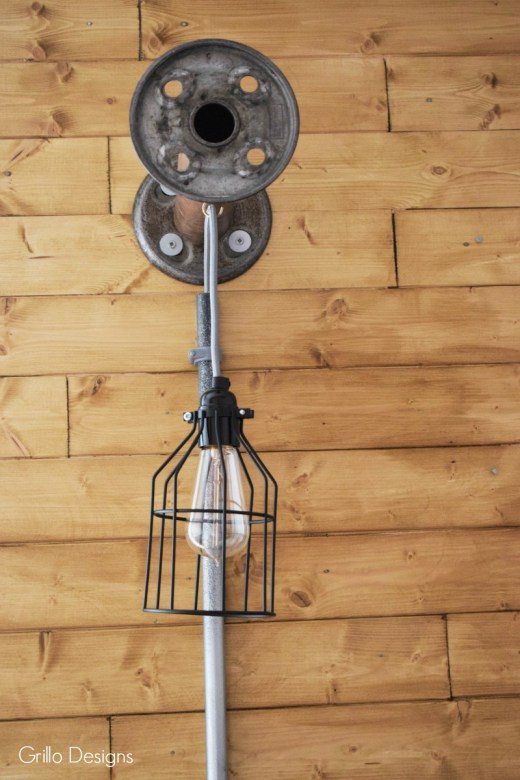
- Upcycling and Repurposing Ideas for Lighting
- Repurposing Ideas from Antique Shopping
- Antique Shopping in Wisconsin
- The Groves Antique Market
- Long Beach Antique Swap Meet

I love this! I love creating and repurposing things, and this would be so cute for yearly first day of school photos!
That was just a great idea!!! I have already made one for my cute daughter… She is very happy to get it! Thanks for sharing such idea which is enough to make a big smile to my daughter! 🙂
Thank you so much, Rebekah!!