• Project Gallery
  • DIY
    • Recycled DIY
    • Upcycled DIY
    • Repurposed DIY
    • Refurbished DIY
    • DIY Furniture
    • Repurposed Furniture
    • Thrift Store Transformations
  • Crafts
    • Wood Crafts
    • Paper Crafts
    • Photo Crafts
    • Kids Craft Ideas
    • Doll Crafts
    • Felt Crafts
    • Stenciling
    • Gift Wrapping
    • Printables
  • Party
    • Birthday Party
    • Baby Shower
    • Bridal Shower
    • Wedding
    • Team Sports
    • Sweets and Treats
    • Cocktail Corner
  • Holidays
    • Father’s Day
    • Fourth of July
    • Back to School
    • Halloween
    • Halloween Costumes
    • Thanksgiving
    • Elf on the Shelf
    • Christmas
    • New Years
    • Valentine’s Day
    • St. Patrick’s Day
    • Easter
    • Earth Day
    • Teacher Appreciation
    • Mother’s Day
  • Home & Garden
    • Storage & Organization
    • Cleaning Tips
    • Gardening
    • Makeovers
    • Kid Stuff Makeovers
    • DIY Tips & Tricks
    • DIY Artwork
    • Curb Appeal
  • Health & Beauty
    • Health & Wellness
    • Bath & Body
  • Nav Social Menu

    • Facebook
    • Instagram
    • Pinterest
    • Twitter
    • YouTube

DIY Inspired

Repurpose, Reinvent

  • About
  • Contact
  • Advertising
  • Featured
  • Disclosure

Crafts

DIY Wood Burned Napkin Rings

How to Make Beaded Wood Burned Napkin Rings with the ST2200 Torch

This article, DIY Wood Burned Napkin Rings, is sponsored by Bernzomatic. All opinions are 100% my own.

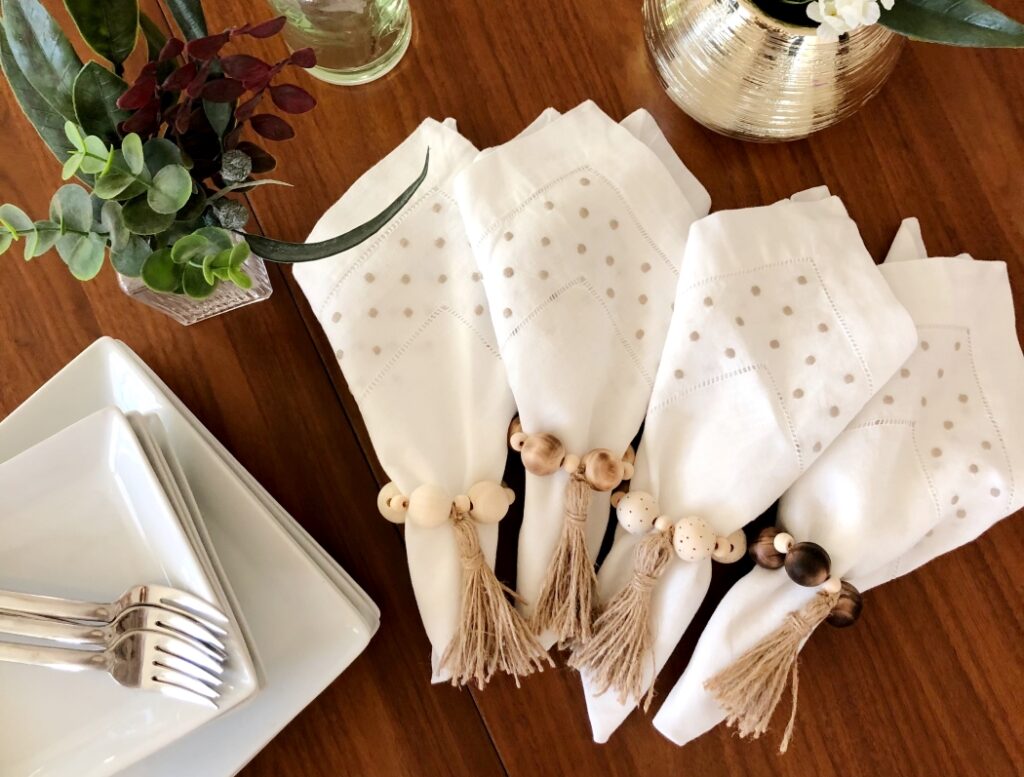
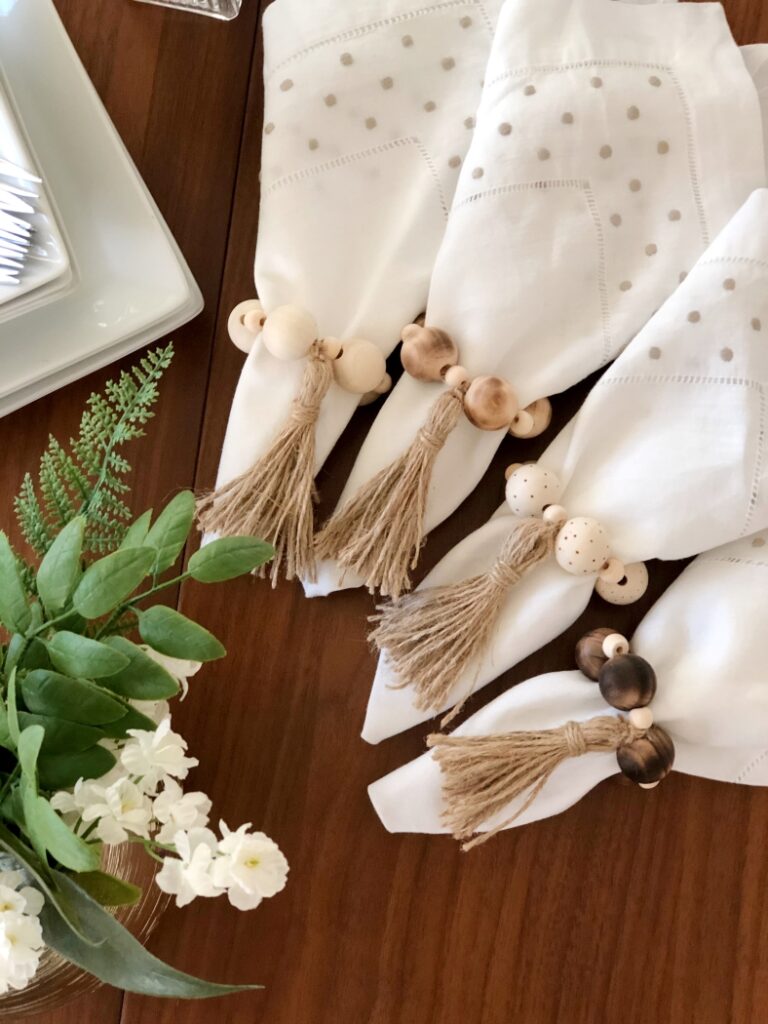
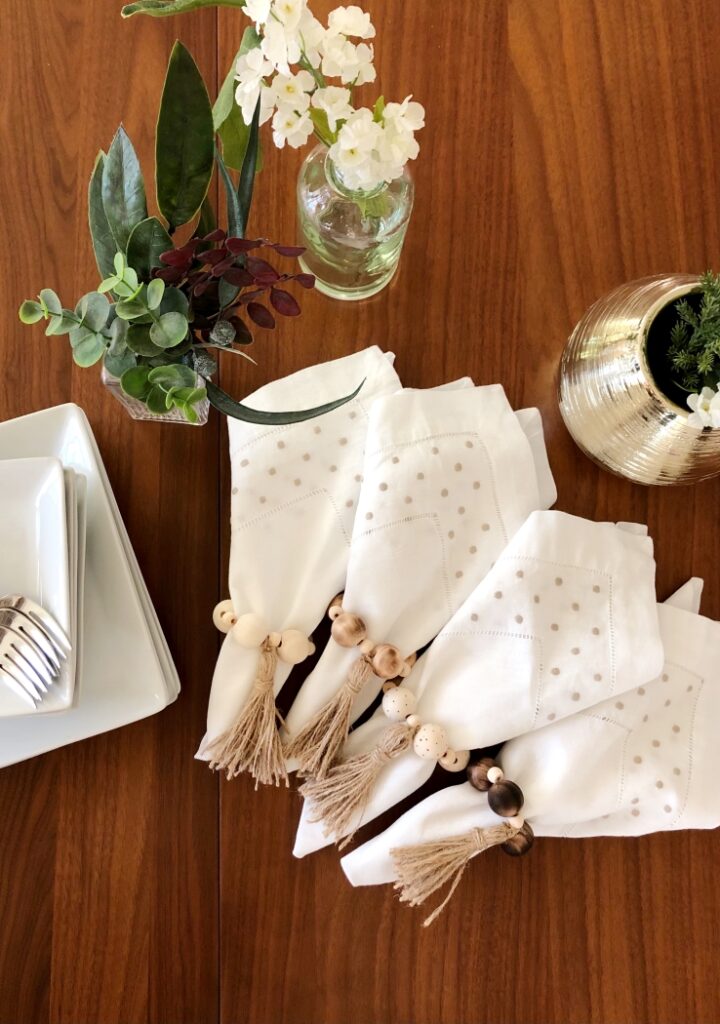
These simple DIY wood burned napkin rings make a great addition to your boho or farmhouse style table setting. You can customize them as you wish with different colors and designs. Make a set and give them away as a hostess gift.

DIY Wood Burned Napkin Rings

Watch the Video

Here is a quick tutorial video on how to make these wood burned napkin rings. Keep scrolling to find a complete materials list and detailed instructions.

Here’s What You Need

Time: 1 Hour

Materials

  • Cookie Sheet
  • Metal BBQ Skewer
  • Bernzomatic ST2200
  • Bernzomatic Butane
  • 20MM Wood Beads
  • 8MM Wood Beads
  • Jute or Twine
  • Scissors

Bernzomatic ST2200 Craft Idea

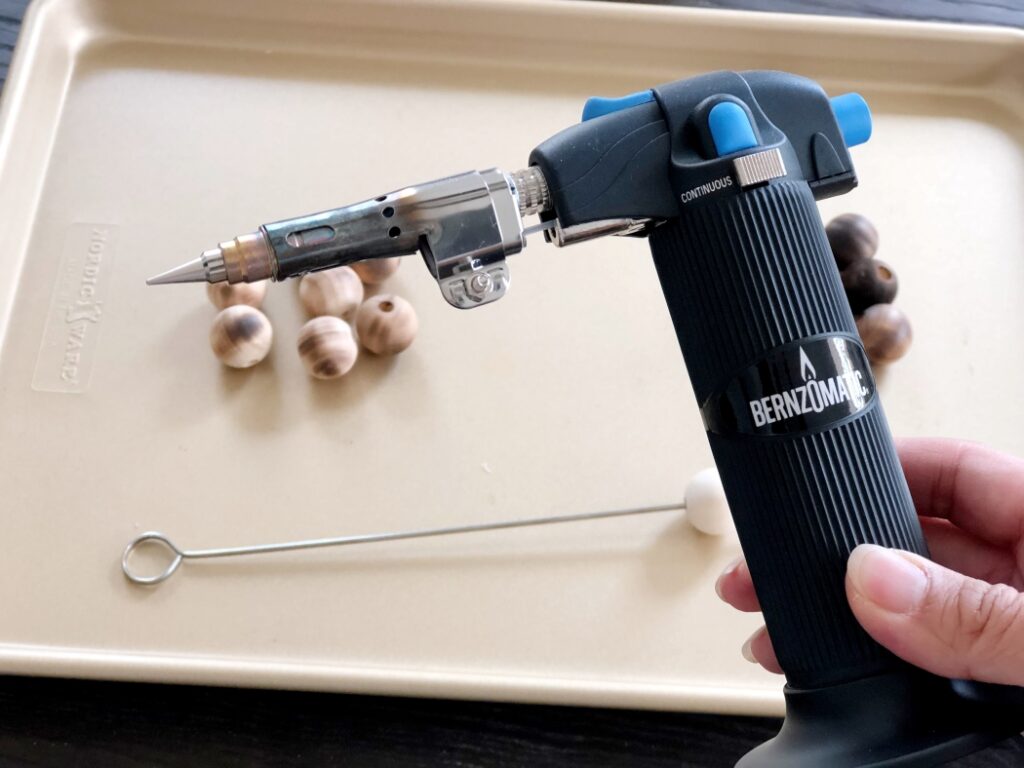
Bernzomatic ST2200 Torch

The Bernzomatic ST2200 detail torch is a hobby and household use torch. It is perfect for this project because of the convenient extensions that come with the kit. The fine point extension and hot blower extension allow you to create different designs with one torch. This torch also has a continuous mode, which makes allows you to burn the wood evenly.


Use the torch in the following ways:

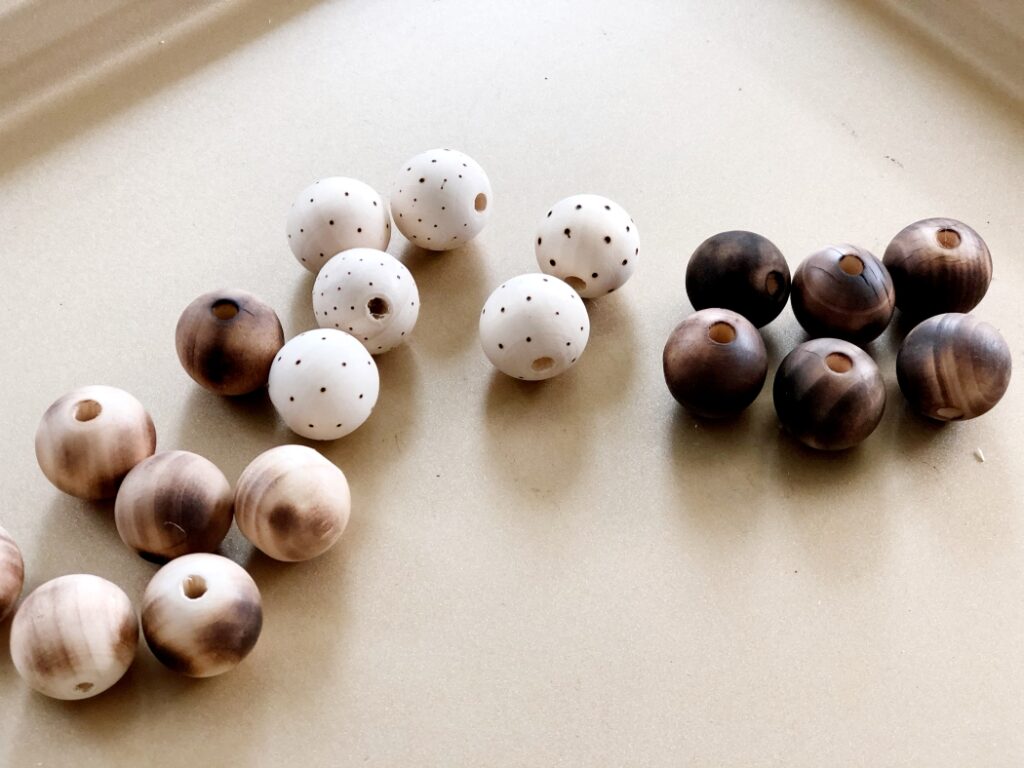
  1. No Extension – Use the torch by itself for dark colored burns. The closer the flame, the darker the color.
  2. Hot Blower Extension – Add the hot blower extension for light colored burns. Note that when using this extension, allow it to heat completely before burning.
  3. Fine Tip Point Extension – Use this extension to add designs.

Bernzomatic ST2200 and Butane Crafts

Instructions

Burning the Wood Beads

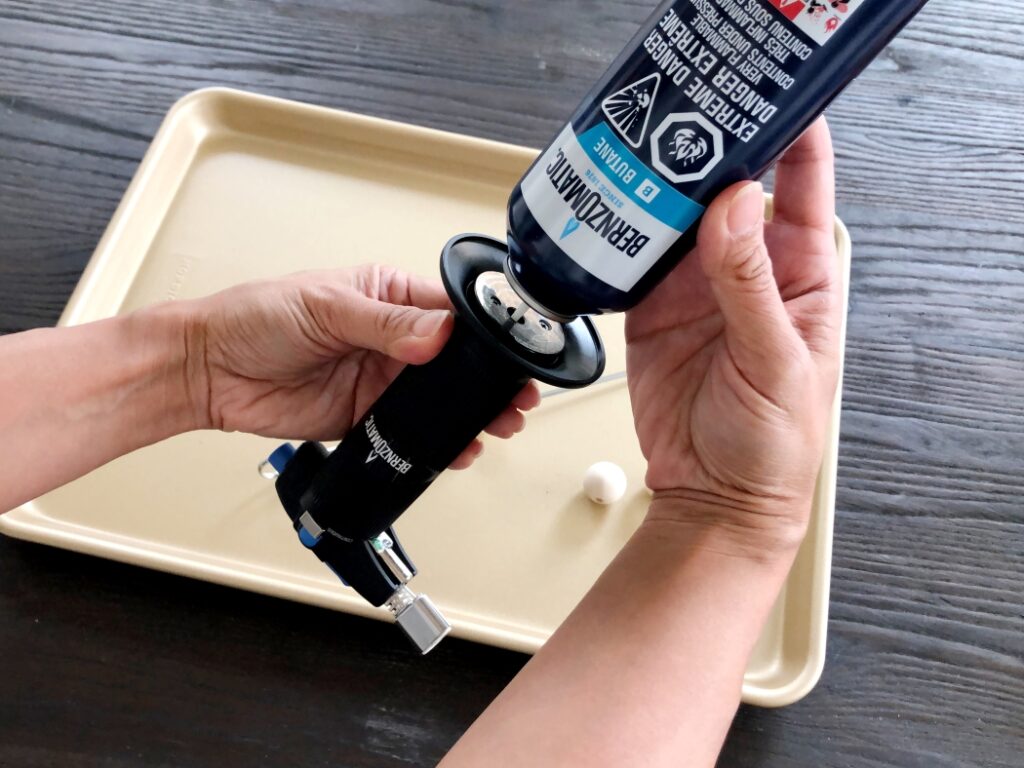
  1. Use a large cookie sheet as your work surface. Before you begin, fill your ST2200 with Bernzomatic Butane. To do this, insert the butane tip into the hole at the bottom of the torch and press down. You will hear the torch fill with butane. This should take about 8-10 seconds.
  2. Place a bead onto the middle of the metal skewer. The skewer is used to protect your fingers and keep them away from the torch flame.
  3. Ignite the torch and turn it on continuous mode. Burn the bead by moving the flame around the bead and using the skewer to turn the bead as you move the flame in an even motion.

Wood Burned Beads with Bernzomatic ST2200

Stringing the Beads and Making the Tassel

String the beads onto a piece of jute string. I added 8MM beads in between. Tie the jute in a knot to create a ring.

To make the tassel, wrap the jute around four fingers about 25 times around. Tie one end with a five- inch piece of string. Tie another piece of string around the tip of the tassel. Lastly, cut the loops at the bottom to create the tassel. Trim the bottom if desired.

Tie the tassel onto the beaded ring.

Make a matching set or mix them up. Consider using the different colors and designs on the same ring.

DIY Wood Bead Napkin Rings

Wood Bead and Jute Tassel Napkin Rings

You May Also Like

Before you go, check out these other fun tutorials using the Bernzomatic ST2200.

  • DIY RECYCLED WATER BOTTLE BEADS
  • HOW TO MELT CRAYONS WITH A TORCH
  • DIY RECYCLED MILK JUG FLOWERS
  • TORCHED BEAD SUN CATCHER DIY
  • Share
  • Twitter


Leave a Comment

Join our Community of Crafters!

Stay updated and never miss a thing!

Disclosure and Privacy Policy
Previous Post: « Easy Paper Flowers DIY Videos
Next Post: How to Make an Envelope Out of Circles »

Reader Interactions

Leave a Reply Cancel reply

Your email address will not be published. Required fields are marked *

This site uses Akismet to reduce spam. Learn how your comment data is processed.

Primary Sidebar

Welcome!

DIY Inspired Profile Picture 2015Thank you for visiting! I'm Dinah and I'm honored to have had an exciting career in blogging over the last 11 years. {Read more about me here}

Join our Community of Crafters!

Stay updated and never miss a thing!

Disclosure and Privacy Policy

Stay updated and never miss a thing!

Footer

You might also love these

DIY Classroom Mobile Phone Holder

Classroom Smart Phone Drop Station

How to Make Cotton Stems

DIY Fabric Covered Switchplates

DIY White and Gold Nightstands

Over Ten Years of Do-It-Yourself Inspiration

DIY Paper Flower Party Decor

Accordion Flowers How To

Copyright © 2022 · Divine theme by Restored 316

Copyright © 2005–2022 DIY Inspired. Installed and customized by TCN Design Studio