Easy DIY Shoe Storage Idea
Easy DIY Shoe Storage Idea using Milk Crates & Zip Ties
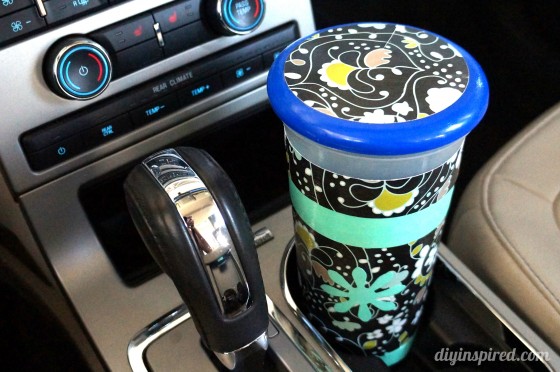
Hi there, everyone! My name is Laci from LaciJane.com and I’m partnering with Dinah with DIY Inspired on another DIY project post, Easy DIY Shoe Storage Idea! Returning followers will have already seen some of my other posts on here, but if you’re new here, this will be my third post on this blog. In case you missed them, check out my Repurposed Jewelry Holder and my Dollar Tree Mirror DIY. As always, I’m excited to share another DIY project with you, and thank you for partnering with me again, Dinah!
This project went viral almost as soon as I shared it on my YouTube channel. It’s always the projects I never think will do very well that end up being the best ones. I really wasn’t expecting such a great outcome with this DIY, but the reason I chose to share this project with you today is because a lot of people (20K+ likes on YouTube) really loved this DIY and found it to be useful. The best thing about this DIY project is that it can be used for so many things, not just for shoe storage. That’s just what I used it for.
Solving my Shoe Storage Problem
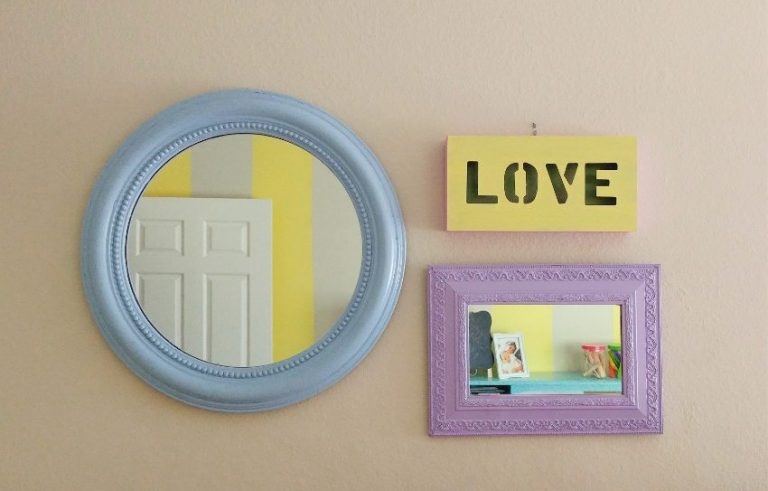
Let me explain to you my dilemma and what led me to this DIY project. A few years ago, I was challenging myself to decorate my back foyer on a very little budget. I’m talking under $50-cheap. I knew I was going to have to get creative if I wanted to meet that goal. I made a Pottery Barn- Inspired DIY Dollar Tree Mirror for just $8 because I wanted to make the space look bigger while reflecting the natural light; that project was a success!
The next dilemma…. shoe storage. This is a high traffic area in our house. Not only does it need to hold some shoes, but it needs to be something that could take a beating. As I was prepping for the community garage sale, I came across a milk crate. It was a light bulb moment. I grabbed it and ran inside, sat it in the foyer to visualize it, slid a Dollar Tree bin inside of the milk crate- then did a happy dance when it fit!
Yay, no more shoes cluttering up the foyer entrance!
I grabbed three more milk crates and propped them together. But I had a couple dilemmas. 1) How was I going to attach these milk crates together so that they’re secure. 2.) I still wanted a shelf-space / entry table
Coming up with a Solution
I was able to come up with some creative solutions on a budget, which gave me everything I wanted, within this DIY shoe storage project.
I had the idea of zip tying them together (there is a trick to this if you want it to be super secure, more on that later) and it worked perfectly!
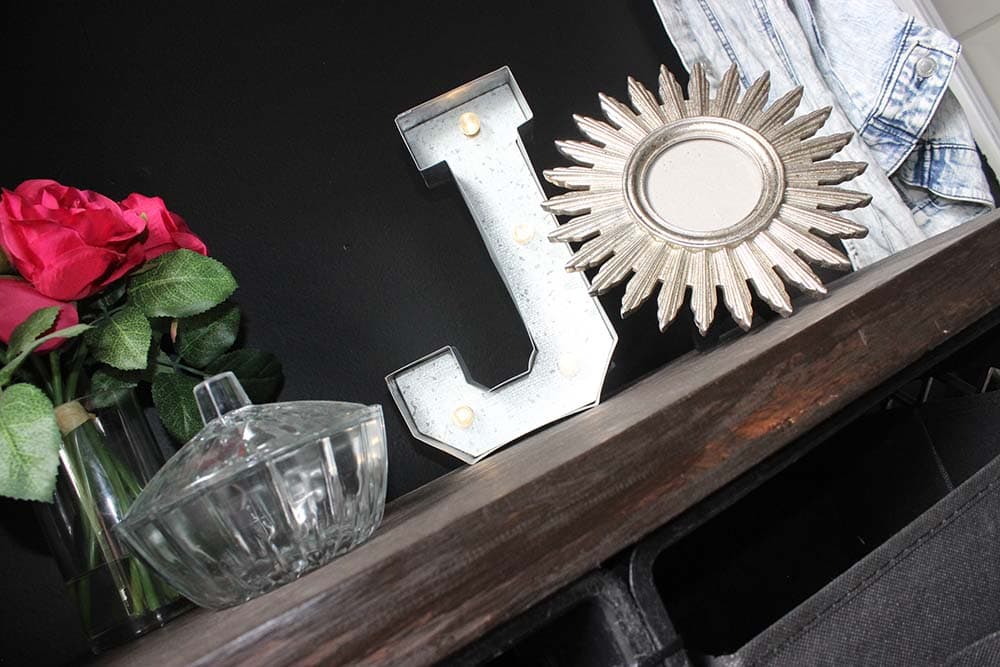
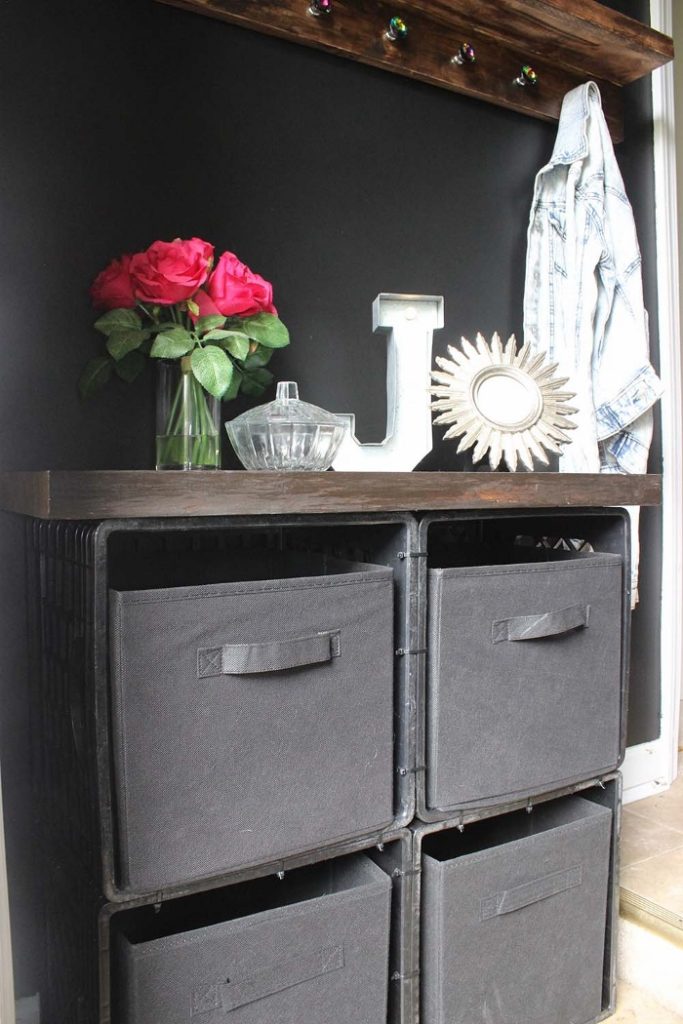
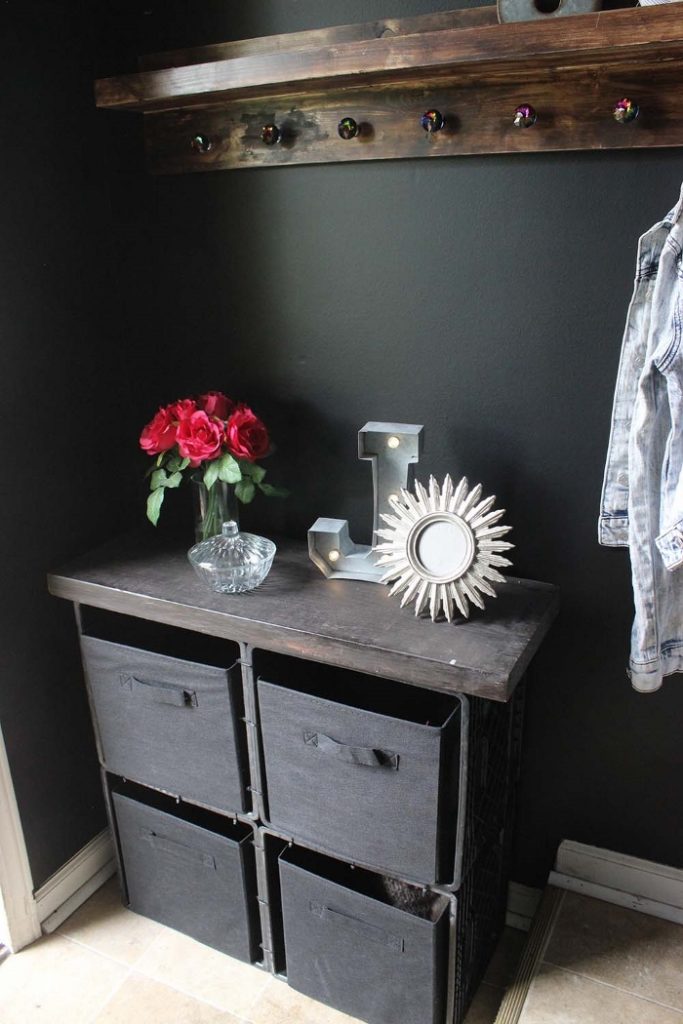
After I had the milk crates assembled, I felt like it looked incomplete. The tops of the milk crates weren’t being utilized. I found an old piece of wood in the garage from a previous (failed) DIY that fit perfectly on top of the milk crates. I cut it down to the size I needed for my DIY shoe storage, and it was exactly what it needed. Not only did adding the wood make it more useful, but it finished off the look as well. And, I get my entry table, so it’s a win-win-win!
Watch the Video Tutorial
DIY Shoe Storage Instructions
Not only is it shoe storage, but it’s also an entry table! I love multi-purpose, multi-functional furniture. Okay, let’s get on with the DIY!
YOU WILL NEED
This materials list contains affiliate links to recommended products.
- 4 milk crates*or more if you want to make yours even bigger*
- Zip ties*don’t use Dollar Tree zip-ties because they aren’t strong enough*
- Scissors
- Drill gun with 9/64 drill bit
- 2×10 lumber

DIRECTIONS
- Lay out two milk crates side-by-side and drill a hole through the base of both milk crates. Note: I have been asked so many times why I drilled a hole if there’s holes already in the milk crates. That’s a great question and because I put music and captions in my video, I didn’t explain this step. The reason I drilled holes through the milk crates is because I wanted them to be extra secure. By drilling a hole and securing them with zip ties all around the baseof the crates, it ensured the milk crates would be secure all the way around (as opposed to just the center where the existing milk crate holes are)
- Slide your zip ties through the holes and pull the zip tie to make it tight. Twist your zip tie around to ensure it won’t be facing upwards and trim off the excess.
- Repeat this step securing the milk crates together, I put together this little diaphragm for reference.
- Then, you can go ahead and slide your zip ties through the existing big holes along the milk crates for added stability
- Cut a 2×10 to the width of your assembled milk crates. Place it on top of the milk crates for an entry table. You can screw the lumber into your milk crates using screws and washers, if needed. Note: 12” bins will fit perfectly inside your standard milk crates! This is perfect to disguise the clutter of shoes or accessories inside of the bins.

So, what are your thoughts on my DIY shoe storage idea? I hope that you found this tutorial to be easy, inspirational, and the motivation you needed to create something today. Thanks for having me!


Your talking about drilling 30 holes if you use 9 crates. And making sure they are all measured and lined up perfectly. If your slightly off the whole thing will be uneven. Just use the corner slots that already exist and are perfectly lined up and save yourself the impossible task of lining up free-handed drilled holes