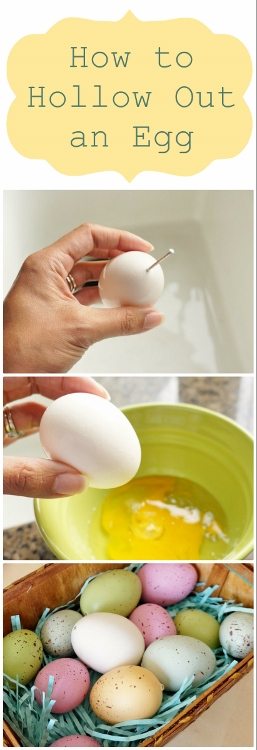
How to Hollow Out an Egg
I always wanted to know how to hollow out an egg and I finally took the time to try it out. I want to use them for various Easter projects coming up. It was a lot easier than I thought. I sort of guessed on how to do it based on methods I’ve seen in the past. I’m sure there are several variations, but this is how I hollowed out an egg.
Materials:


Instructions:
Step One:
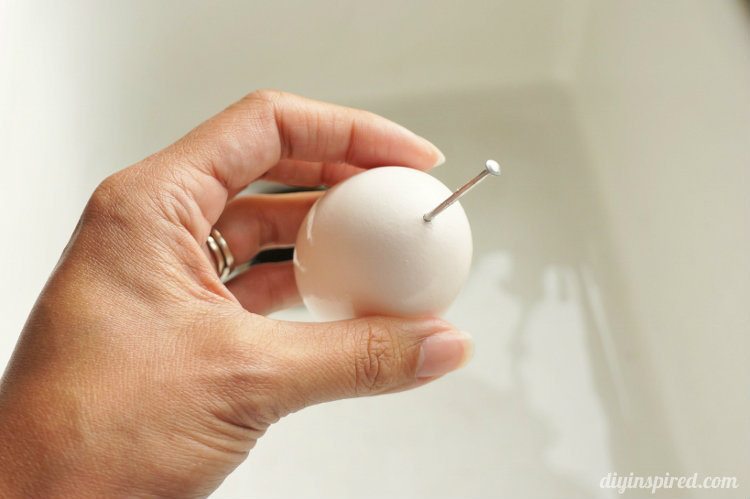
I found that a nail worked the best. I also tried using a straight pin and a paper clip but they were both too flimsy. Using a nail, gently poke a whole into one end of the egg.
Step Two:
Poke another hole in the other side. I made the hole on the larger side of the egg a little bit bigger than the smaller side so it was easier to blow out the yolk.
Step Three:
Blow through the egg from the smaller hole into a bowl. You may have to break the yolk with a long needle; however I did not have to do that.

Step Four:
Wash the egg with soap and water and allow it to dry thoroughly.

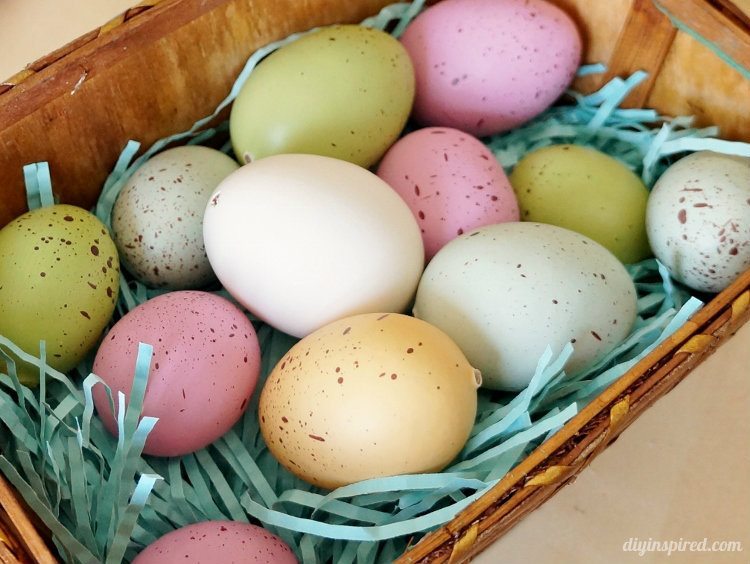
Don’t forget to cook and eat the egg in the bowl so you don’t waste it! I will use my eggs to decorate for Easter.
I found this cute Easter Egg-O-Gram on Poppytalk Blog and HAD to figure out how to hollow out an egg so that you can stuff it with a personal message. It’s absolutely adorable. Anyway, you can easily hollow out an egg now and then you can stuff it with a personal message and send it to a loved one by rolling the paper and gently pushing it through the hole. When the recipient receives it, they crack the egg open for the surprise message.
I’m also thinking I may try some gold gilding with them. Stay tuned!