Scrap Wood Valentine Home Décor Idea
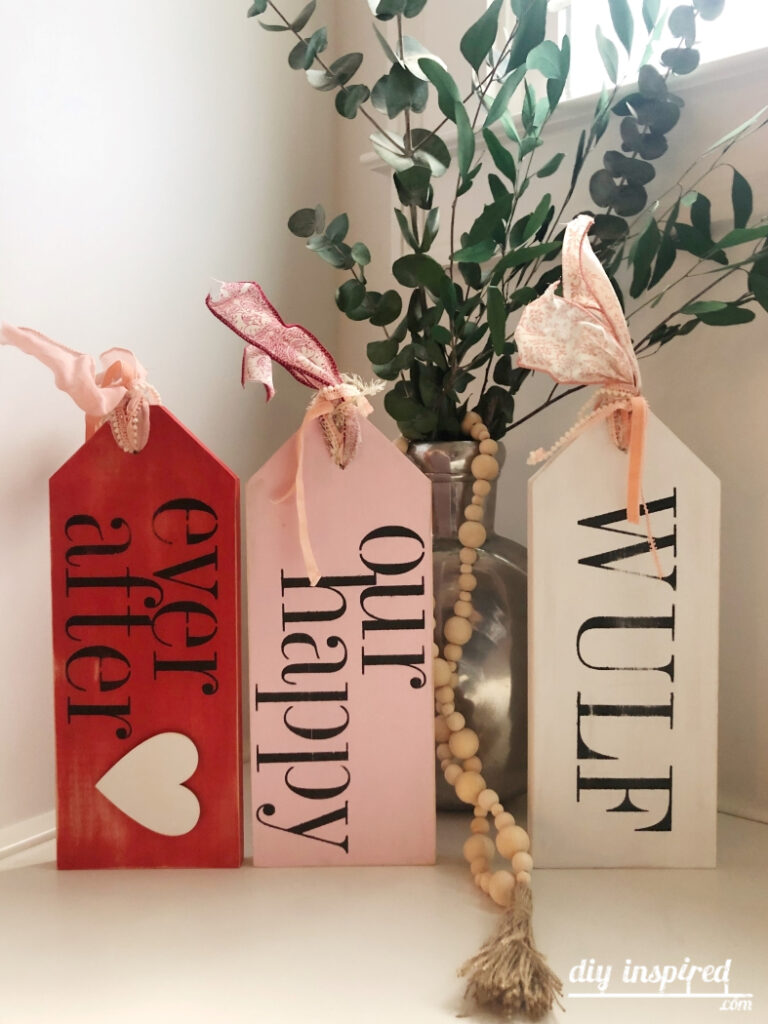
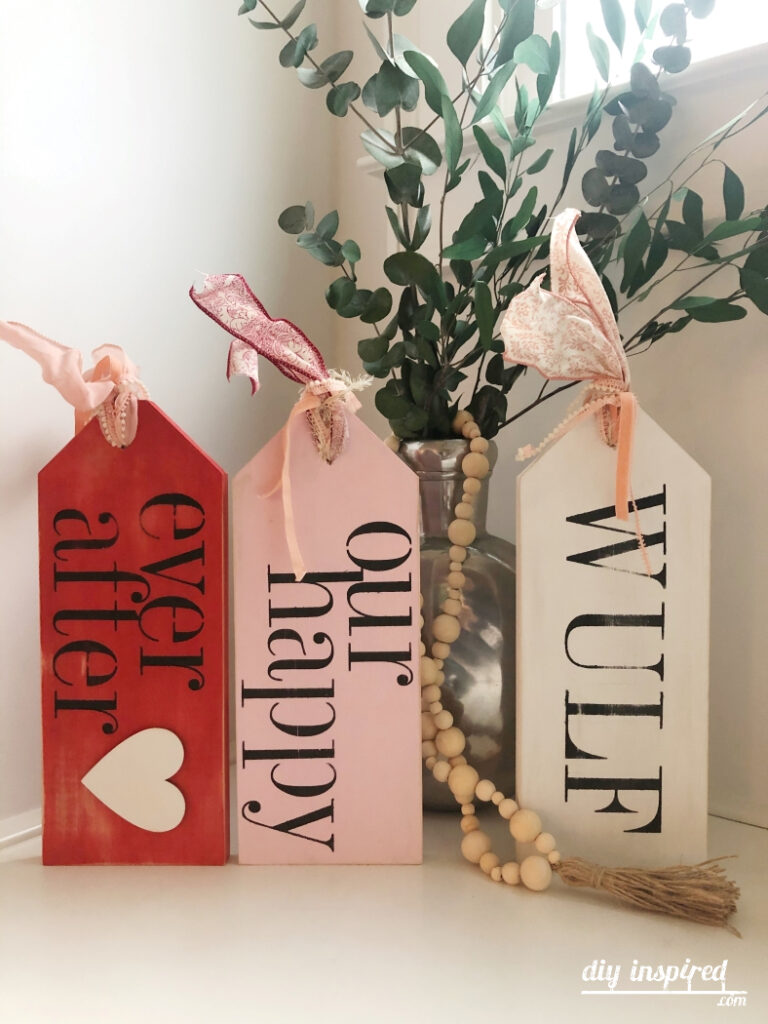
Easy Stenciled Scrap Wood Valentine Home Décor Tags
I had a nice piece of pine wood sitting in my garage for ages. I don’t usually decorate for Valentine’s Day, but this year is our 10-year wedding anniversary, so I thought it be fun to make these easy scrap wood Valentine signs. Plus, the Valentine’s Day beaded garland I made got me into the groove.
Let’s start with the video.
Watch the Video
I love my Cricut machine, however this time, I decided use stencils. Here is a quick video of how I made these easy stenciled scrap wood tags for your Valentine’s Day home décor.
Here’s What you Need
Time: 1 Hour
Materials:
- Wood
- Saw
- Drill and Drill Bit
- Paint and Paint Brushes
- Letter Stencils
- Spouncer Brush
- Paper Plate
- Sandpaper
- Cloth or Paper Towels
- Ribbon
- Scissors
- Chopstick
Instructions:
Cutting the Wood
The size to cut will depend on the size of your stencils and wood, and the sayings you’d like to have on the sign. I cut the wood on my miter saw. Originally, I started with 16-inches, however ended up trimming them down to 14- inches each. I also used the light beam guide on my saw to cut the angled part of the tag. Use a 3/8-inch drill bit to drill the hole at the top of the tag. I used a scrap piece of wood to place underneath to protect my worktable.
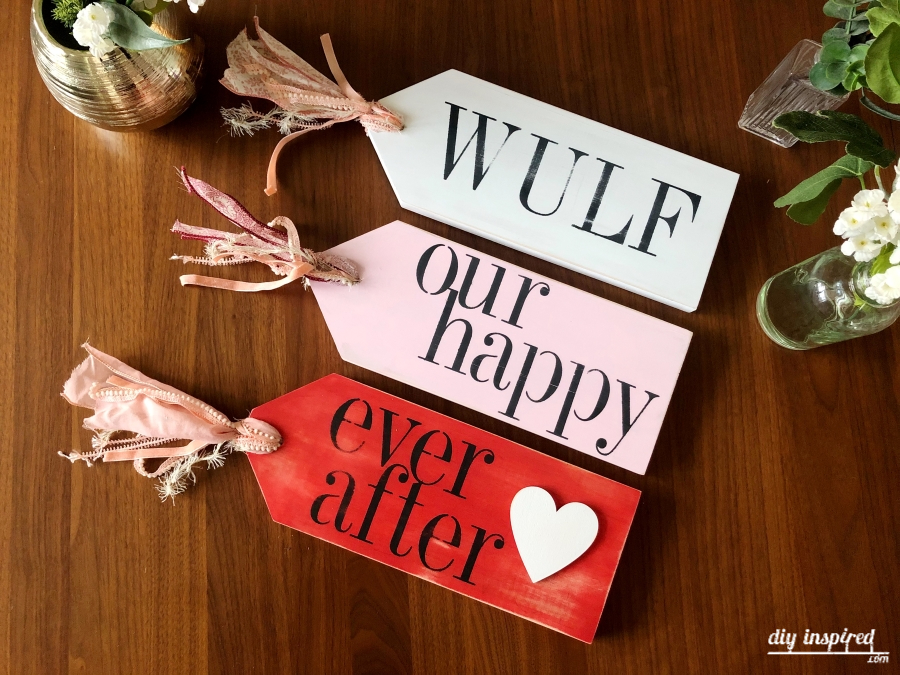
Painting the Signs
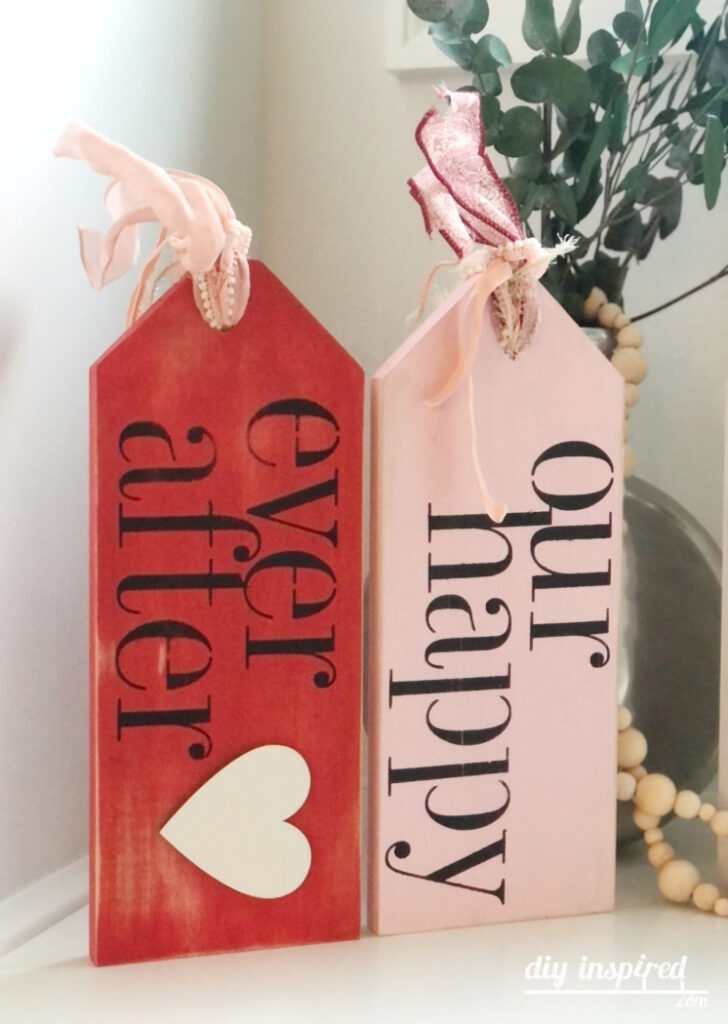
I chose to paint these signs pink, white, and red. I used acrylic craft paint and painted on two coats. Paint each side making sure that you allow it to dry in between coats.
Tip: For word placement, use a pencil and stencils before you paint. Take a picture with your phone and then erase the pencil.
Stenciling the Words
I got these stencils from Stencils Online and have used them over and over for many stenciling projects including these stenciled burlap bags I made for a girls trip as well as this cute little doggie bowl placemat. Here are a few stenciling tips.
- Remove excess paint by blotting it on a paper plate. Less is more. Doing this will prevent the paint from bleeding.
- Use a spouncer brush in an up and down motion.
- Wash your stencils in between each letter using warm water. Dry them well before stenciling the next letter.
- If you are making more than one sign, work more efficiently by rotating the stencil letter by letter to allow some dry time.
- You may need to stencil your words out of order to properly place your words.
Adding the Ribbon to your Valentine Sign
- Cut various types of ribbon. The length is up to you. Measure first before you cut.
- Layer them together and fold them in half.
- Insert the folded end into the hole at the back of the sign. Use a chopstick or pencil to help.
- Pull the loop through and then the ends of the ribbon through the loop. Tighten, as necessary.
I thought they turned out great. They also make great gifts or as a craft to sell.
Enjoy!