5 Ways to Make Giant Candy for a Candyland Theme
Learn How to Make Giant Candy for a Candyland Theme Out of Things Around the House
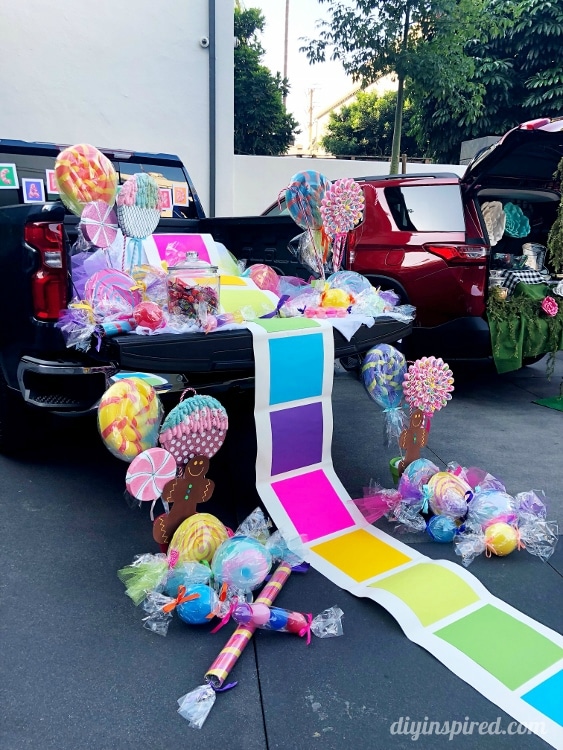
Recently, I did a Trunk or Treat segment for KTLA5 Morning News. One of the themes I did was a Candyland theme. I know a lot of people like to have Candyland as a theme for birthdays and Christmas, so I thought I’d share how I made these giant candies.
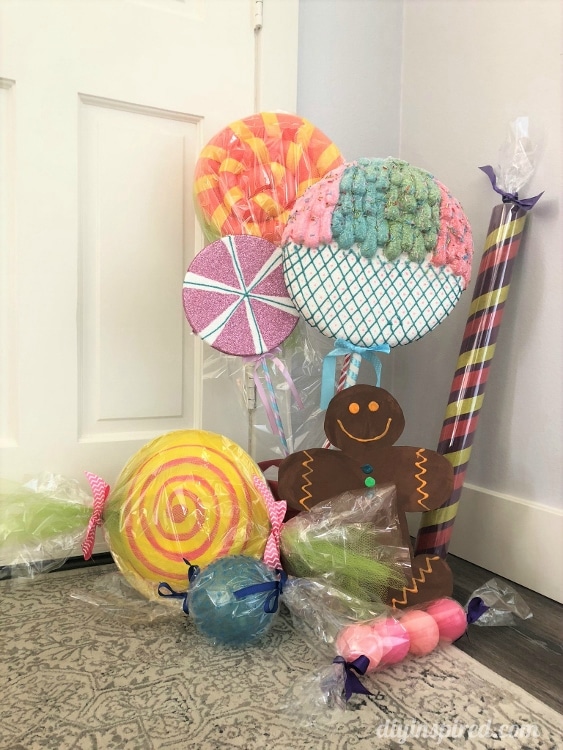
Here are the five I made out of recycled materials:
- Classic Hard Candy Discs
- Sour Fruit Balls and Sixlets
- Spiral Lollipops
- Gingerbread Man
- Old Fashioned Stick Candy
Note: I bought a roll of cellophane from Amazon (affiliate link). I would highly recommend it. I made all of the candies pictured in the video below and had some left over.
Watch the Tutorial Video
Classic Hard Candy Discs (Paper Plates)
Materials:
- Large Paper Plates
- Hot Glue and Glue Gun
- Paint and Paint Brushes
- Tulle
- Cellophane
- Ribbon
- Scissors
- Rubber Bands
Instructions:
First, glue two paper plates together and paint both sides. One they are dry paint both sides. I hand painted the swirl starting in the middle. It doesn’t have to be perfect, the candy will look great once it is wrapped. Next, wrap the disc in tulle, tying it with a rubber band or twist tie on each side. Lastly, wrap it with cellophane and then tie it with colorful ribbon.
Sour Fruit Balls and Sixlets (Toy Balls)
Materials:
- Plastic Toy Balls
- Cellophane
- Ribbon
- Scissors
- Rubber Bands
Instructions:
Gather toy balls from your kid’s toy bins… you know you have them! Wrap each one in cellophane and tie ribbon on each side. If you have smaller balls, like the kind found in a ball pit, wrap four or five together to form a Sixlet packet.
If you have balls with designs on them, you can still use them to decorate, simply show hide the design in the back.
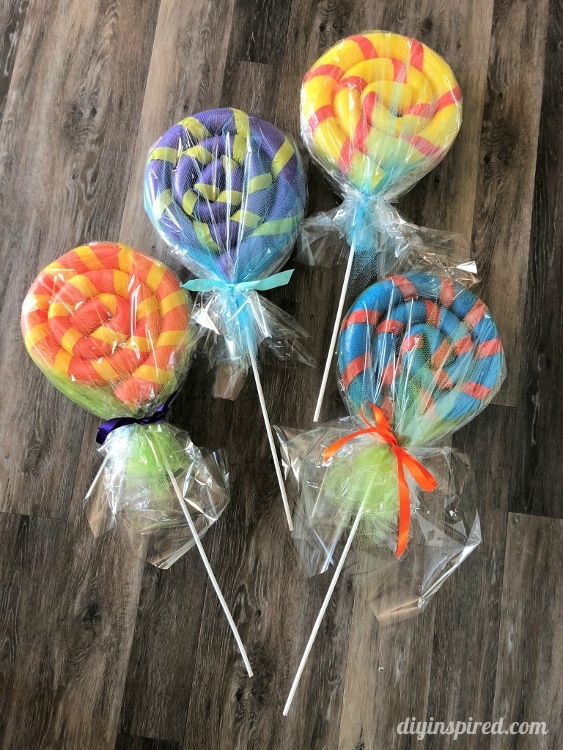
Spiral Lollipops (Pool Noodles)
Materials:
- Pool Noodles
- Colored Tape or Duct Tape
- Hot Glue and Glue Gun
- Large Rubber Bands
- Wooden Dowel
- White Paint and Paint Brush
- Cellophane
- Ribbon
- Scissors
- String
Instructions:
First, wrap colorful tape or duct tape around a pool noodle in a spiral pattern. The next part is the most difficult. Create the spiral by securing it with hot glue. This will take some force and patience. Continue wrapping it around and then secure it with a large rubber band until it dries.
Next, insert a wooden dowel. It will poke right in. You can paint it white first or after you insert it.
Lastly, wrap the lollipop in tulle and cellophane and tie a ribbon bow.
Gingerbread Man (Cardboard)
Materials:
- Cardboard
- Pencil
- Scissors
- Brown Paint and Paint Brush
- Puffy Paint
Instructions:
I used leftover cardboard for this. First, hand draw a gingerbread man and cut it out. I googled a photo and followed the shape. Next, I painted it brown and let it dry. Lastly, use puffy paint to decorate the gingerbread man. It will look like icing. For these, I used glow in the dark paint because it was for a Halloween trunk or treat event. Keep in mind that the puffy paint will take about 4 hours to dry on the cardboard.
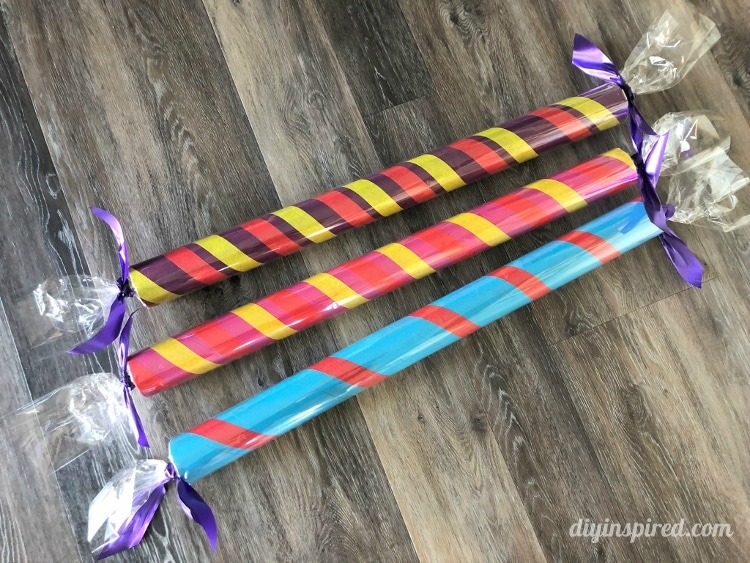
Old Fashioned Stick Candy (Cardboard Carpet Tube)
Materials:
- Cardboard Carpet Tube (or similar)
- Hand Saw
- Colorful Tape
- Cellophane
- Rubber Bands
- Ribbon
Instructions:
I found a huge cardboard tube in the garage from an area rug we bought. We had never disposed of it. I cut it with a hand saw in three 3 feet pieces…I know… it was huge. Next, I painted each tube a bright color. Like the giant lollipops, I used tape to wrap around the tube creating the spiral look. Lastly, I wrapped it in cellophane and tied ribbon to each end.
I hope you like my tutorials for candy for a Candyland theme!

How did you make the candyland walkway? I love it!
Thanks Ashley! I bought a roll of kids craft paper (this one is from IKEA for $5), then I glued neon scrapbook paper onto it. You can buy the individual pieces at Michael’s for about $.49 each. That’s it! 🙂
the other lollypops that are shown…. did you buy those or make them? the big round textured looking ones ?
Hi Reah! I did not make those. I bought those on sale at Hobby Lobby.
Hi, where’d you get the plastic to wrap the candy from?
Amazon!