DIY Custom Wooden Lanterns
An Easy Way to DIY Custom Wooden Lanterns in Any Size
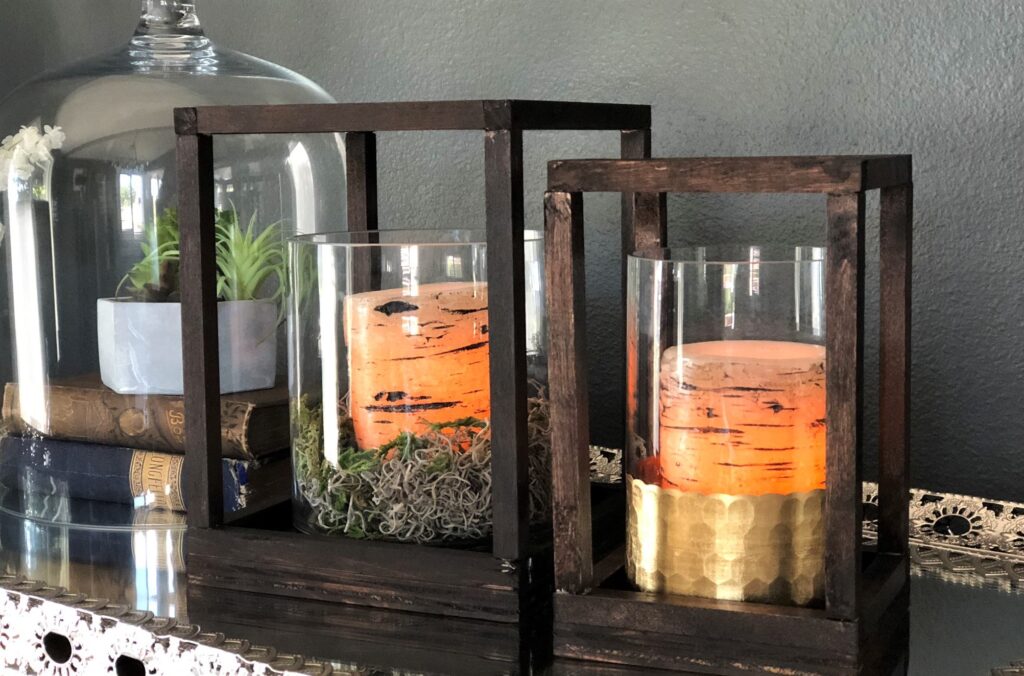
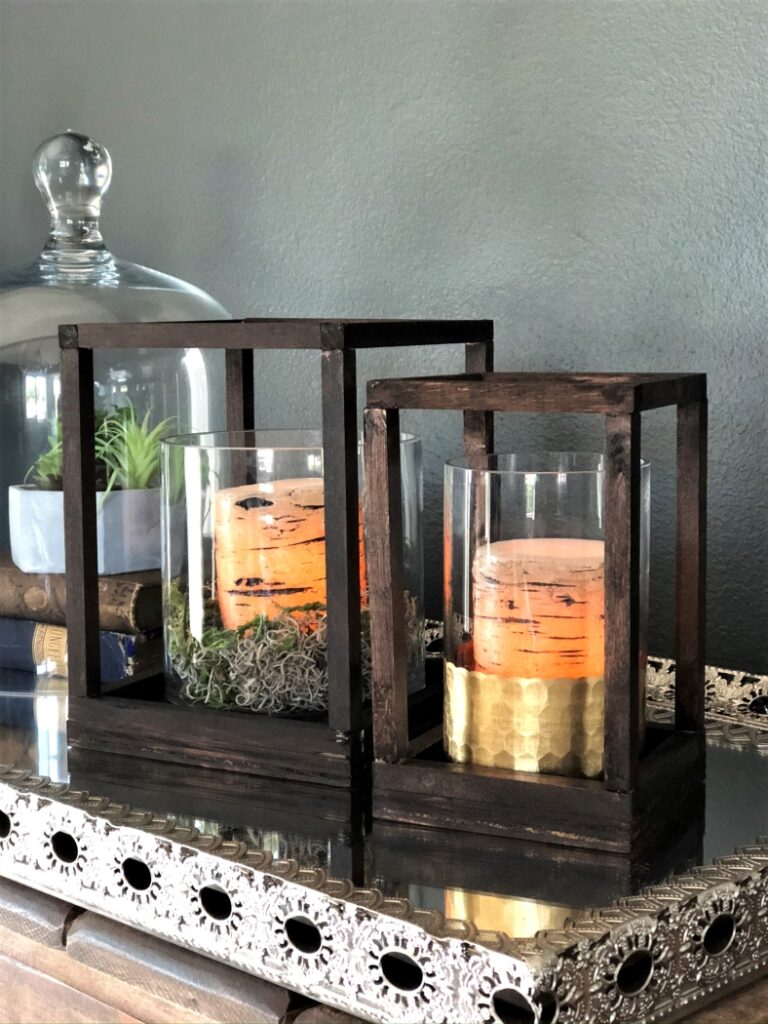
Wooden lanterns get pricey in stores. You can DIY custom wooden lanterns for just a few dollars to house your thrift store vases.
Watch the Video: DIY Custom Wooden Lanterns
Watch a quick step by step YouTube video of how I made these.
Easy, right? P.S. I’d love it if you subscribed!
Here’s What You Need
Time: 30 – 60 Minutes (plus dry time)
Materials
- Scrap Plywood
- Square Wooden Dowels (half inch)
- Glue
- Nail Gun (optional)
- Hand Saw
- Straight Edge
- Pencil
- Wood Stain
Cut List
You can make these any size you wish, however here is the cut list for the lanterns in the video. I purchased the wood dowels at Hobby Lobby and used leftover scrap plywood for the base.
Small Lantern Cuts
- Plywood Base – 5” X 5”
- Sides (4) – 6.5”
- Top (4)
- (2) – 5”
- (2) – 4”
- Bottom (4)
- (2) – 5”
- (2) – 4”
Medium Lantern Cuts
- Plywood Base – 5.5” X 5.5”
- Sides (4) – 7”
- Top (4)
- (2) – 5.5”
- (2) – 4.5”
- Bottom (4)
- (2) – 5.5”
- (2) – 4.5”
Large Lantern Cuts
- Plywood Base – 7” X 7”
- Sides (4) – 7.5”
- Top (4)
- (2) – 7”
- (2) – 6”
- Bottom (4)
- (2) – 7”
- (2) – 6”
Instructions for DIY Lanterns
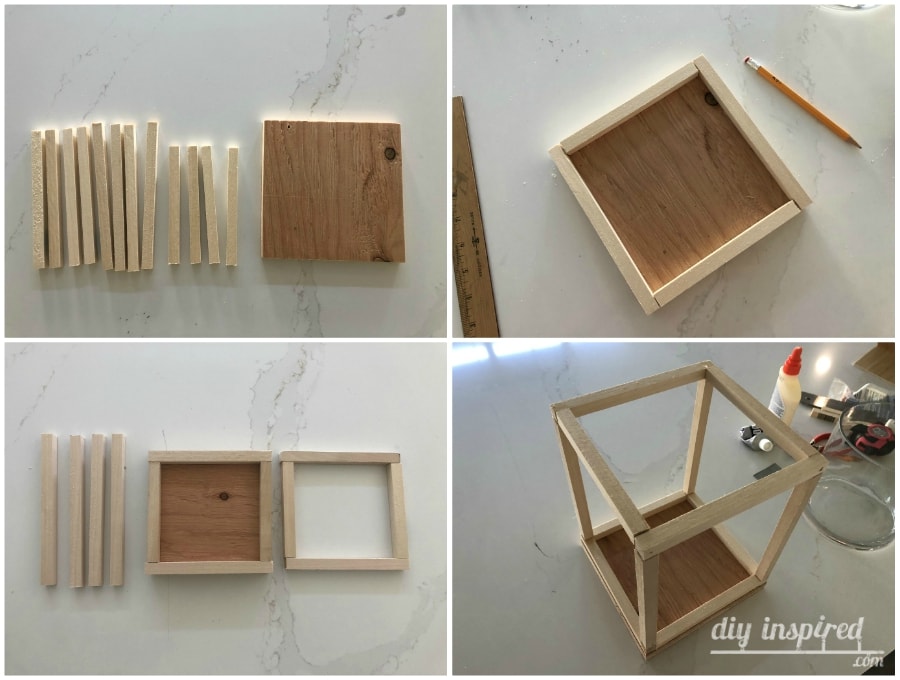
- Start by gluing the four dowels to the base with hot glue.
- Next, use an industrial strength adhesive to glue the sides, allowing it to dry completely.
- Glue the tops side together to make the square, and then glue it on top. You can also start on the bottom and use a nail gun instead.
- Once your glue is dry, stain the lantern in your desired color. If you do not want to use wood stain, you can mix water with your favorite acrylic paint.
Make these in any size you wish, just measure the vase you want to use. If you use a battery-operated candle, which I recommend, you can make a handle out of rope.





Beautiful!
Great idea! We will be tackling this next weekend so they will be ready for Halloween!