Easy DIY Rope Baskets
Easy DIY Rope Baskets Made Using Recycle Food Containers
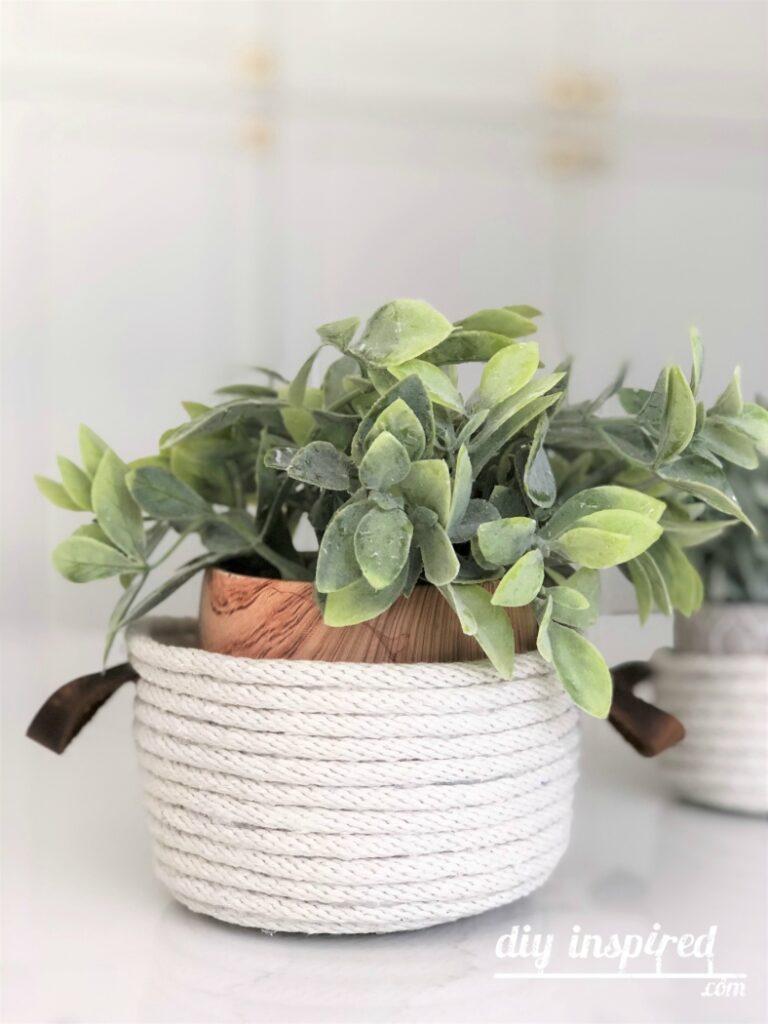
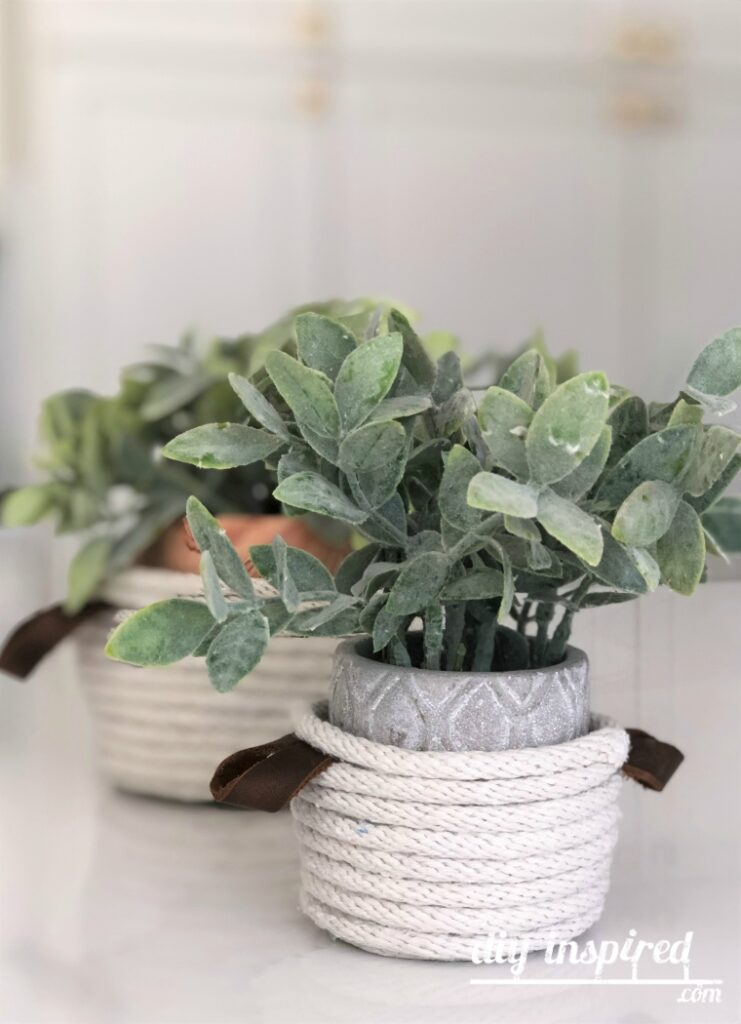
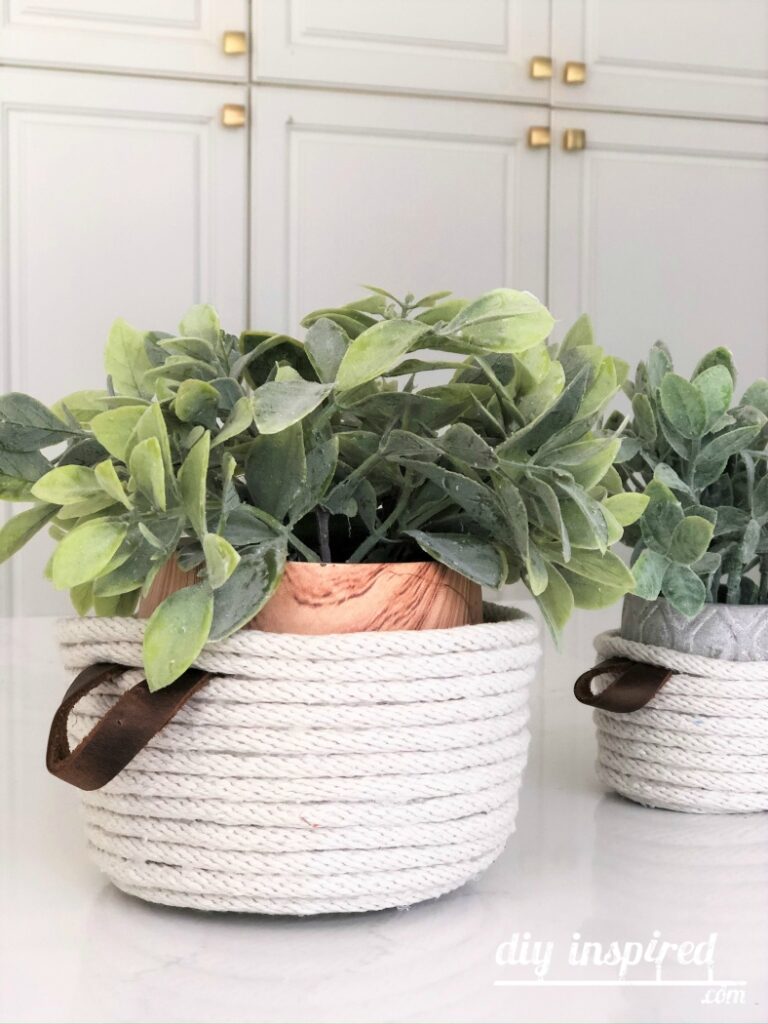
These easy DIY rope baskets are so easy to make. They can be customized to any size or width, using a recycled food container. In fact, if you want to make a larger one, you can use any container like when I made this DIY rope waste basket for my craft room. You can even use the same technique to upcycle a vase.
Watch the Video: Easy DIY Rope Baskets
Check out my YouTube video for the full instructions with the materials list and details written below. I’d love it if you subscribed!
Easy, right? How did you like my hot glue hack? If you need more instruction, keep scrolling…
Time: 30 Minutes
Materials:
- Plastic Containers (for molds)
- Rope
- Hot Glue and Glue Gun
- Scissors
- Leather Cording
DIY Rope Basket Instructions
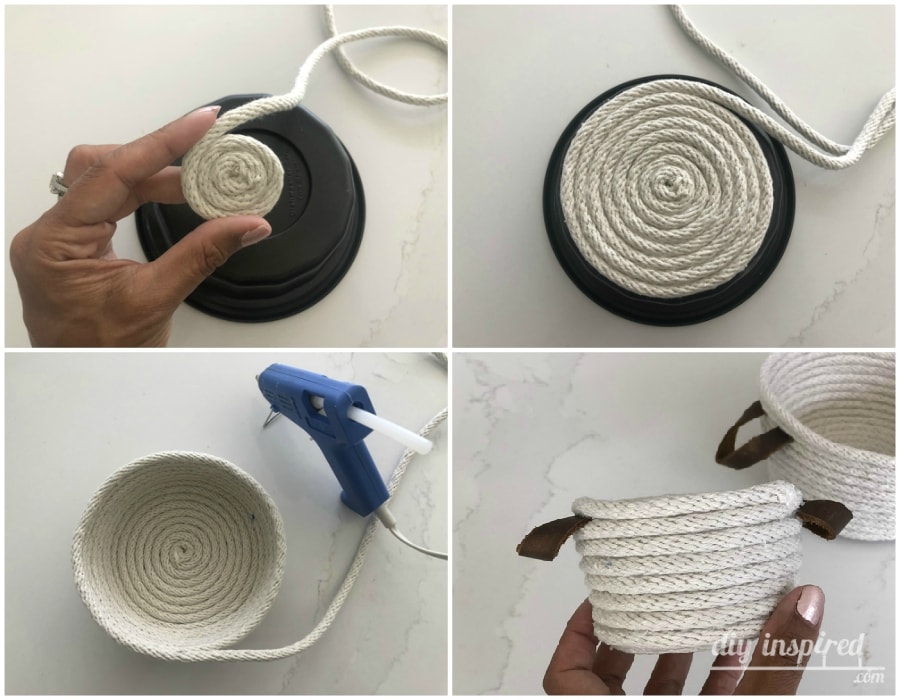
- Start by coiling your rope and using hot glue to create a small circle. You will add more hot glue as you continue coiling to create a circle, which will be your base.
- Continue coiling until the circle reaches the size you desire for the bottom of your basket.
- Next, grab your container to use as a mold and place it upside down with your circle on top. Use it as a guide to create a lip, forming your bowl.
- Continue to add hot glue and turn. Once you have a lip, you can flip the container right side up and then continue to use it as a guide.
- Once you reach your satisfied height, you are ready to add handles. Cut your leather cording to the desired size. I found this cording at Michael’s in the jewelry section. Use hot glue to attach them, then glue the rope over the handles.
- For a finished look, cut the end of the rope at an angle facing down. Glue it with hot glue.
I hope you like these simple rope baskets! Use them for plants, keys, makeup, candy, whatever! They also make fun gifts. Make them in any size for your home décor, pantry storage, vanity table, office supplies, etc.

