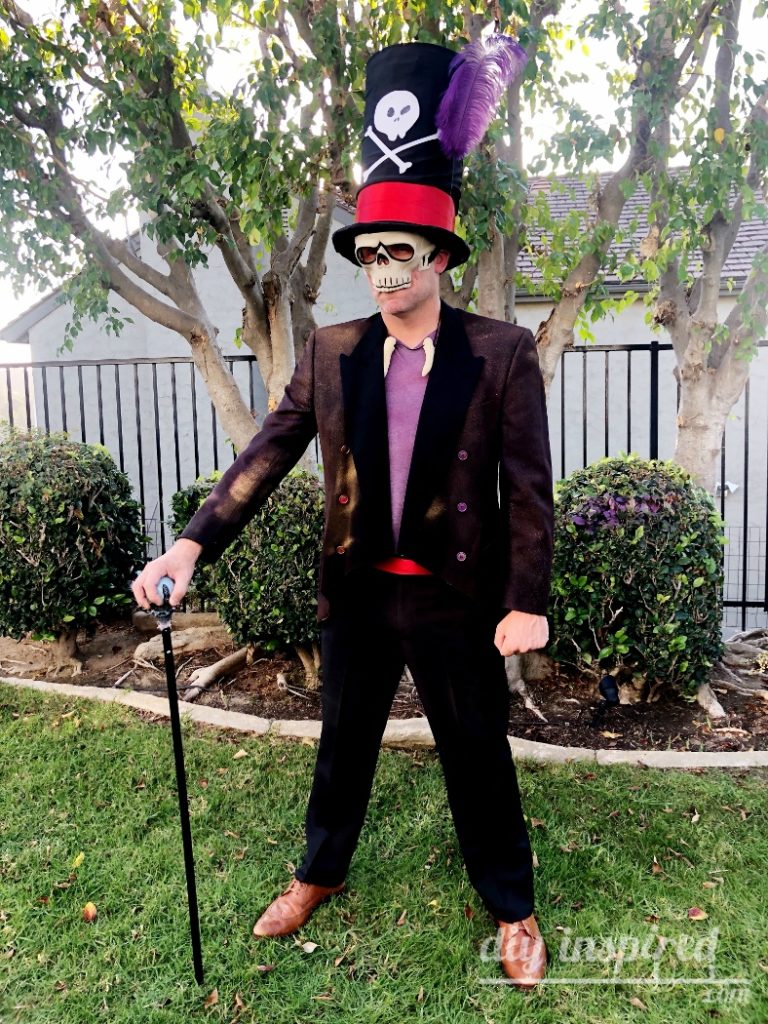
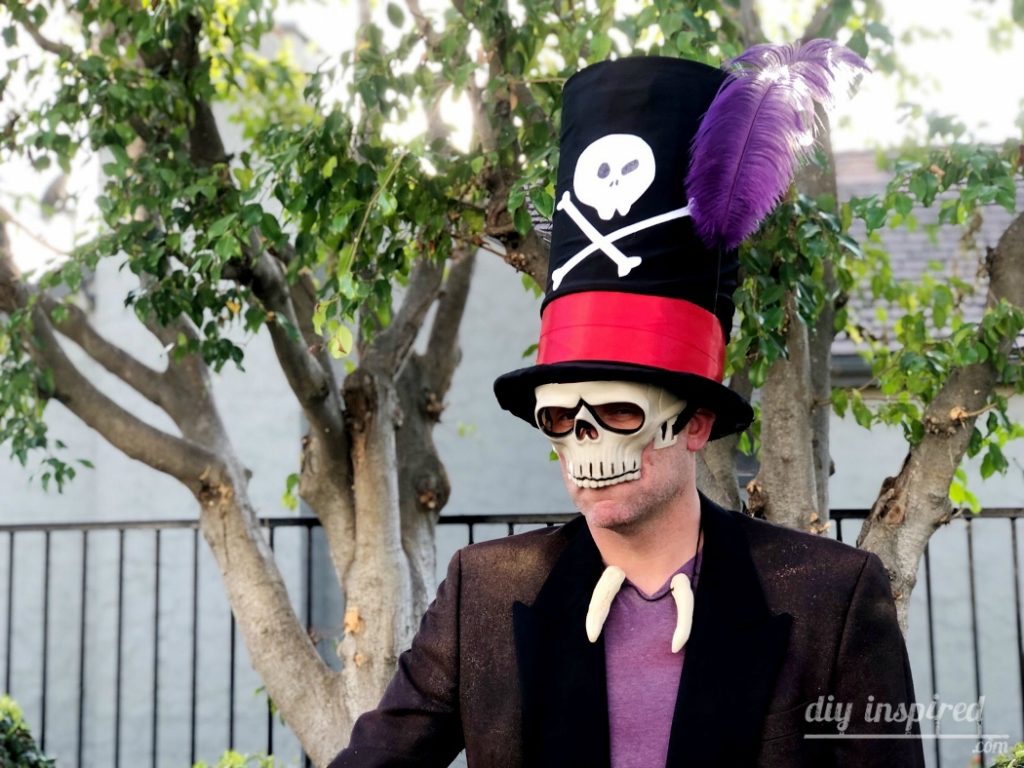
DIY Dr. Facilier Costume
DIY Jacket, Shirt, Necklace, and Mask for Dr. Facilier Costume
If you follow allow with me here or on Instagram, you know that I recently made the Crocodile Teeth necklace for my husband’s Disney Villains Halloween costume, well today I FINALLY have this DIY Dr. Facilier Costume tutorial ready! In this tutorial, you will learn how to make his 1) shirt, 2) jacket, 3) top hat, and 4) his mask.
In case you missed seeing how to make the Crocodile Teeth Necklace, here is the video:
Watch the DIY Dr. Facilier Costume Video
Here is the tutorial video. It was a lot. By that I mean, it’s a longer video than I’m used to making so below, you will find the full written instructions in case you get lost!
Dr. Facilier’s Shirt
I purchased a purple V-Neck T-shirt from Goodwill for a couple bucks. Black, red, gold, or yellow V-neck shirts will work as well. I hung the shirt outside and used a combination of Tulip Color Shot fabric spray paint in red, purple, and gold. Spraying only the front is fine because the jacket will cover the back.
Dr. Facilier’s Jacket
This black suit jacket is also from Goodwill. If you shop on the right color discount day you can find one for about $5-$6! I cut the front bottoms in a “V”. Like the shirt, I hung it outside. Tuck the collar under before you spray paint. Again, I used a combination of Tulip Color Shot fabric spray paint in red, purple, and gold. Allow it to dry and untuck the color. Viola! You are done.
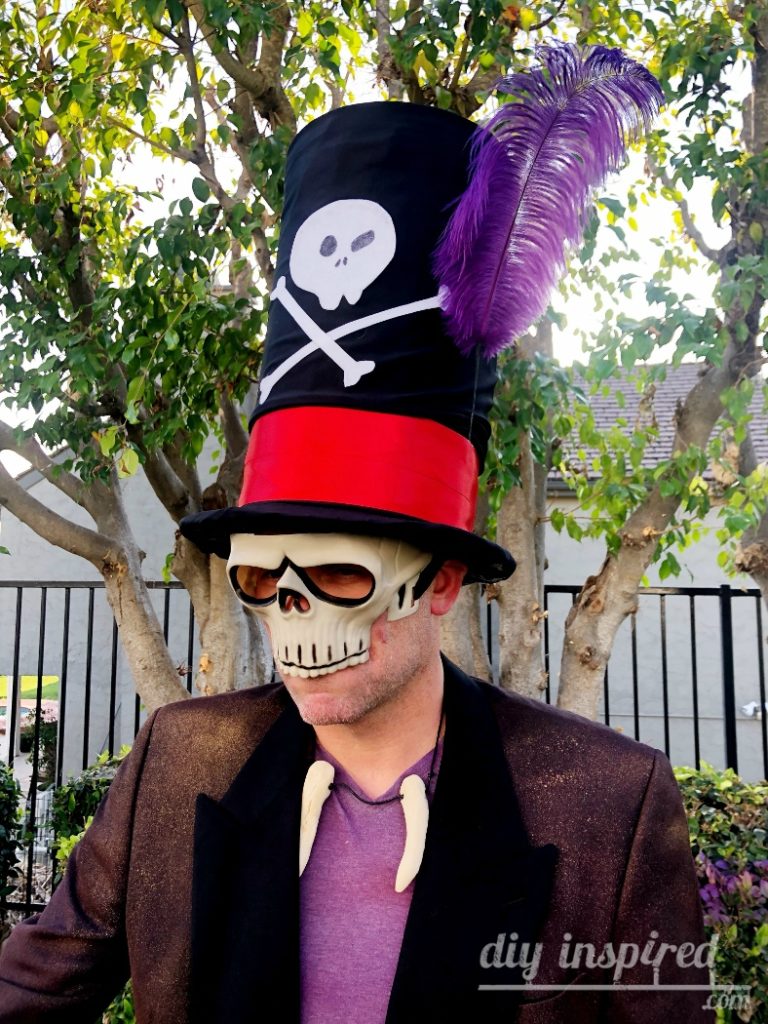
Dr. Facilier’s Costume Mask
Once again, this mask was found for less than two dollars at a local thrift store. It was a full skeleton head, however I cut it into a mask removing the top of the head and bottom jaw.
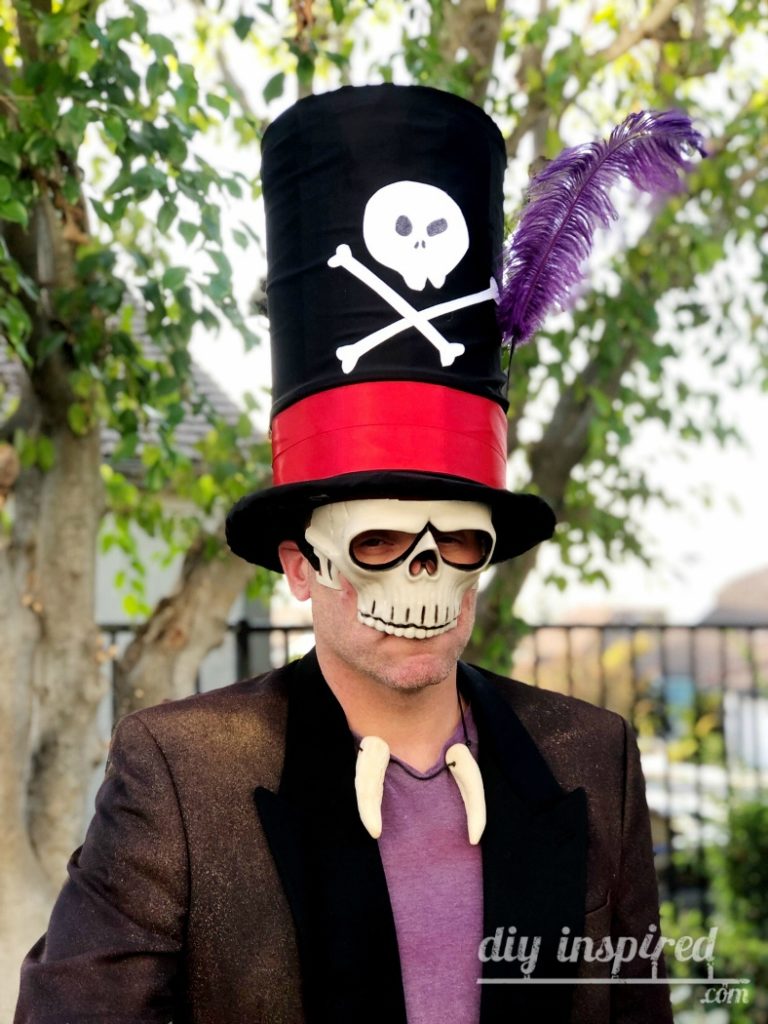
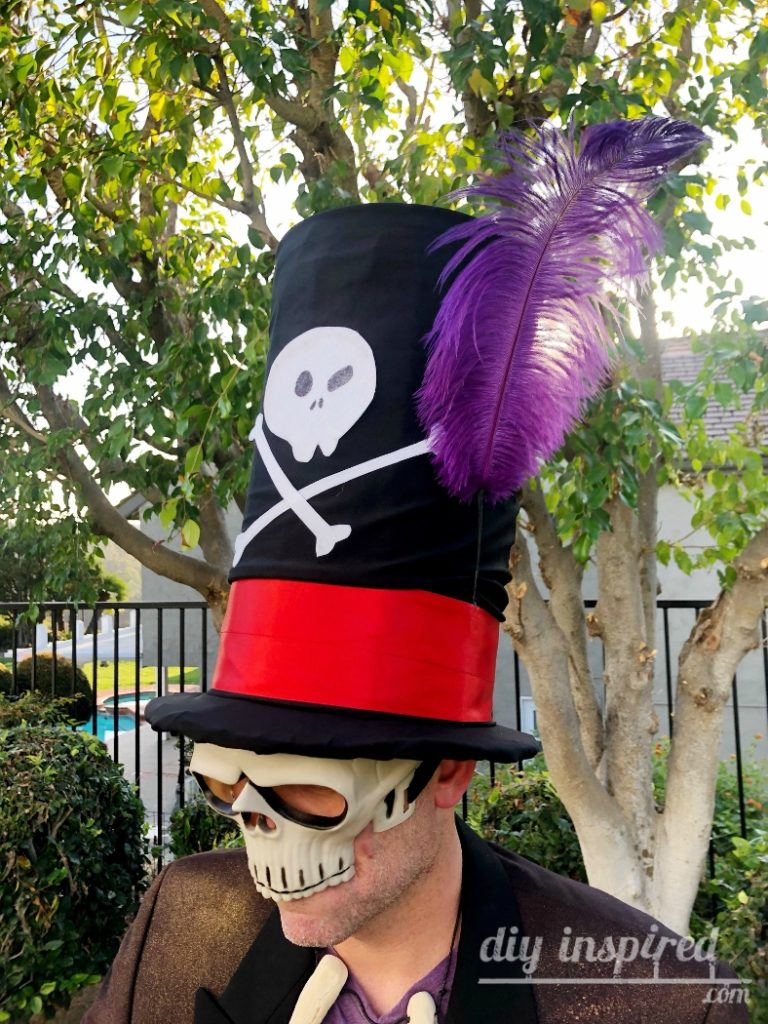
DIY Dr. Facilier’s Top Hat
Saving the most complicated tutorial for last. You may have remembered that I made a similar hat for the Mad Hatter costume years ago.
Materials:
This materials list has links to recommended products I use.
- Large Cardboard Box
- Scissors
- Circle Compass with Pencil
- Black Duct Tape

- Black Fabric
- Hot Glue and Glue Gun
- Thick Red Ribbon
- Peel and Stick Craft Felt
- Pencil
- Purple Feather


Measure First
To find the custom size, use a tape measure to find the circumference of the head. Divide that number by pie (3.14). Divide the result by 2. Use that number to set your circle compass to draw the inner circle for the hat ring.
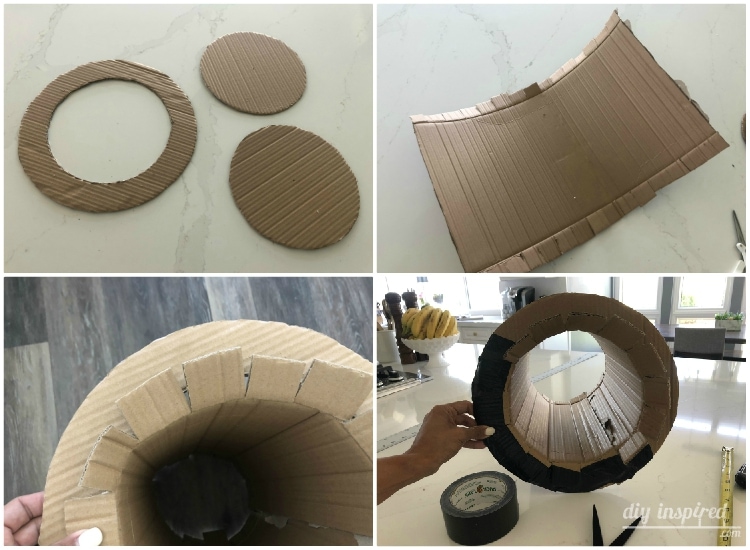
Constructing the Cardboard Hat
- Cut out a ring out of cardboard using the measurements above, a compass, and mixed media scissors. The width of the ring is up to you. Mine is about 2 inches wide. Next cut out two slightly smaller circles, one for the top of the hat and the other for the inside center (to provide stability).
- Next, cut out a piece to form into a cylinder for the hat’s “body”. This can very in height, depending on your costume. Cut two-inch slits across both the top and bottom to create tabs.
- Insert the cylinder into the hat ring and tape the tabs to the bottom of the ring with duct tape.
- Insert one circle inside the center of the cylinder for added support. You made need to trim it down, depending on the desired shape you would like. Tape both the top and bottom on the inside of the hat.
- Lastly, place the top circle at the top of the hat and fold each tab down to tape. If desired, cut another circle to tape the over the top, creating a smooth surface. I did this because I used spandex fabric and you could see the bumps. If you are covering your hat with a heavier fabric, you can skip his step.
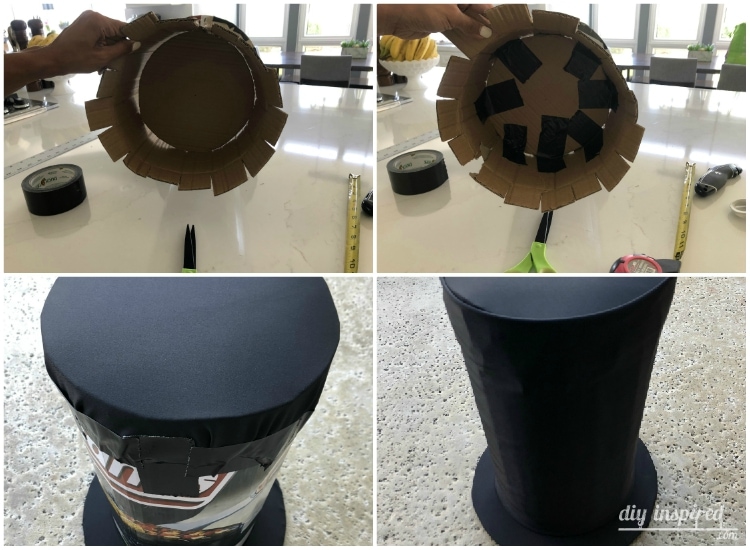
Covering the Top Hat with Fabric
You know have a completed cardboard top hat. Now it is time to cover it. I used spandex fabric, which is a great option and made this part very easy to do.
- Used the ring of the hat as a guide to cut your fabric. Find the center and cut a hole.
- Slide it over the top of the hat until it reaches the bottom ring. Fold the fabric under and tape it with duct tape.
- Now use the top of the hat as a guide to cut your fabric. Again, fold over the side and tape it to the hat.
- Lastly, cut the fabric to fit around the cylinder. I folded each end to made clean lines and then hot glued the fabric at the back of the hat.
Decorating Dr. Faciler’s Hat
- Hot glue red ribbon around the bottom of the hat. I glued two pieces for a wider band.
- Next, I free hand drew the skull onto peel and stick craft felt. I highly recommend this because it worked perfectly. Plus, one sheet of felt is less than $1.00. I drew it in pencil, filled in the skull eyes and nose with a black Sharpie, cut it out, and peel and stuck it onto the hat.
- Lastly, I glued a purple feather to the inside of the red band.
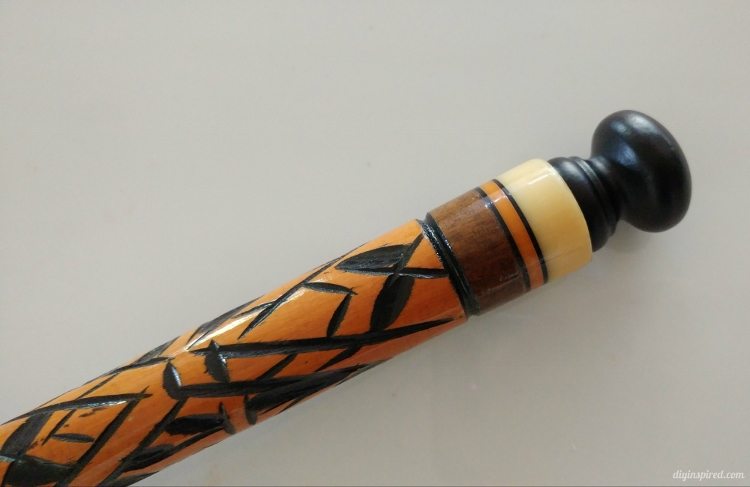
That’s it! I found the cane a thrift store as well and tore off the gauze that was once surrounding it. It worked perfectly.
What do you think of my DIY Dr. Facilier Costume?