Queen of Hearts Guards Trick or Treat Bag
How to Make a Queen of Hearts Guards Bag with Felt
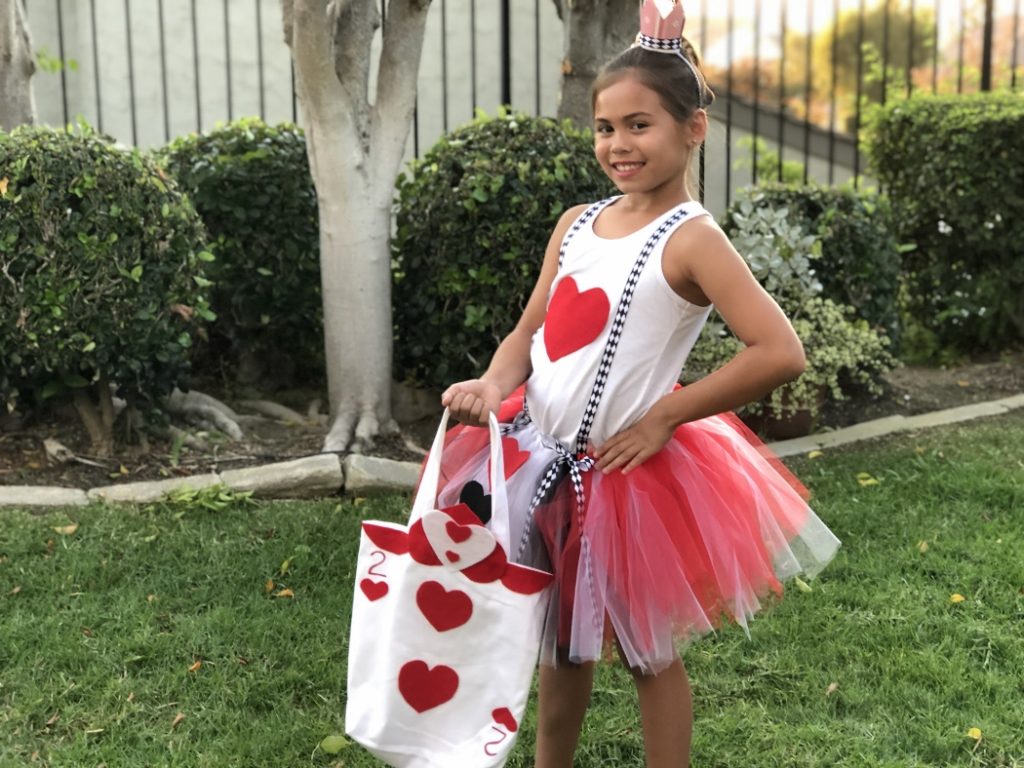
This year for Halloween, our family costume theme is Disney Villains. My oldest daughter is going to be the Queen of Hearts, so I wanted to make her a Queen of Hearts Guards Trick or Treat Bag to go along with her outfit. If you follow me, you know I love making trick or treat bags to go with our theme like the Cousin It trick or treat pail I made to go with her Wednesday Addams costume.

In case you missed them, here are our family costumes themes in the past:
- Monster’s Inc. Family Halloween Costumes
- DIY Addams Family Halloween Costumes
- DIY Bullwinkle Costume
Watch the Video Tutorial
Here is a full video tutorial to show you the process. I hope you like it!
In case you are new here, I would love it if you subscribed to my YouTube channel. You will find over 100 craft tutorial videos like this one.
Here’s What you Need
Time: One Hour
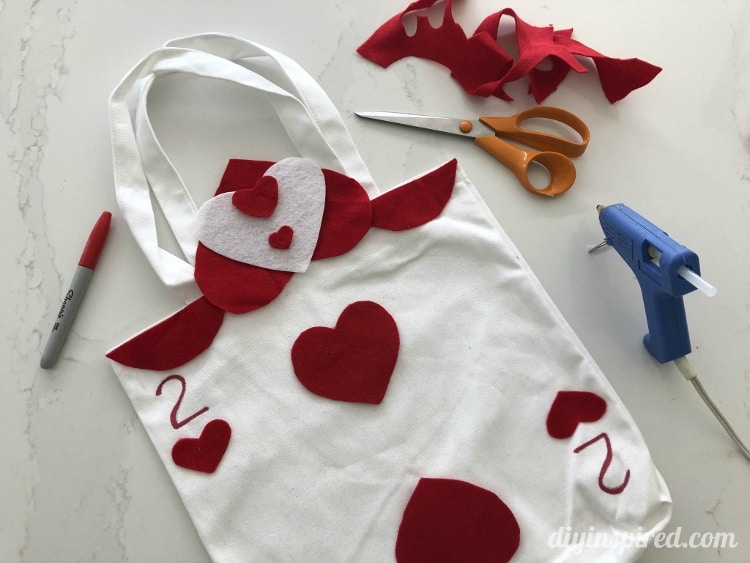
Materials:
- White Canvas Bag
- Red Felt
- White Stiff Felt
- Red Sharpie
- Hot Glue and Glue Gun
- Fabric Scissors
Instructions:
I purchased the white canvas bag from Hobby Lobby for just a few dollars. It’s the perfect size for a Halloween trick or treat bag. You can buy them anywhere that sells crafts. They can be found in the T-Shirt making section with the fabric paints and iron-on transfers.
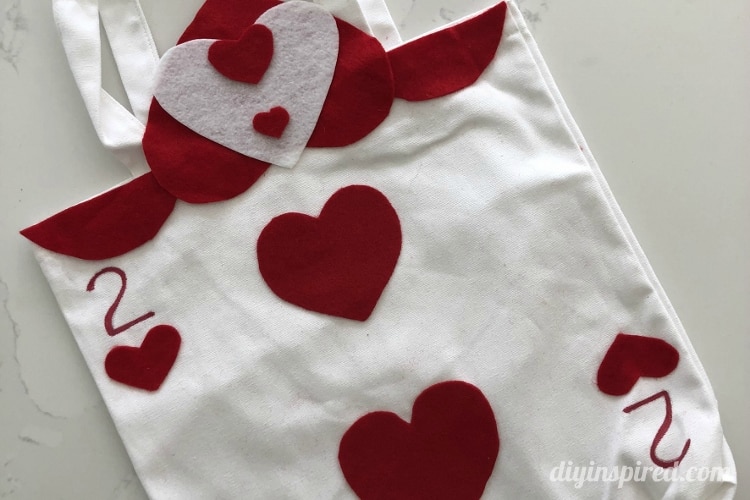
I decided on the number 2 card for this Queen of Hearts Guards Trick or Treat Bag project. Here is what you need to cut out:
- 1 Large Red Heart (head)
- 1 Medium White Heart (head)
- 2 Red Half Circles (shoulders)
- Small Red Heart (nose)
- Smaller Red Heart (mouth)
- 2 Medium Red Hearts (center)
- 2 Small Hearts (by number 2)
To help, fold the felt in half when cutting out the hearts to get even sizes.
Used this photo to locate placement and approximate size of each cut-out. Remember, that it doesn’t have to be perfect. To get two alike sizes, cut one to use as the template, fold it in half, and cut around it.
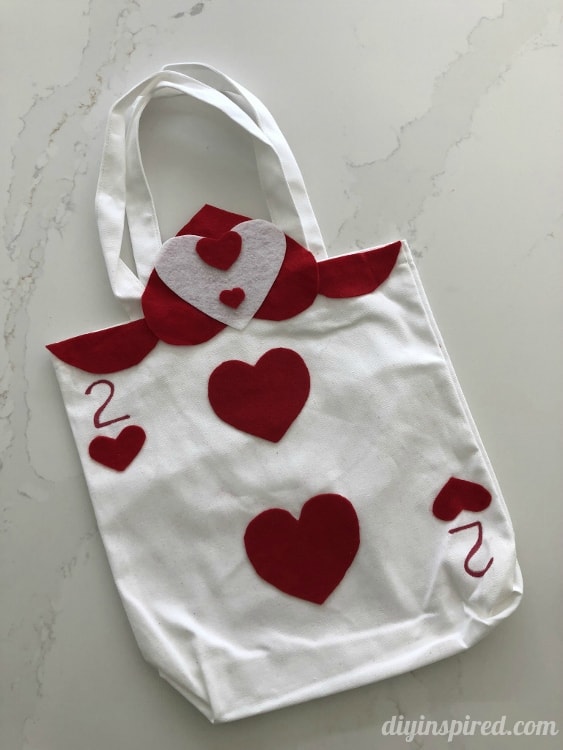
Before you glue them down, draw each number 2 with a pencil first. Remember that the bottom “2” is upside down. Pencil is best because you can erase it if you mess up. Next, trace over each number “2” with a red permanent marker.
Lastly, hot glue each piece in place. It is important to use stiff felt with the white heart for the guard’s head because it will stay in place and upright on the bag.
More Alice in Wonderland Inspiration
I hope you like this Queen of Hearts Guards Trick or Treat Bag! We are no stranger to the Queen of Hearts! Here are some other Alice in Wonderland DIY Ideas you may like.


Good evening! What a fantastic Queen of Hearts trick or treat bag!! I am a non-crafty working mom, whose daughter is also going to be the Queen of Hearts this year. any chance you could make another bag just like this one and sell it to me? 😁 Thanks!
Hi Jennifer! Thank you so much and great costume choice! Shoot me an email and we’ll chat! dwulf@diyinspired.com