DIY Drink Coaster Tutorial
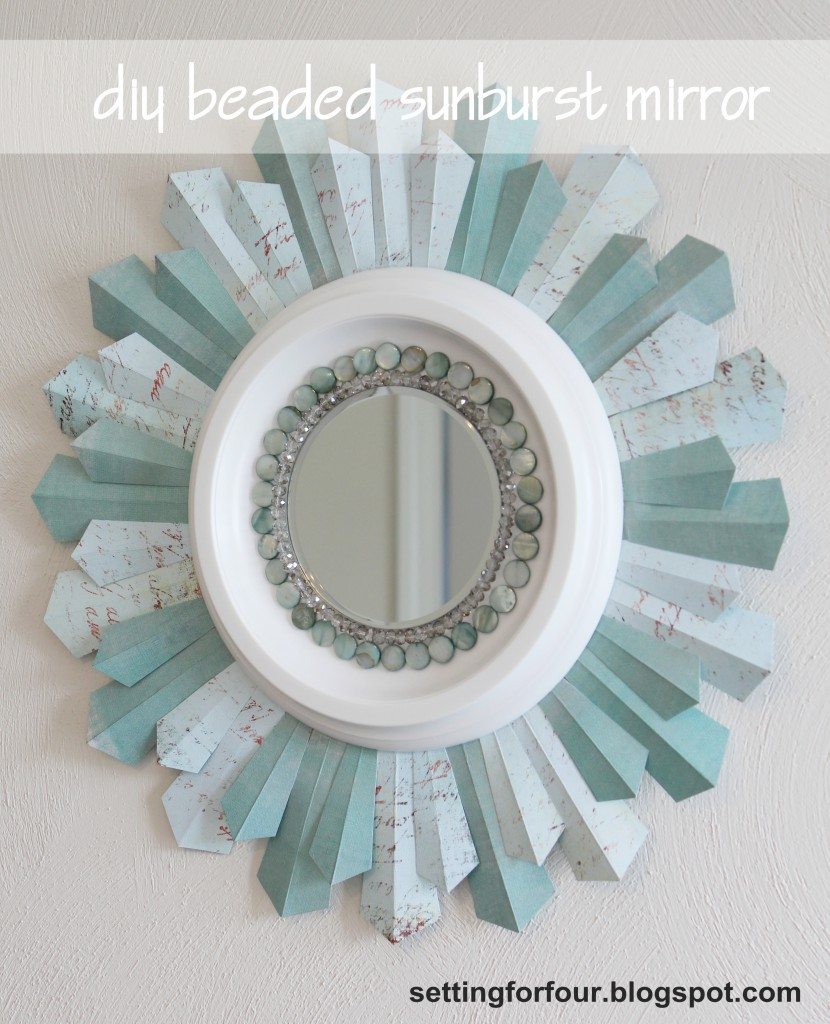
I am so excited to have Heather from Setting for Four today! She is sharing one of my favorite tutorials of hers, a DIY Drink Coaster Tutorial. Also, she included a bonus of my absolute fave, her DIY Beaded Sunburst Mirror! I hope you enjoy it as much as I do. Please feel free to share it too. If you Pin it, I’d love it if you pinned it from her website to show her some LOVE! Welcome, Heather!
Hello everyone! I am so excited to be here at DIY Inspired to guest post today!
My name is Heather and I blog at Setting for Four:
I’m a Military wife with a passion for family friendly design that won’t break the bank or sacrifice style! I am a mom of two teenagers and married to my best friend, an Infantryman, whom I am so proud of! I love to create things by hand, cook healthy meals and most of all create a comfy and cozy space for our family of four.
Here’s my DIY Drink Coaster Tutorial:
Drink Coasters are a great Do It Yourself project to make for your home or give as presents!
They are great to have in your living room, kitchen, office etc. but can be expensive to buy, so let’s make our own!

DIY Coasters:
Many coaster tutorials use tiles but I find them to be a bit too big .
This tutorial uses coasters I found at the Dollar Store. They are the perfect size and they are backed with cork so that step is already done!
Supplies:
Scrapbooking Paper – Michaels, 99 cents. This paper has the added bonus of reversing to a different pattern, so you can alternate the colors of your coasters to make a set that looks beautiful together. But for this project I just used the script side.
Coaster – Dollar store, $1.00 each. (More expensive than Lowes 20 cent tiles, but as I mentioned, the Dollar store’s are already backed with cork.)
Paint brush
Custom Coaster Tutorial:
Cut out a piece of scrapbooking paper to the exact width and length of your coaster.
Brush on Mod Podge to the reverse side of the paper and apply to top of coaster.
Make sure there are no bubbles and all edges are glued down by pressing firmly.
Seal the paper and apply one or two layers of polyurethane.
These custom coasters are great to make for hostess gifts, birthday and Christmas gifts too!
Personalized Coasters
I love how these drink coasters turned out and have made a couple of sets for my home.
Here they are with my new mugs from Target:
…Do you love this pretty watery blue scrapbook paper? Then check out my…..
Thanks Dinah for letting me visit your readers today!
Please swing by Setting for Four and say hello! You can also visit me at:
Facebook
Twitter
Pinterest
Google+
Stumble Upon
Hometalk
~ ~ ~ ~ Heather


Thanks Dinah for inviting me to guest here today!
Heather,
Thank YOU for guest posting! I really love your work. I think I’ve officially stalked you on your blog!!! 😉
These are so totally cute!!! Love the cup cozy too 🙂
Thanks Jessica! These coasters were easy and fun to make!!
Heather is so talented. These coasters are a great idea, and the mirror is gorgeous. I would have never thought to use paper. I need to try this! Oh…and I could use a cup cozy too!
Aw – Julie you are making me blush!! Thanks for your sweet comments – you need to make this mirror – go for it!!!
Such a great tutorial, Dinah! Have a soft spot for coasters for some reason (is that weird?). And thanks for introducing us to Heather and her blog (i popped over there just now). 🙂
Thanks so much for your compliments on my coasters! I love coasters too! 😉 Thanks for visiting my blog!!