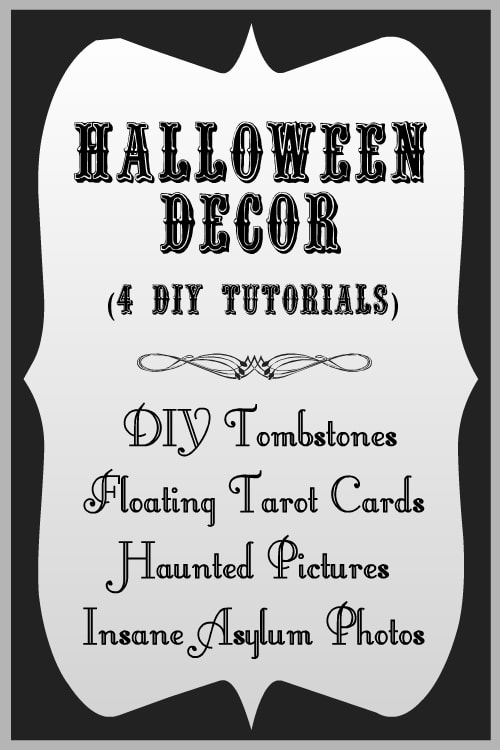
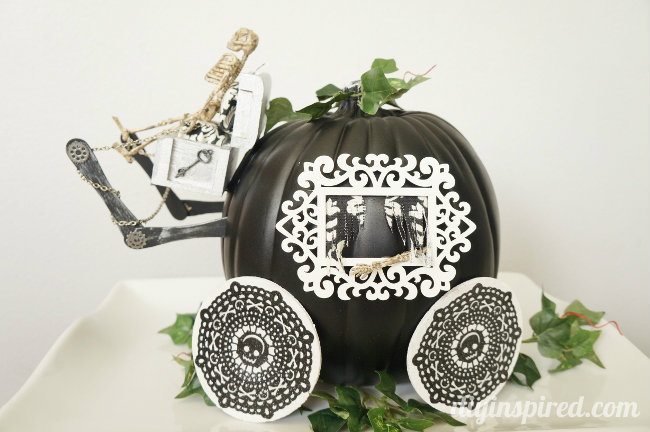
4 Awesome but Cheap Creepy DIY Halloween Decorations
DIY Halloween Decorations: DIY Tombstones, Floating Tarot Cards, Haunted Pictures, and Insane Asylum Photos
DIY Tombstones
I wanted my front yard graveyard scene to look as realistic as possible. The Styrofoam tombstones that you can buy are too light weight, and can easily blow over, so I wanted to make my own.
Making your own tombstones is very easy, allows you to be creative, and doesn’t have to be perfect when you assemble them. They are inexpensive and sturdy, and if you have the room to store them, they will last a few years. Here is how I made them in three easy steps.

Materials Needed: (contains affiliate links)
- Different sized cardboard boxes
- Duct tape

- Flat black spray paint
- Textured spray paint that looks like stone
- Plastic bugs (optional)
- Hot glue gun and glue sticks (optional)


 (optional)
Instructions:
Step One:
Start by stacking your cardboard boxes to create the desired shaped tomb stone and tape them together with duct tape. It does not matter if you can see the duct tape, it will be spray painted over. Again, the imperfections make it more ghoulish.
Step Two:
Next, spray paint the entire tombstone with flat black spray paint. Make sure the room is well ventilated or spray them outside. When it is completely dry, spray paint the entire tombstone again with the textured stone spray paint and allow it to dry completely.
Step Three:
Embellish your tombstone, by hot gluing plastic bugs, adding orange or red rhinestone eyes, or adding a headstone name or epitaph. Here are some epitaph examples from Haunt Your Home.
Floating Tarot Cards
My inspiration for this Halloween craft was the seance room in the Disneyland’s haunted mansion ride. The room had a crystal ball with Madame Leota’s head and floating glow in the dark instruments and other glowing objects all around the room.
For a Halloween party one year I decorated the food table by hanging floating tarot cards above the crystal ball shown below. I set the crystal ball on an old dusty table that was in the atrium and ruined from the rain. I used stacked books without the paper jackets, candles, and colorful table clothes and rugs to decorate the table. I scattered Styrofoam bones, skulls, and black roses as well.

Materials: (contains affiliate links)
- Google Images
- Neon Cardstock
- Printer Paper
- Glue Sticks
- Scissors
- Hole Punch
- Fishing Line
- Glow in the Dark Paint (optional)
Instructions:
Step One:
Start by searching and printing out your favorite Tarot Card Images from Google Images.
Step Two:
Using a glue stick
 , glue the image onto fluorescent colored cardstock
 . Make sure to put the image on both sides if you are going to hang them.
Step Three:
Using a hole punch or a craft punch , punch a hole in the top center and hang them from your ceiling with fishing line at various lengths creating a floating effect.
Step Four: (optional)
Use glow in the dark paint to make each Floating Tarot Card glow with a black light.
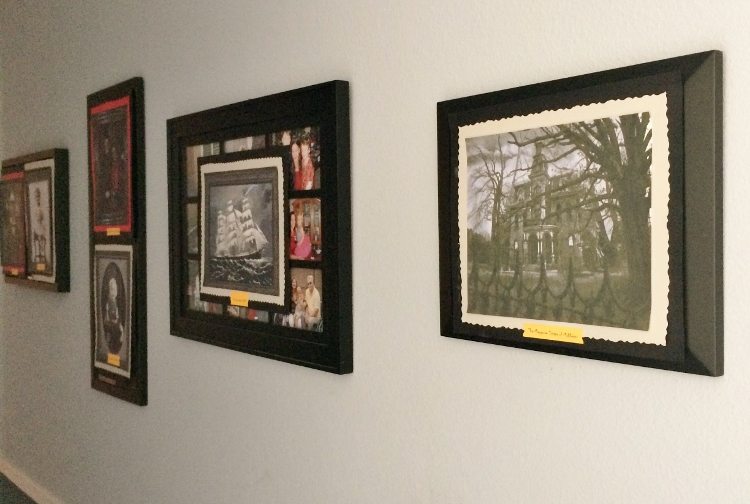
DIY Haunted Halloween Pictures
Here is another last minute Halloween party decorating idea you can do the day before your party using scrapbook paper . As with most projects, my goals include projects that are inexpensive, easy, and make an impact.
Materials: (contains affiliate links)
- Scrapbook paper (red, black, gray, gold)
- Glue stick
- Computer
- Decorative edged craft scissors
- Rhinestones
- Computer


Instructions:
I made my own haunted picture and portrait gallery on a blank wall for a Halloween party one year. All I did was print 8X10 black and white and colored pictures and portraits on my computer. I made boarders out of scrapbook paper and used decorative scissors for the edge. I made creative name gold plates out of paper as well and embellished some of the with rhinestones. For example, I used red rhinestones for eyes or a colored rhinestone as a pendant on a necklace.
With a little bit of internet research I came up with these fake names for my “gold” templates.
- The Sea Witch, 1951 (This was a picture of a haunted clipper ship)
- Francis Denison of Yorkshire
- Clifford Carter of Somerset
- James & Emily Norman of Dorset
- The Maygrove Estate of Middlesex (picture of a haunted mansion)
- Faye Birch of Worchestershire
- Isabelle Heath of Kent
- Gale Bowdin of Buckinghamshire
- Jeanlyn Lewis of Cumberland (this was named after my evil step-monster)
I hung these on a blank wall and threaded fake cobwebs from portrait to portrait for an even more eerie effect. What is great about this project is that they store very easily and can be used year after year. And even better, each photo cost less than two dollars to make!
Insane Asylum Patient Hall of Fame
What better way to honor your Halloween party guests by calling them insane? I wanted to include my guests in my Halloween decorations, and turned my bathroom (a place where I knew each guest would eventually end up at some point during the party) into an Insane Asylum. I created this homemade Halloween idea, an Insane Asylum Hall of Fame to commemorate each party goer. This project is quick, inexpensive and easy, and ends up being a great conversation starter. This Halloween craft can be done the day of your party.

Materials: (contains affiliate links)
- Computer
- White printer paper
- Black construction paper
- Lighter
- Glue
- Googly eyes in a variety of sizes


 in a variety of sizes
Instructions:
Step One:
First, print out black and white photos of your guests on regular printer paper. If you don’t have pictures, try to find photos of them on social media sites like Facebook.
Step Two:
Using a lighter, carefully burn the edges of each photo and quickly blow it out to create a burnt or singed boarder. Be careful of ash.
Step Three:
Glue each photo onto black construction paper and glue miss matched sized googly eyes. Don’t forget about your family pets!
I pinned each picture on a fabric shower curtain, however you can also tape them to a mirror or wall as well. Each guest can take them home as a favor to remember you insane party too!
I hope you enjoyed these simple and inexpensive tutorials. Here are some of my DIY Halloween Costume tutorials:
- Three Little Pigs DIY Costumes
- DIY Troll Hair Headbands
- DIY Minecraft Costume Instructions
- DIY Addams Family Halloween Costumes
Like it? Pin it!