Paper Toolbox Gift Card Holder Tutorial
Thank you to Ralph’s for sponsoring this Paper Toolbox Gift Card Holder Tutorial post as a part of the Gift Card Pairings Campaign. All opinions are 100% my own.
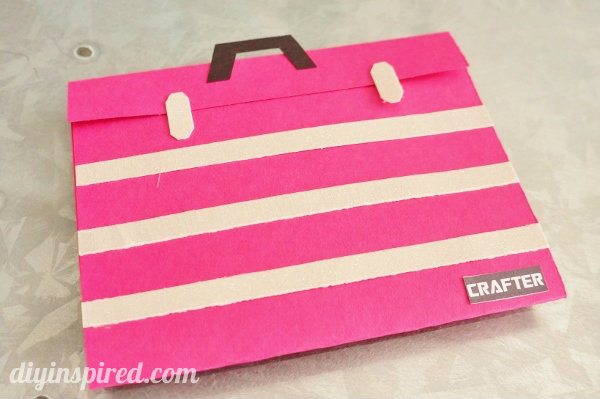
As a Crafter and DIY Blogger, I spend a lot of time at not only craft stores, but home improvement stores. Many of my fellow Bloggy friends could attest to that statement! My BEST friend, in fact is also a craft and DIY Blogger over at Simply Creative Ways. This year for Christmas, I knew right away I wanted to give her a gift card that I selected from Ralph’s awesome gift card selection. I ended up making a fun gift card holder that looks like a pink toolbox. Here is my Paper Toolbox Gift Card Holder Tutorial.
Materials:
- Paper Cutter
- Pink, black, and glittery silver card stock
- Glue or double-sided tape
- Scissors
- Computer and printer
- Lowes gift card
- A fabulous present to go with it!
Instructions:
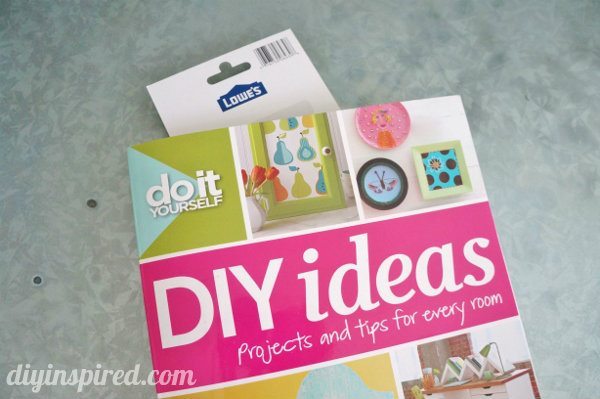
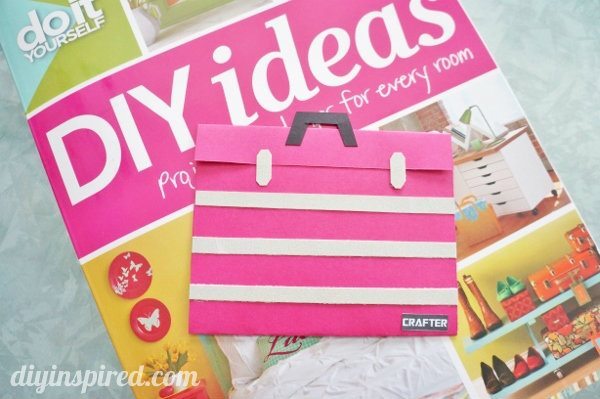
I ended up buying my friend DIY ideas: Projects and tips for every room and a $25 Lowes Gift card from Ralph’s.
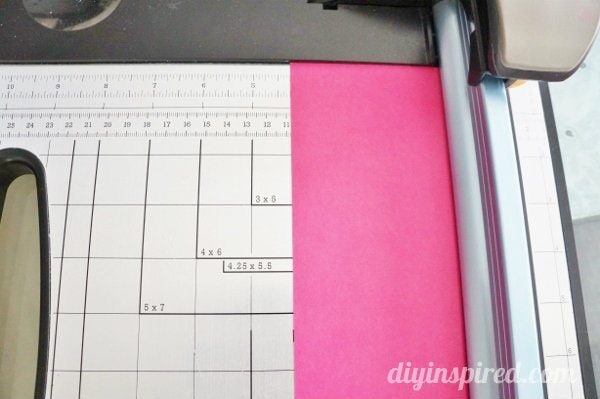
To make the toolbox gift card holder, cut your pink piece of card stock in 4 ¼”X 7”.
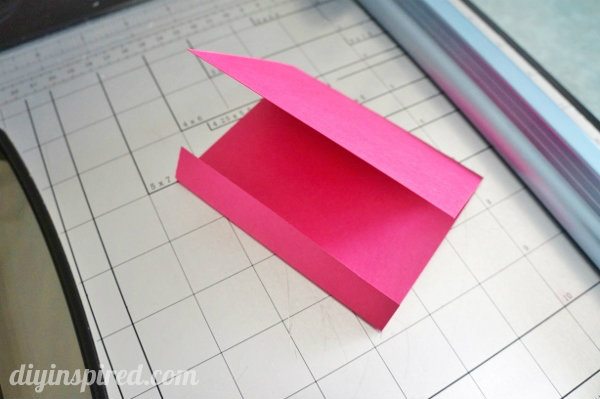
Fold it in 3”, 3”, and 1”parts as shown.
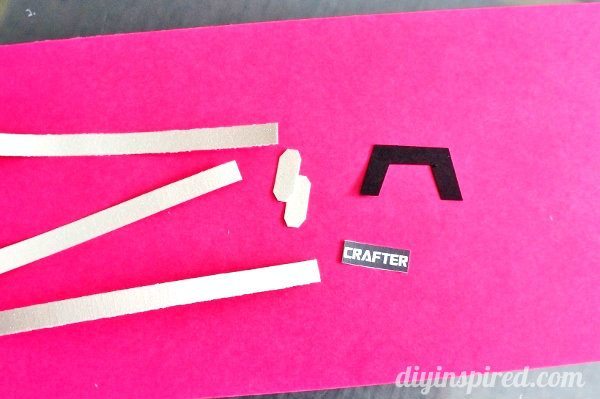
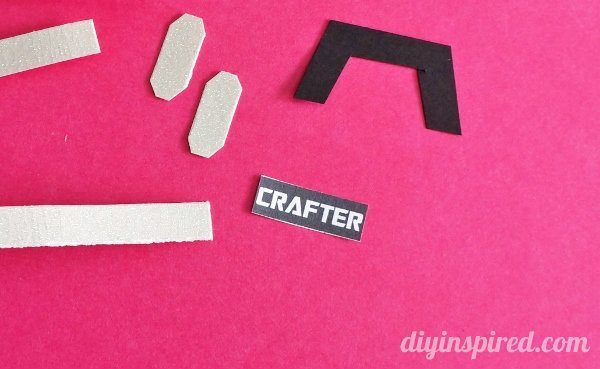
Cut out 3 4 ¼” X ¼” strips out of the glittery silver cardstock, two silver latches, and a black handle.
On my computer, I made a little “Crafter” label, print it out and cut it.
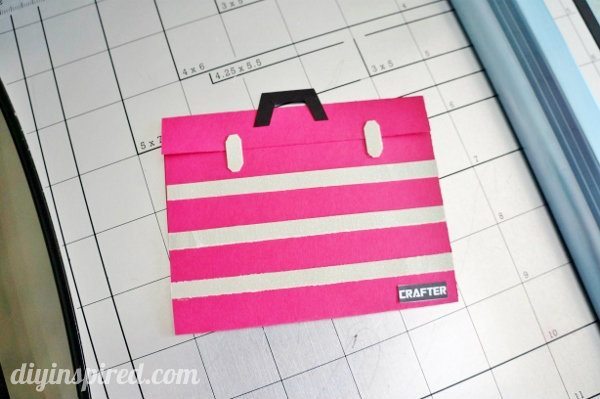
Using double sided tape, I put it all together. You may find it easier to use glue or a glue stick, but I’m obsessed with double-sided tape and use it for everything… good stocking stuffer (hint hint)!
Here are a few AFTER photos. I can’t wait to give it to my friend!



Thank you for this awesome idea! I tried for 1 month to locate a toolbox gift card holder (without the name of a retail store all over it). I came across your website and made my own (I only changed the color of the toolbox and the logo on the bottom) following your instructions to the letter. The received loved t!!!
Thanks again !
Awesome!!! I’m so glad you liked it!