Plastic Trick or Treat Pumpkin Mummy
Easy Plastic Trick or Treat Pumpkin Mummy Tutorial
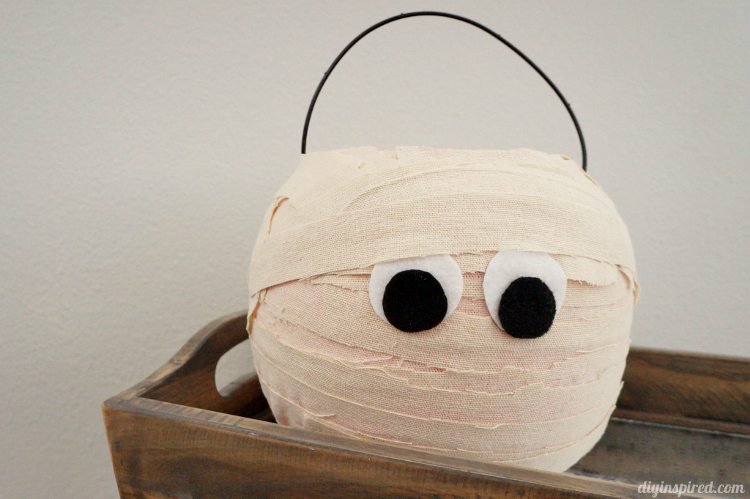
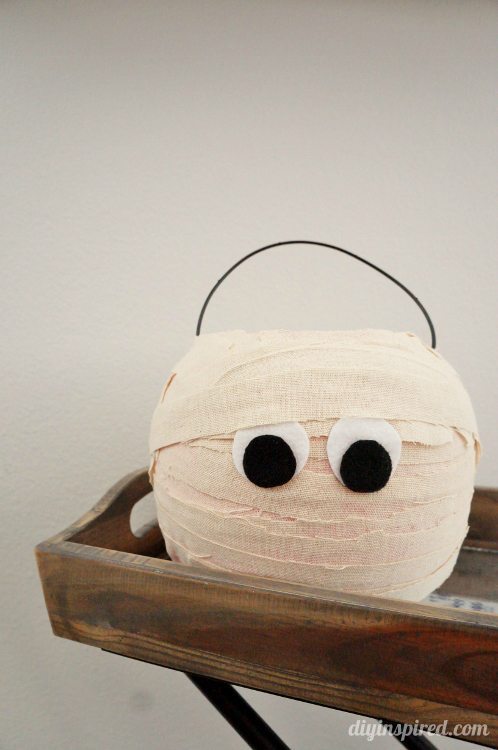
This Plastic Trick or Treat Pumpkin Mummy is a fun one and very easy and inexpensive to make.
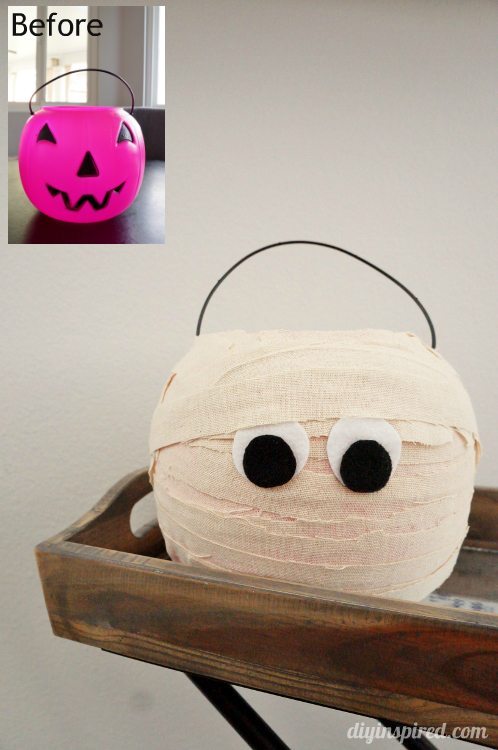
This project was so fun to make and didn’t cost me a dime! I wanted to upcycle one of the .99 plastic pumpkins I got last year for Halloween and decided on upcycling it into a trick or treat pumpkin mummy.
Time: 20-30 Minutes
Level: Easy
Materials:
- Plastic Trick or Treat Pumpkin
- Old Sheet/pillowcase/canvas bag
- Scrap felt
- Pen
- Chalk
- Scissors
- Hot glue sticks and glue gun
Instructions:
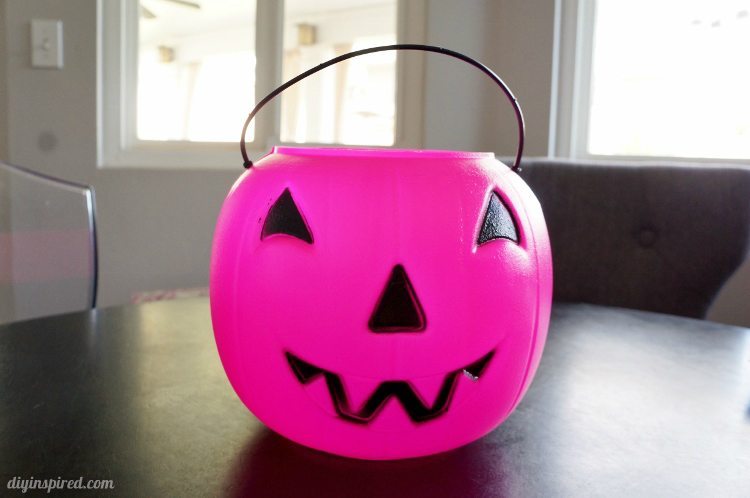
This is the pumpkin BEFORE. This are great because you can find them everywhere for about one dollar.
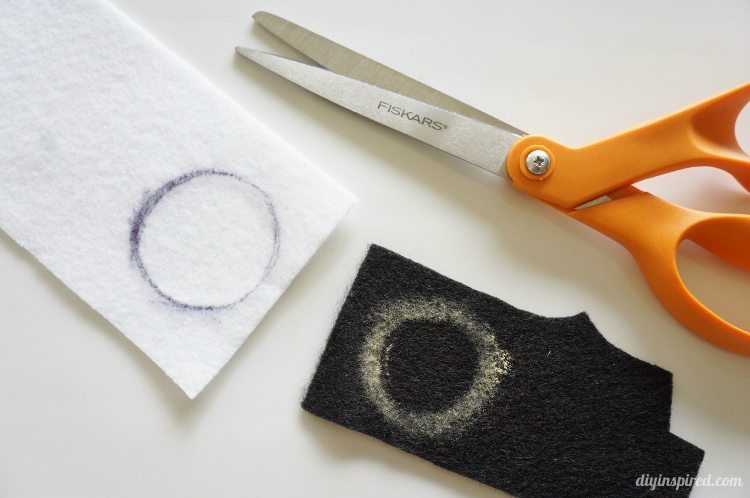
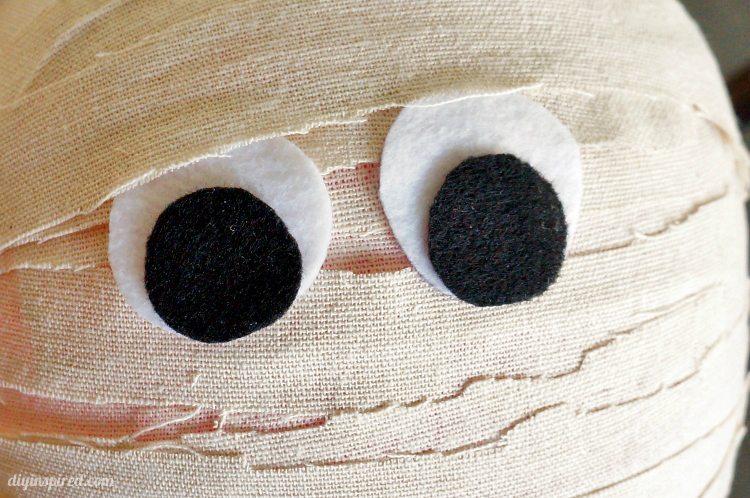
To make the eyes I used a white and black piece of scrap felt. I traced two round objects with a pen and chalk and cut them out.
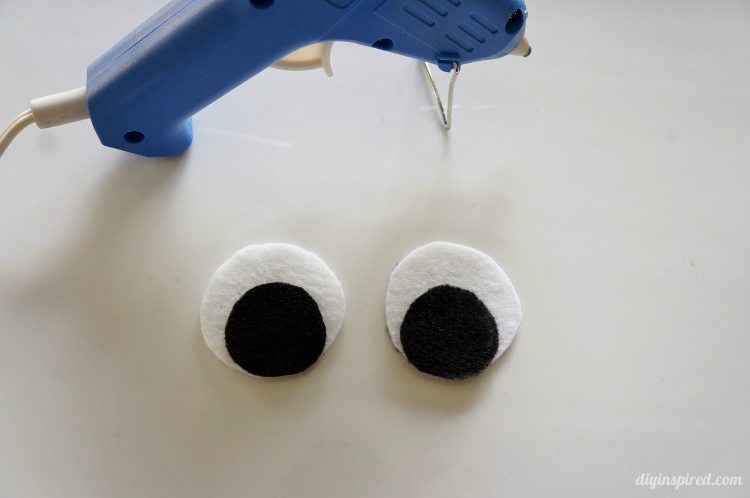
Glue the eyes together and set them aside.
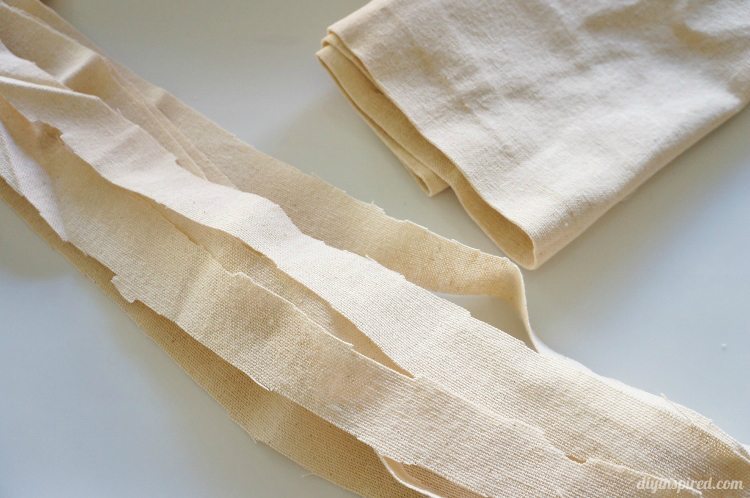
I cut strips of a canvas money bag. My Mother-in-Law works at a bank and they were throwing them away, so she grabbed them for me to recycle and reuse. One time, I turned one in to a travel laundry bag.
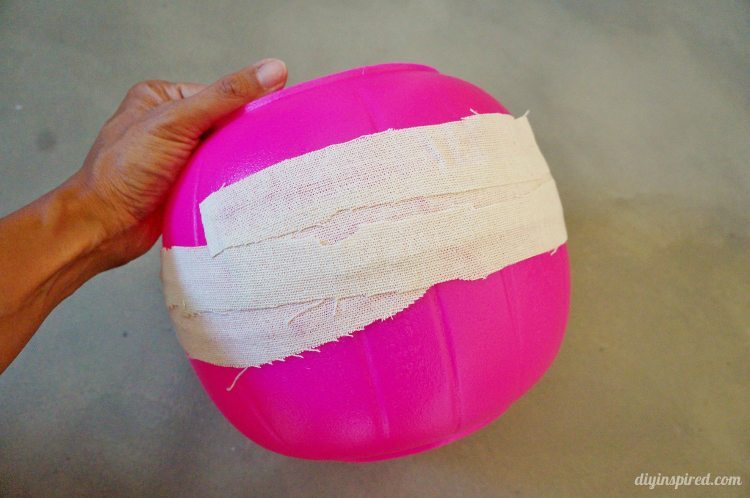
Start gluing the strips around your pumpkin. I ended up cutting different lengths.
Once you cover the pumpkin, glue on the felt eyes. Glue a final piece of cloth strip over the top of the eye.
There you have it…an upcycled version of a boring plastic pumpkin. You can use it for trick or treating, or use it as a bowl to serve chips or the like at your next Halloween party.
More Fun Halloween Crafts:
- How to Throw a Fabulous Glam-O-Ween Party
- How to Make Paper Pumpkins for Fall
- Last Minute DIY Adult Minion Costume
- Glittered Coffin Halloween Party Favors
- Skull Wine Charms DIY
- Upcycled Metal Pumpkin Tutorial
You May Also Like
Check out these two creative trick or treat pail transformations! The first video is a Queen of Hearts Guard trick or treat bag and the second one is a Little Mikey trick or treat pail!

