Vinyl Wrap Storage Cabinet Makeover
Quick and Easy Vinyl Wrap Storage Cabinet Makeover IKEA Hack
I was contacted by Supernice to see if I wanted to try their vinyl wrap product. After perusing the different options online, I couldn’t pass it up. As a result of this partnership, I ended up doing a Vinyl Wrap Storage Cabinet Makeover. Here’s how I did it.
What IKEA Storage Cabinet Did I Hack?
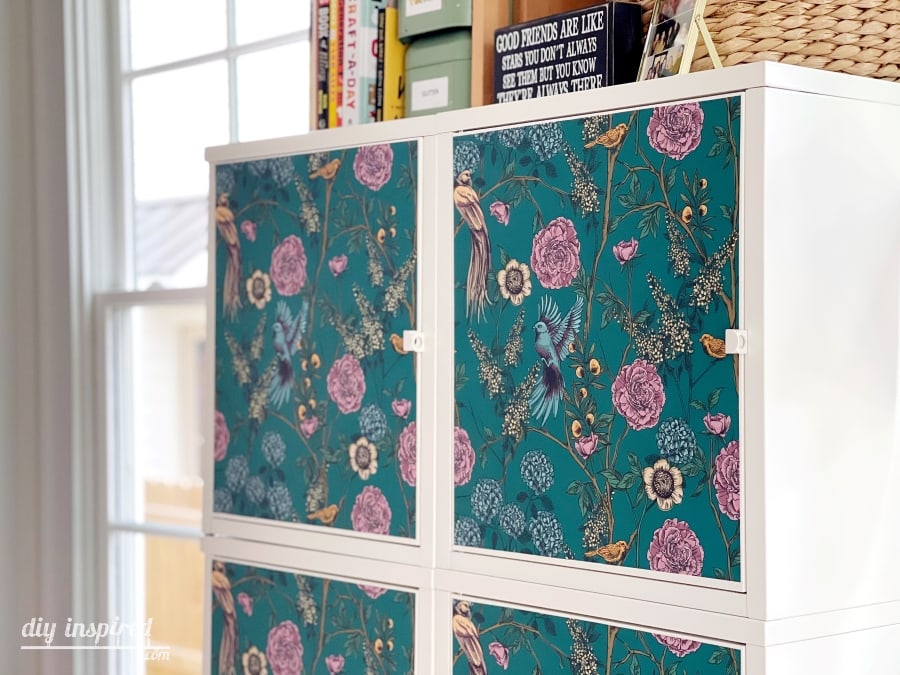
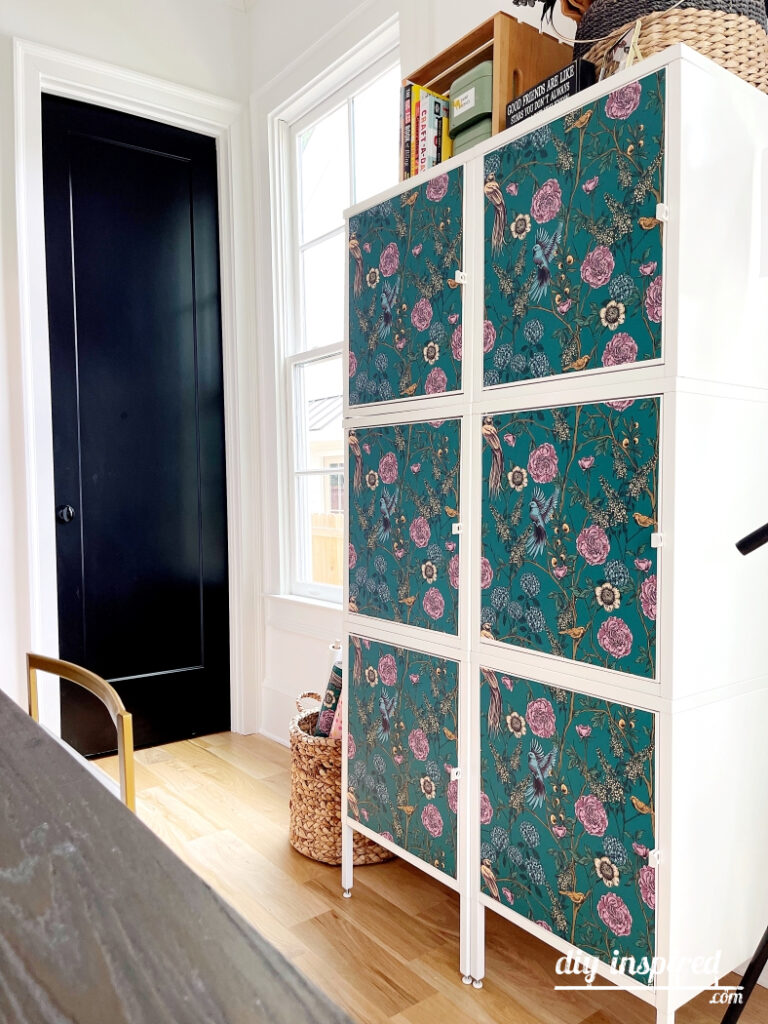
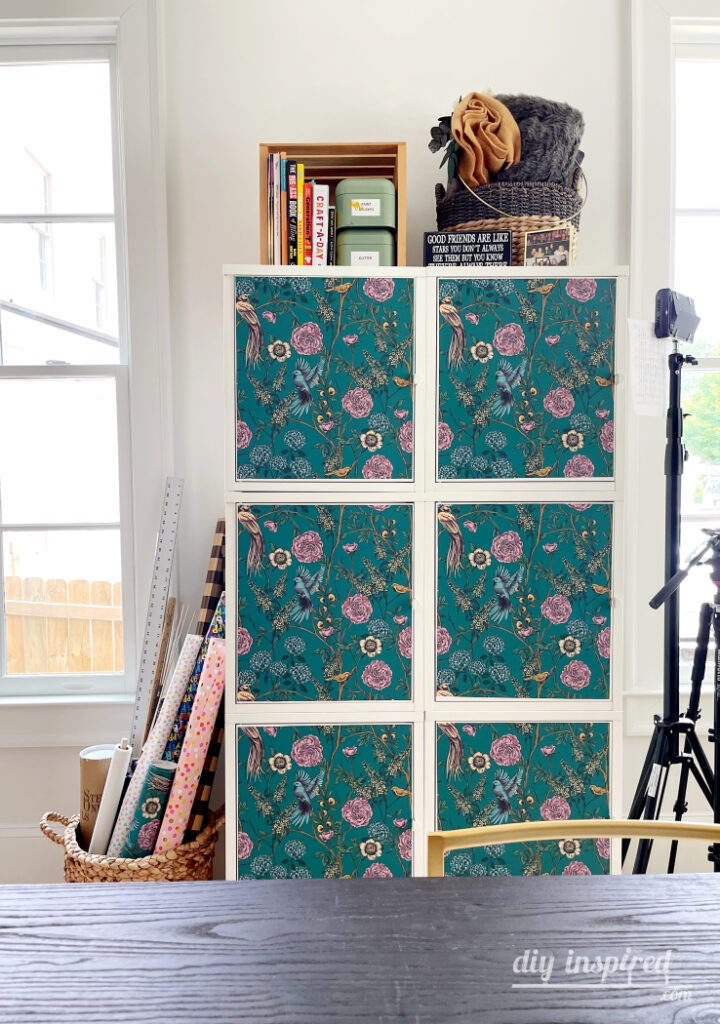
First, if you are interested in these specific cabinets, I chose the HÄLLAN storage combination with doors. I have two of these units side by side in my craft room. They make the perfect craft room storage cabinets. Since they are metal, I can use storage magnets on the outside for even more craft storage. There is a similar option in blue that would also look fabulous!
Where to Buy the Vinyl Wrap
Vinyl wrap is a great alternative to painting a piece of furniture. It’s easy to use and a lot less messy than painting. It is durable and easy to clean as well.
Supernice has a lot of fun colors and patterns in their online store. The wrap pictured here is the Victoria Garden 2 wrap. You can customize the size that you need depending on your project. First choose the size you need. They carry 53” X 1’ all the way to 53” X 75’. Next, choose the orientation, 1) portrait or 2) landscape.
They also give you an option to download and print out a sample at home.
Vinyl Wrap Storage Cabinet Instructions
Time: About an Hour (depending on your project)
Additional Materials:
- Straight Edge
- Pencil
- Scissors
- Measuring Tape
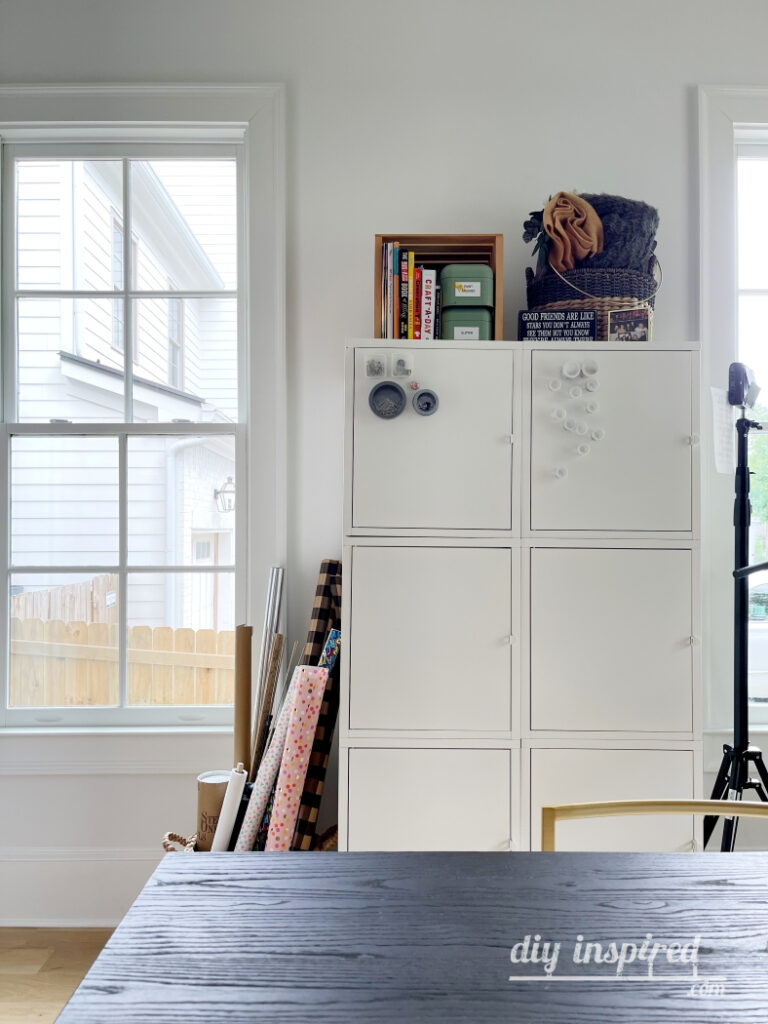
Here is the cabinet without the vinyl wrap.
Instructions:
I have a quick Instagram Reel and TikTok videos of my unboxing and reveal process. Be sure to check them out!
- Measure the area you would like to apply the vinyl.
- Lay the vinyl out on a flat surface. Measure and mark accordingly. I used a metal yardstick.
- Cut out the pieces according to your measurements.
- Do not completely remove the backing. I started by unpeeling the top left corner only, then applied it to the surface. Use a straight edge to smooth down the vinyl as you go to avoid bubbles. If you do get bubbles, the material is very forgiving, and you can easily remove it and start over.
- Gently remove the backing while attaching and smoothing the surface at the same time.
What can You Wrap?
Here is a list of ideas of things you can wrap with vinyl.
- Stairs
- Side Tables
- Kitchen Backsplash
- Bathroom Backsplash
- Dressers
- Cabinets
- Tile
Vinyl wrap can also be easily removed, which makes this a great option if you are renting a property or are in a dorm room.

You May Also Like
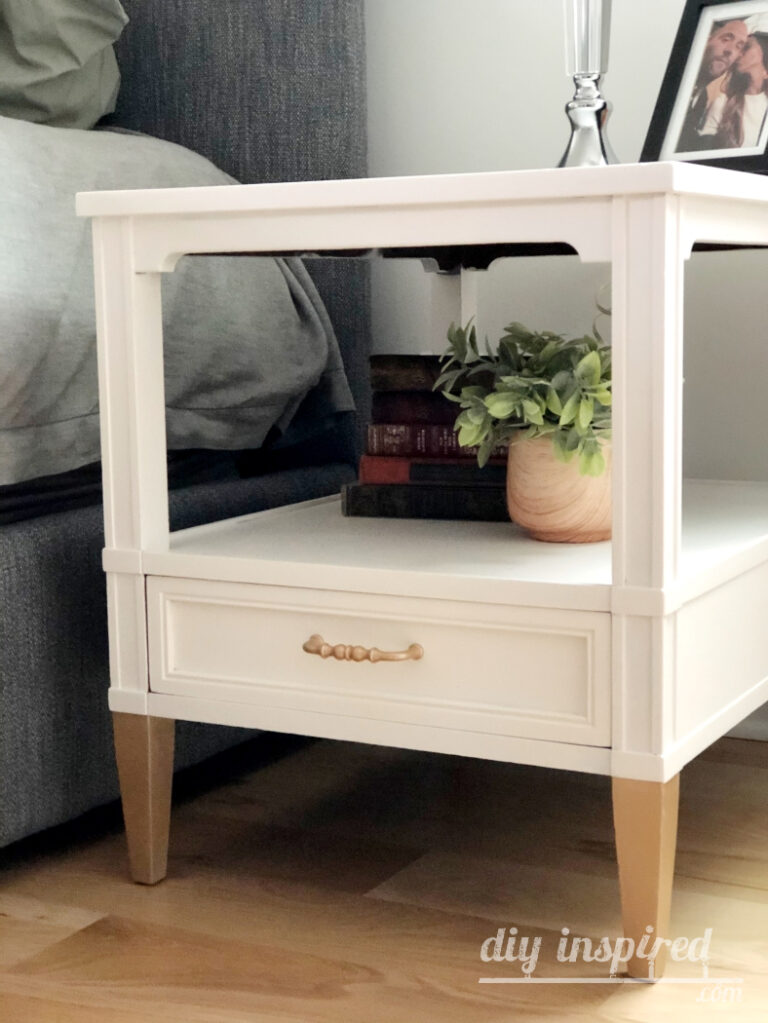
Check out my YouTube video on how I made over my garage sale nightstands. I’d love it if you subscribed to my YouTube channel.
Other Fun DIY Ideas
UPCYCLING IDEAS FOR THE KITCHEN
EASY TORCHED DIY SKATEBOARD WALL RACK