• Project Gallery
  • DIY
    • Recycled DIY
    • Upcycled DIY
    • Repurposed DIY
    • Refurbished DIY
    • DIY Furniture
    • Repurposed Furniture
    • Thrift Store Transformations
  • Crafts
    • Wood Crafts
    • Paper Crafts
    • Photo Crafts
    • Kids Craft Ideas
    • Doll Crafts
    • Felt Crafts
    • Stenciling
    • Gift Wrapping
    • Printables
  • Party
    • Birthday Party
    • Baby Shower
    • Bridal Shower
    • Wedding
    • Team Sports
    • Sweets and Treats
    • Cocktail Corner
  • Holidays
    • St. Patrick’s Day
    • Easter
    • Earth Day
    • Teacher Appreciation
    • Mother’s Day
    • Father’s Day
    • Fourth of July
    • Back to School
    • Halloween
    • Halloween Costumes
    • Thanksgiving
    • Elf on the Shelf
    • Christmas
    • New Years
    • Valentine’s Day
  • Home & Garden
    • Storage & Organization
    • Cleaning Tips
    • Gardening
    • Makeovers
    • Kid Stuff Makeovers
    • DIY Tips & Tricks
    • DIY Artwork
    • Curb Appeal
  • Health & Beauty
    • Health & Wellness
    • Bath & Body
  • Nav Social Menu

    • Facebook
    • Instagram
    • Pinterest
    • Twitter
    • YouTube

DIY Inspired

Repurpose, Reinvent

  • About
  • Contact
  • Advertising
  • Featured
  • Disclosure

Home Decor

Our Staircase Makeover Before and After

Our Black Staircase Makeover (3)

We have made some great progress on some updates to our home. Today, I wanted to share some before and after photos of our staircase makeover. Many people are concerned about the costs of revamping their staircase, but someone like Pear Stairs will be able to offer you a competitive price. Before I begin, here are a few other things we have done to upgrade our house so far.

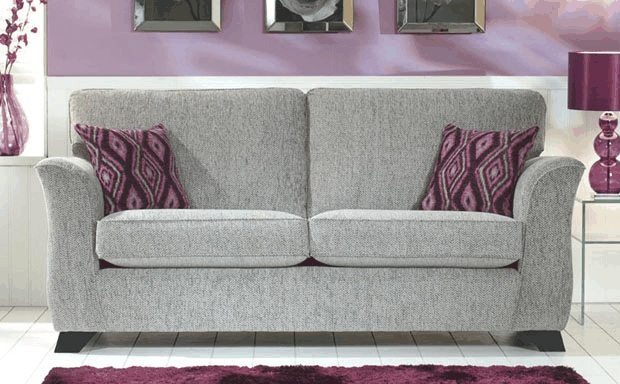
  • Living Room Makeover Reveal
  • Front Door Makeover Before and After
  • Half Bathroom Makeover Before and After
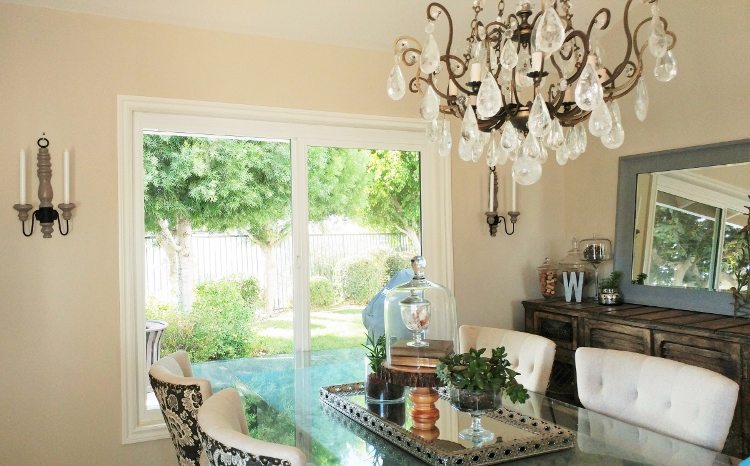
  • Dining Room Makeover Reveal
  • Our Outdoor Home Makeover
  • Brick Mantel Makeover
  • Our Cement Floors After
  • Guest Room Paint Makeover
  • Patio Before and After

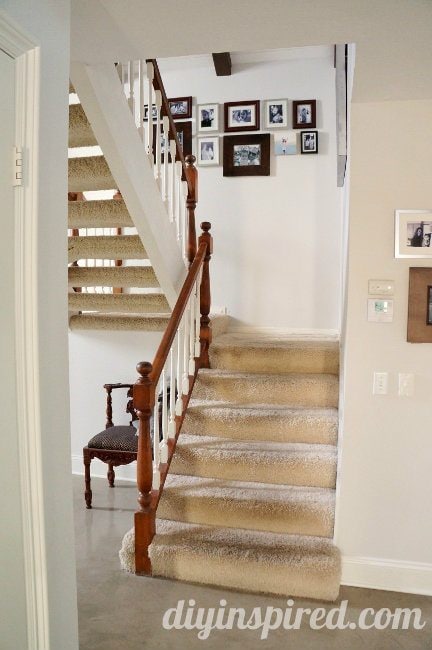
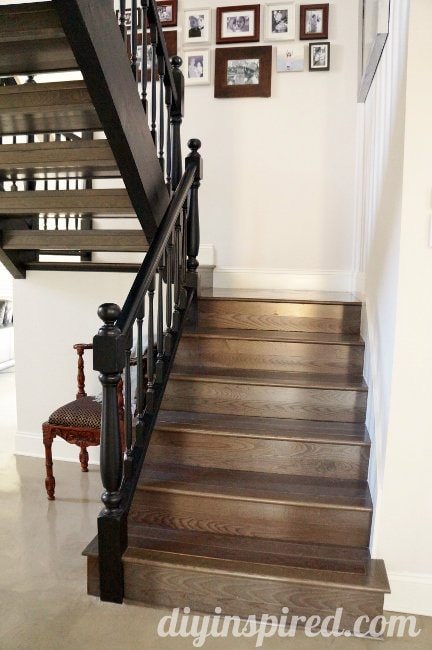
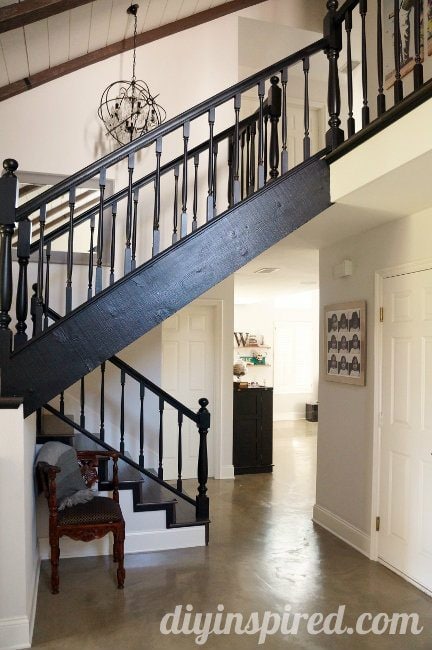
OK that was a longer list than I anticipated! Geesh! Anyway, we wanted to get rid of the carpet on the stairs and all of the upstairs. We decided on replacing it with hardwood. Here are the stairs before. They were brown and white. Nice, but I feel is a little outdated, especially with our cement floors.

Our Staircase Makeover Before Pictures (3)

Our Staircase Makeover Before Pictures (1)

Our Staircase Makeover Before Pictures (2)

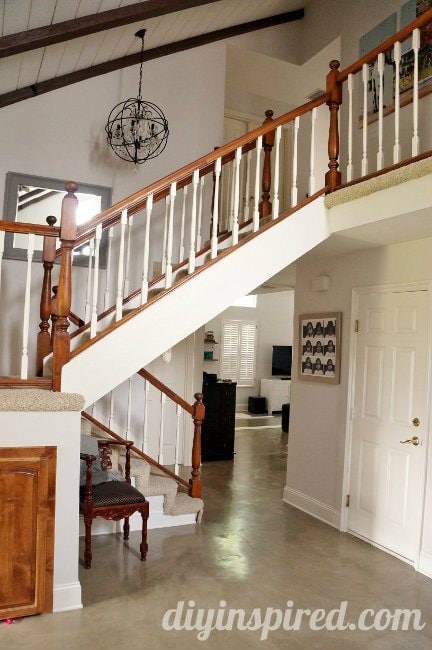
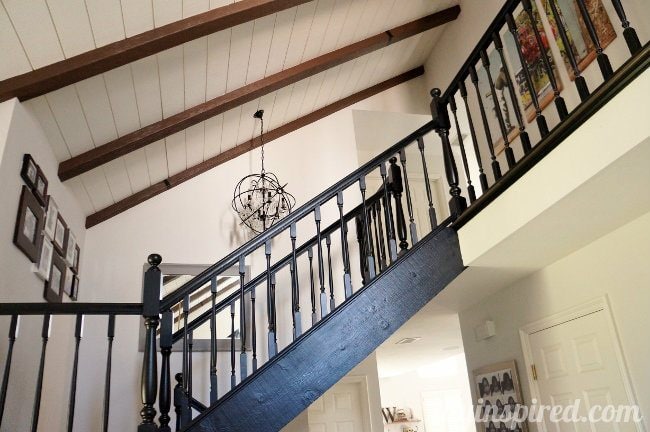
To save some money, we kept the existing handrails and just painted them black. You can see some of the progress photos of this staircase here. This is the first floor. We chose a pewter ash color.

Our Staircase Makeover (2)

Our Staircase Makeover (1)

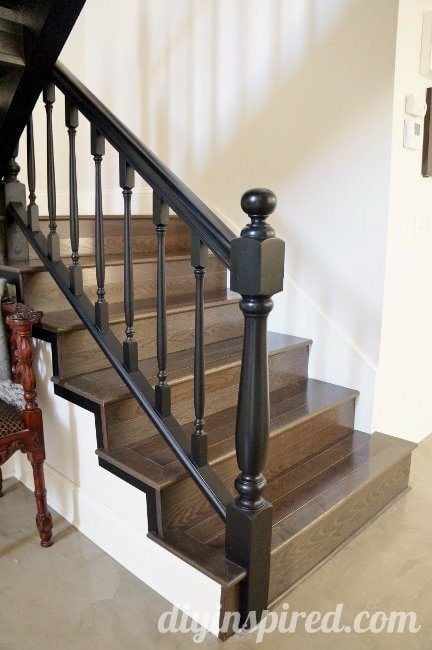
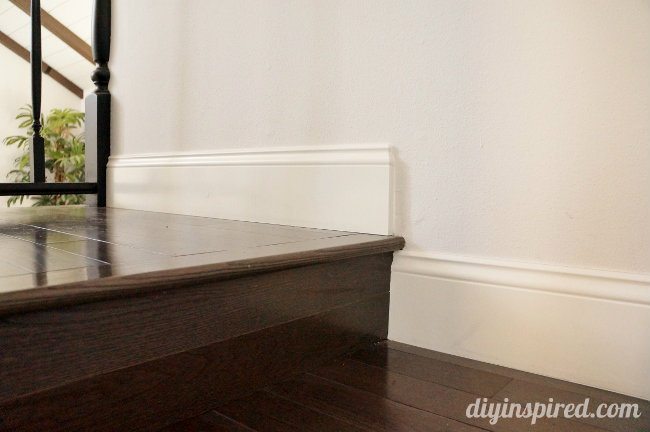
We decided on 6” molding on the landing to match the rest of the molding downstairs.

Our Hardwood Staircase Makeover (1)

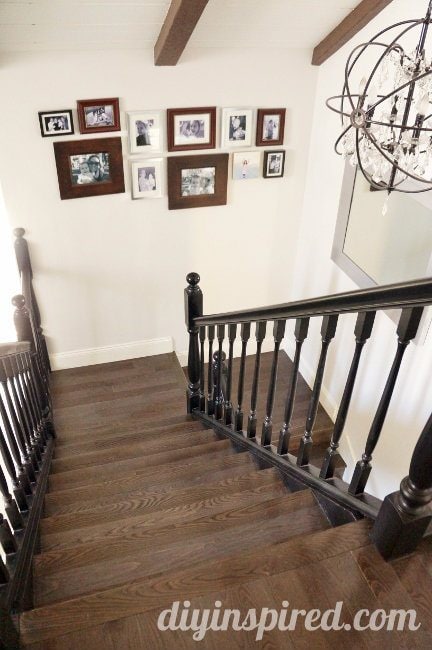
This is the view from the second floor.

Our Hardwood Staircase Makeover (2)

Our Black Staircase Makeover (1)

This is the hallway upstairs.

Our Hardwood Staircase Makeover (3)

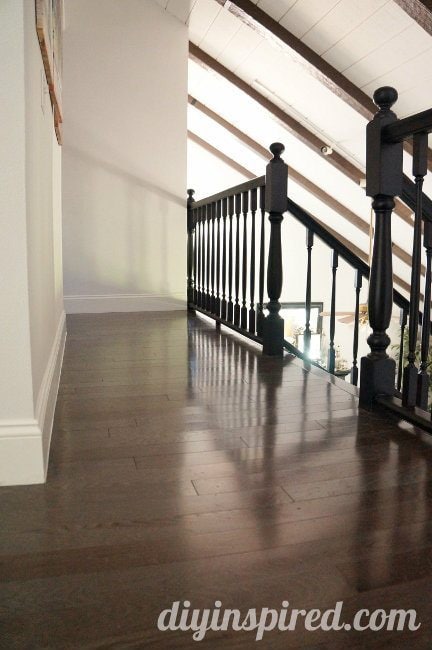
I loved how it turned out. We chose a hardwood with a 30 year warranty as well. I also noticed that I keep it much cleaner than I did when it was carpet because you can see the dog hair and dust. BUT that is fine by me… better actually.

Our Black Staircase Makeover (2)

  • Share
  • Twitter


9 Comments

Join our Community of Crafters!

Stay updated and never miss a thing!

Disclosure and Privacy Policy
Previous Post: « Glam-O-Ween Halloween Décor
Next Post: Skull Wine Charms DIY »

Reader Interactions

Comments

  1. Sarah Marchant says

    October 14, 2014 at 10:11 am

    I love it! Your stairs look very sophisticated now.

    Reply
    • Dinah Wulf says

      October 14, 2014 at 10:26 am

      Thank you so much, Sarah! We love it!

      Reply
  2. Lindsay says

    October 14, 2014 at 12:10 pm

    The makeover looks great!

    Reply
    • Dinah Wulf says

      October 14, 2014 at 2:35 pm

      Thank you SOOO much, Lindsay!

      Reply
  3. jenny@birdsandsoap says

    October 15, 2014 at 10:00 am

    What a gorgeous transformation! Love the black and the wood stained finish.

    Reply
    • Dinah Wulf says

      October 15, 2014 at 8:52 pm

      Thank you so much Jenny!

      Reply
  4. Rachel says

    October 17, 2014 at 8:14 am

    Wow, that looks great! Amazing what a coat of paint can do, huh? Nice job!

    Rachel White
    Photographer of “Treasures In The Woods” book / Musician
    http://www.sandiwhite.com

    Reply
  5. Becs says

    November 16, 2014 at 12:51 pm

    Beautiful!! Love how it made me look at the beautiful pendant light to see if it was there before as it suddenly ‘pops’ much more in the makeover!! Love your styles!!!

    Reply
    • Dinah Wulf says

      November 17, 2014 at 7:42 am

      Thank you so much! I LOVE those pendant lights! Thank you for stopping by, Becs!

      Reply

Leave a Reply Cancel reply

Your email address will not be published. Required fields are marked *

This site uses Akismet to reduce spam. Learn how your comment data is processed.

Primary Sidebar

Welcome!

DIY Inspired Profile Picture 2015Thank you for visiting! I'm Dinah and I am a full time Mother, Blogger and Writer. I'm honored to be named one of Mashable's 10 Mom Blogs Full of Inspiring Advice. {Read more about me here}

Join our Community of Crafters!

Stay updated and never miss a thing!

Disclosure and Privacy Policy

Stay updated and never miss a thing!

Footer

You might also love these

Easy Paper Butterflies Craft - DIY Inspired

How to Make Paper Butterflies

Front Door Wreath with Floating Numbers

Torched Address Wreath with Floating Numbers

Crazy Hair Day Yogurt Cup

Crazy Hair Day Ideas for Boys and Girls

Easy Felt Flower Barrettes

DIY No Sew Felt Flowers

DIY Felt Tassel Keychains

DIY Felt Tassel Keychains

Copyright © 2021 · Divine theme by Restored 316

Copyright © 2005–2021 DIY Inspired. Installed and customized by TCN Design Studio