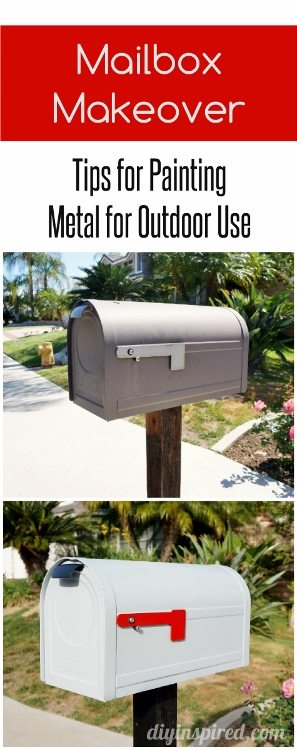
• Project Gallery
  • DIY
    • Recycled DIY
    • Upcycled DIY
    • Repurposed DIY
    • Refurbished DIY
    • DIY Furniture
    • Repurposed Furniture
    • Thrift Store Transformations
  • Crafts
    • Wood Crafts
    • Paper Crafts
    • Photo Crafts
    • Kids Craft Ideas
    • Doll Crafts
    • Felt Crafts
    • Stenciling
    • Gift Wrapping
    • Printables
  • Party
    • Birthday Party
    • Baby Shower
    • Bridal Shower
    • Wedding
    • Team Sports
    • Sweets and Treats
    • Cocktail Corner
  • Holidays
    • St. Patrick’s Day
    • Easter
    • Earth Day
    • Teacher Appreciation
    • Mother’s Day
    • Father’s Day
    • Fourth of July
    • Back to School
    • Halloween
    • Halloween Costumes
    • Thanksgiving
    • Elf on the Shelf
    • Christmas
    • New Years
    • Valentine’s Day
  • Home & Garden
    • Storage & Organization
    • Cleaning Tips
    • Gardening
    • Makeovers
    • Kid Stuff Makeovers
    • DIY Tips & Tricks
    • DIY Artwork
    • Curb Appeal
  • Health & Beauty
    • Health & Wellness
    • Bath & Body
  • Nav Social Menu

    • Facebook
    • Instagram
    • Pinterest
    • Twitter
    • YouTube

DIY Inspired

Repurpose, Reinvent

  • About
  • Contact
  • Advertising
  • Featured
  • Disclosure

DIY Tips and Tricks

Mailbox Makeover

Mailbox Makeover: How to Refresh an Old Mailbox

Mailbox Makeover DIY

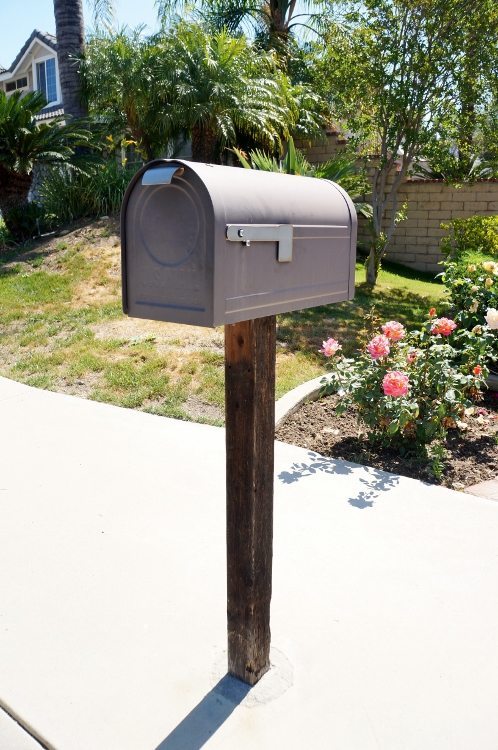
This project was from our old house in California. When we first moved in, our mailbox looked like this. Since our last name isn’t O’Brian, we purchased a new one and replaced it. Ha! A couple short years later, it was already time for a mailbox makeover, 1) because the “new” one already faded from direct sunlight, and 2) we painted our house from brown and tan to black and gray.

This is such a simple weekend DIY project, or shall I say, Sunday project because it’s the mailman’s day off. It takes less than an hour including drying time and is great for curb appeal. Here was our mailbox before.

Mailbox Makeover - How to Paint Metal

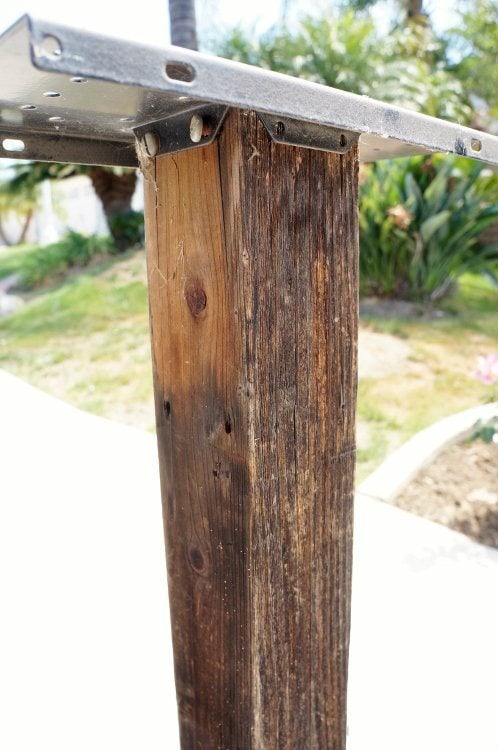
The pole wasn’t looking very great either.

Mailbox Makeover Before

Here is What You’ll Need

Time: 2 hours

Materials:

  • Screwdriver
  • Wire Metal Brush
  • Cloth
  • Indoor/Outdoor Spray Paint for Metal
  • Outdoor Paint and Paintbrush (Optional for Pole)

Making Over our Mailbox

First, we removed all the hardware with a screwdriver or drill. Remove the flag, handle, and the box from the pole. 

Since this mailbox is only a couple years old, there wasn’t any rust. If there is rust on your mailbox, a wire metal brush works great. You will also need to prime it before you paint. Just gently scrub the rusted area and then wipe and clean away the debris. We used Rust-Oleum brand indoor/outdoor spray paint for metal that I purchased from Home Depot. We used pewter gray for the mailbox, red for the flag, and black for the handle and spray painted two coats outside in a well ventilated area. If you need to prime it first, look for a paint and primer in one spray paint. For more tips on painting metal, check out how we painted our metal gate (this makeover is amazing…).

Mailbox Makeover with Spray Paint

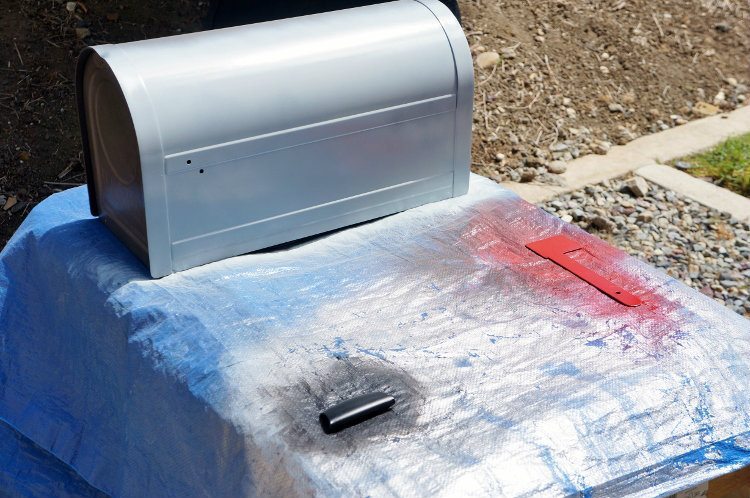
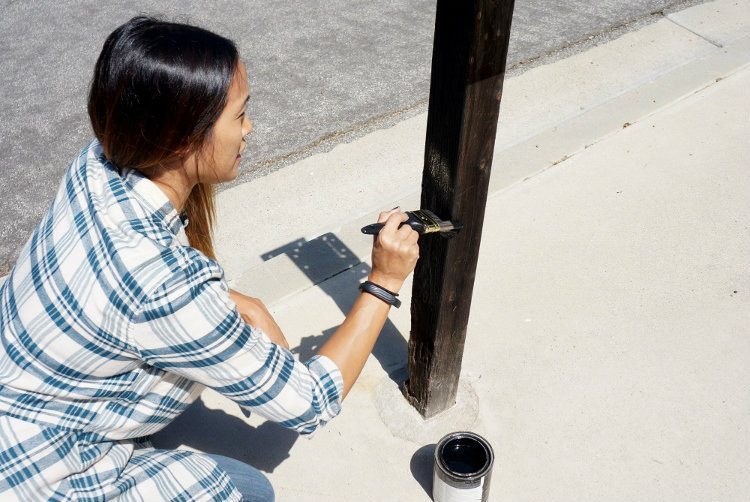
While the paint was drying, I painted the pole black with leftover exterior paint we had from painting our house.

Mailbox Makeover Weekend Project

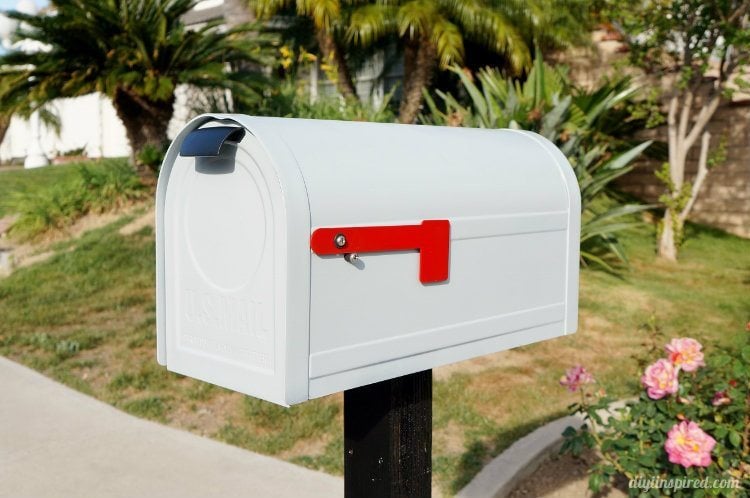
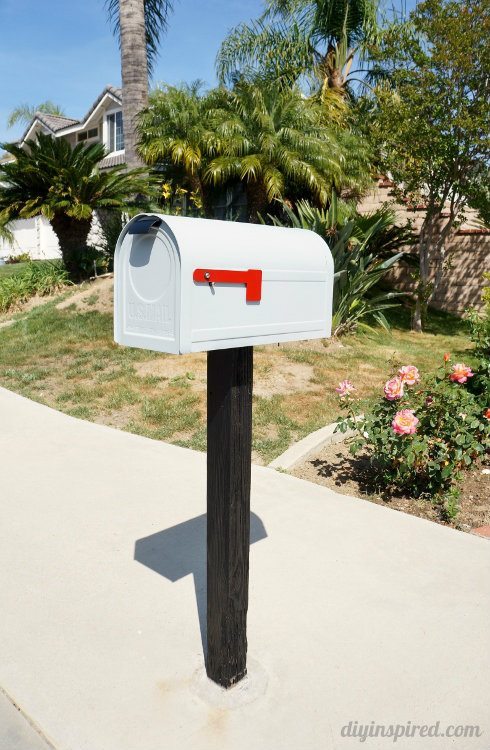
My husband reassembled everything. It’s amazing how such a small thing can be a huge eyesore. Now it looks great and blends in perfectly with our house. The light gray was the right choice, as the color did not fade after years of direct sunlight. 

Mailbox Makeover How To

Like it? Pin it!

Collage Mailbox Painting Metal for Outdoor Use

You May Also Like:

  • Playhouse DIY Mini Makeover
  • Our Staircase Makeover Before and After
  • Updates to Our Home
  • Living Room Makeover Reveal
  • Front Door Makeover Before and After
  • Half Bathroom Makeover Before and After


Updated and Improved from April 2015.

  • Share
  • Twitter


2 Comments

Join our Community of Crafters!

Stay updated and never miss a thing!

Disclosure and Privacy Policy
Previous Post: « DIY Scented Teacup Candle
Next Post: Ways to Repurpose Record Albums and CD’s »

Reader Interactions

Comments

  1. Bex says

    May 29, 2015 at 8:13 pm

    As a mail carrier, I beg you, box numbers, both sides, and on the inside of the door. My favorite box is bright blue and has a flower painted on the inside and says “Thanks” I know I am the only one who sees it, but it makes me happy daily.

    Reply
    • Dinah Wulf says

      May 29, 2015 at 8:29 pm

      Thanks, Bex! That is GREAT to know! I’m going to have to add that… especially the “thanks”. Great ideas.

      Reply

Leave a Reply Cancel reply

Your email address will not be published. Required fields are marked *

This site uses Akismet to reduce spam. Learn how your comment data is processed.

Primary Sidebar

Welcome!

DIY Inspired Profile Picture 2015Thank you for visiting! I'm Dinah and I am a full time Mother, Blogger and Writer. I'm honored to be named one of Mashable's 10 Mom Blogs Full of Inspiring Advice. {Read more about me here}

Join our Community of Crafters!

Stay updated and never miss a thing!

Disclosure and Privacy Policy

Stay updated and never miss a thing!

Footer

You might also love these

Thrift Store Tea Party Decorations

Upcycled Thrift Store Teapots

DIY Recycled Milk Jug Flowers Tutorial

Clever Trash to Treasure Earth Day Crafts

Easy Paper Butterflies Craft - DIY Inspired

How to Make Paper Butterflies

Front Door Wreath with Floating Numbers

Torched Address Wreath with Floating Numbers

Crazy Hair Day Yogurt Cup

Crazy Hair Day Ideas for Boys and Girls

Copyright © 2021 · Divine theme by Restored 316

Copyright © 2005–2021 DIY Inspired. Installed and customized by TCN Design Studio