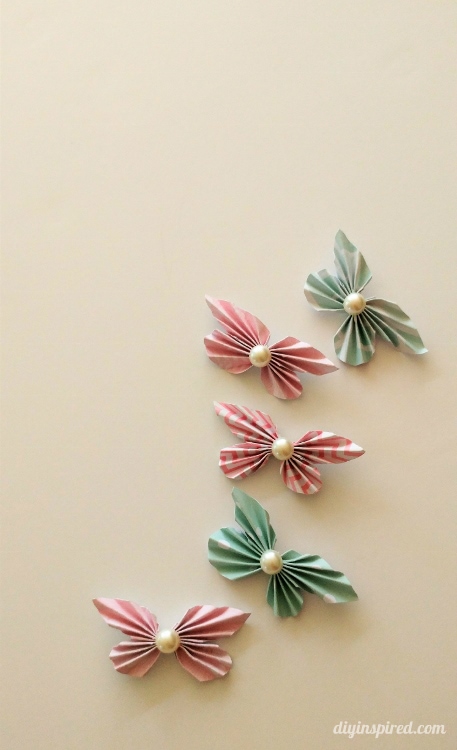
How to Make Paper Butterflies
Easy Tutorial for How to Make Paper Butterflies
I have been trying work on my YouTube channel to create a collection of craft tutorial videos. In the past, I have gotten emails from people requesting video. Because of this, I decided to go back through some popular posts and make a video to go along with the written photo tutorial. This one is How to Make Paper Butterflies.

Use Paper Butterflies for
- Party Decorations
- Embellishments for Paper Lanterns
- Card Making
- Nursery Decor
Time: 20 Minutes
Materials:
Materials list contains Amazon Affiliate links for recommended products.
- Paper
- Circle Punch
 (or something round to trace and cut)
 - Paper Cutter (or straight edge and scissors)
- String
- Embellishment (for center, optional)
 (or something round to trace and cut)
 (or straight edge and scissors)
Watch the YouTube Tutorial:
Enjoy this quick video tutorial on how to make accordion paper butterflies.
Instructions:
If you need more instruction other than the video, I wrote a step by step photo tutorial for these in this post, Paper Accordion Butterfly Lanterns, when I was decorating for my daughter’s Cinderella party a couple years ago. They look beautiful covering white lanterns.
Tips and tricks
- To change the size of the butterfly, simply change the size of the circle and square. For example, cut out a 4” circle with a 4” square for a larger butterfly, and so on. For this video tutorial, I used 2” circle and 2” square.
- I also used scrapbook paper which is thick. Using regular paper is easier to fold and unfold.
- Lastly, I want to also note, that using a smaller than 2”, use a lightweight paper only. It will be easier to fold/unfold.
I hope you try it! As I mentioned, these look beautiful glued onto lanterns for party decorations, or even a kid’s room or nursery for decorations. Play around with the colors and patterns to fit your décor.

Updated and improved from May 2017