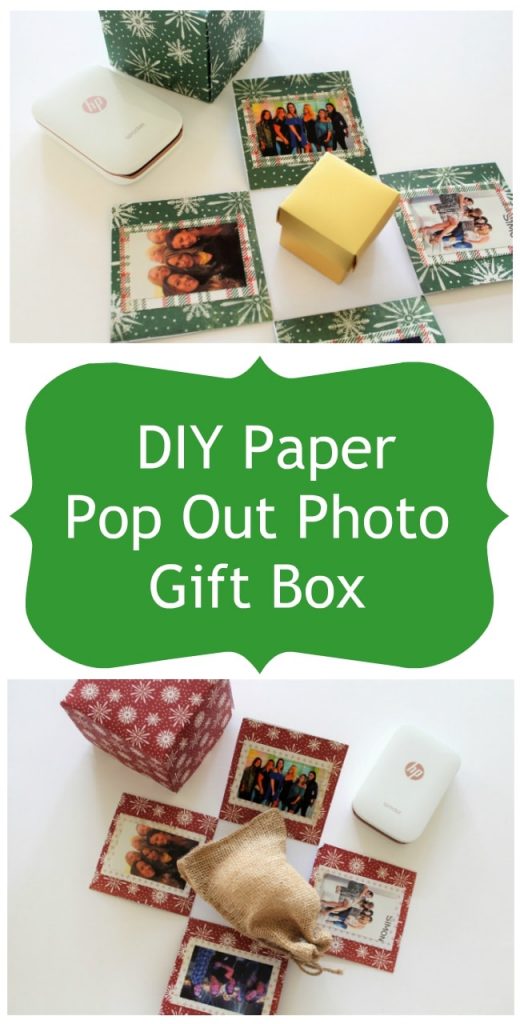
DIY Paper Pop Out Photo Gift Box
Make this Simple DIY Paper Pop Out Photo Gift Box with Three Sheets of Paper
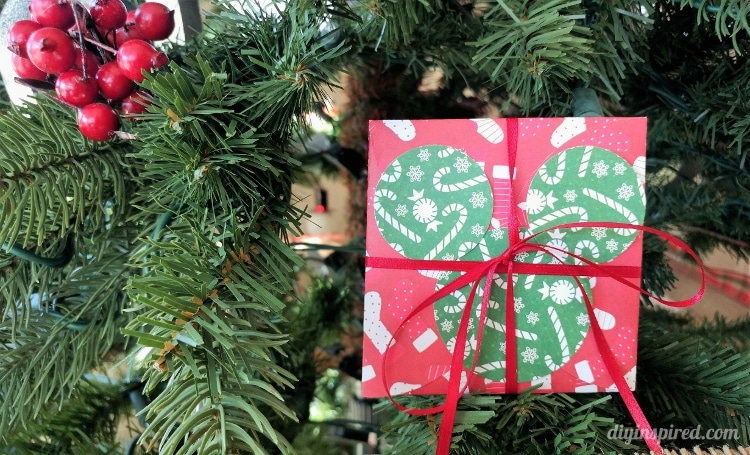
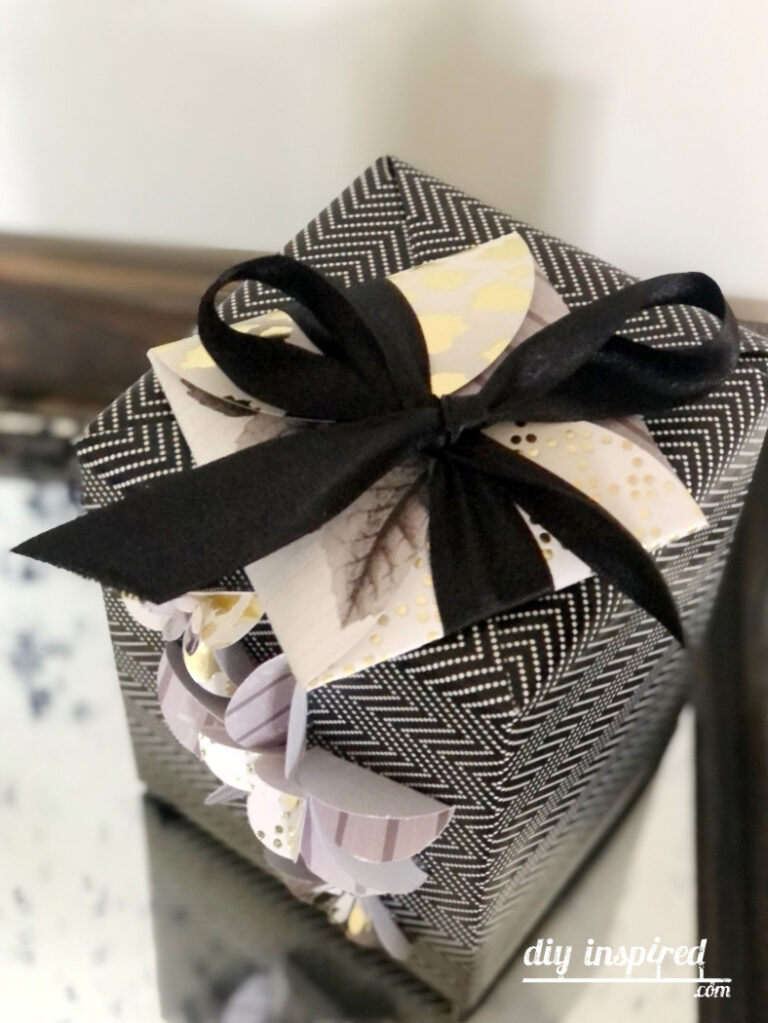
One of my favorite parts of gift giving is wrapping the present. Today I’m sharing how to make this fun pop out photo gift box using just three pieces of scrapbook paper and your HP Sprocket photos. It’s great for any holiday or celebration; just change the color and pattern of paper.
Here’s What You Need
It only takes about 20- 30 minutes to make. You will also need a few other things like photos, a cutting mat, and utility knife.
Time: 30 Minutes
Materials:
- Photo Printer
- 3 Pieces of Scrapbook Paper
- One 12”X12” Color/Pattern 1
- One 11”X11” Color/Pattern 1
- Four 2.5”X3.5” Color/Pattern 2
- Cutting Mat
- Paper Cutter (optional)
- Ruler
- Scissors
- Scoring Tool or Empty Pen or BBQ Skewer
- Glue Stick
Instructions:
Making the Box Bottom
Start with the 12”X12” piece of scrapbook paper. This will be the bottom f the box with your photos. Using a 12-inch ruler, on the back of the paper, mark all four sides at 4 inches and 8 inches and connect the lines creating six 4”X4” boxes.
Next, cut out the four corner boxes with scissors and glue them onto the four leftover outer boxes, patterned side up. This will be the sides of your box.
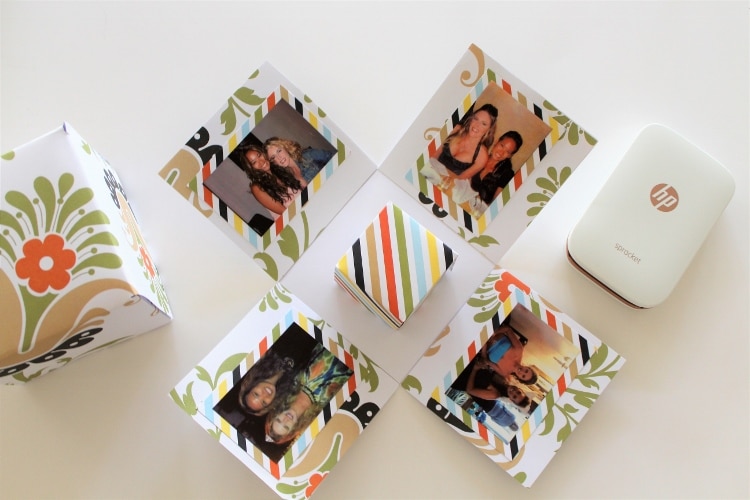
Print out four of your favorite photos of the recipient of the gift on your printer. I used the HP Sprocket.
Glue the four 2.5”X3.5” onto the center of each patterned side to create a frame or border. Then, remove the Sprocket Photo sticky back and place them in the center of each frame, one for all four sides. Gently fold up each side to create a crease.
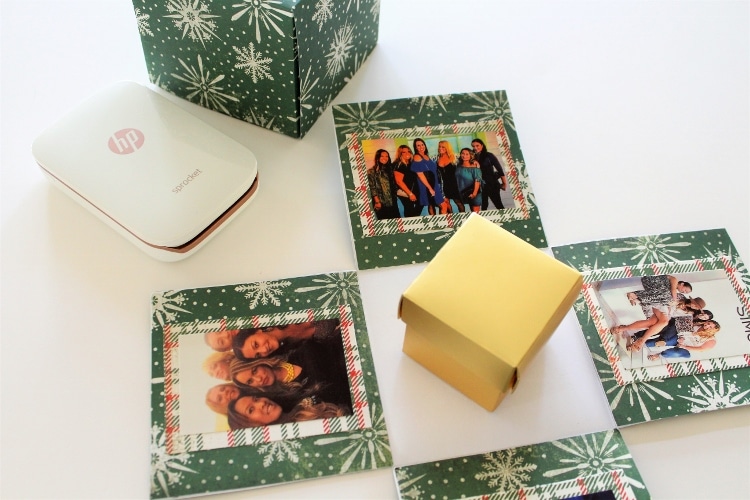
Making the photo gift box Lid
Use the 11”X11” piece of scrapbook paper for the lid. Using a 12-inch ruler, on the back of the paper leave a half inch over hang on each side and mark at 4 inches and 8 inches. Repeat on all four sides and connect the lines. Score all the lines on a cutting mat.
Cut the second line to the center box on all four sides. Fold and create a crease for all nine boxes. Fold up the sides and glue each (shorter) side to form a lid.
Place the gift in the center of the box bottom. If it is small, you can tape it down at the bottom so that it stays centered. Place the lid on top. When the recipient opens the box, the flaps will pop out showing the gift in the center and the photos on the sides. It’s adorable and always a big hit!
Play with different colors and patterns, depending on the occasion. You can also add other embellishments like words, flowers, and stickers to surround each photo. Use the four sides as mini scrapbook pages and get really crafty!
I hope you like this fun photo gift box!
Pin it!
Need more paper craft ideas? Try these!
- 6 Easy Paper Flower DIY Ideas
- Recycled Book Page Butterfly Wreath
- 4 Easy Paper Flower Tutorials
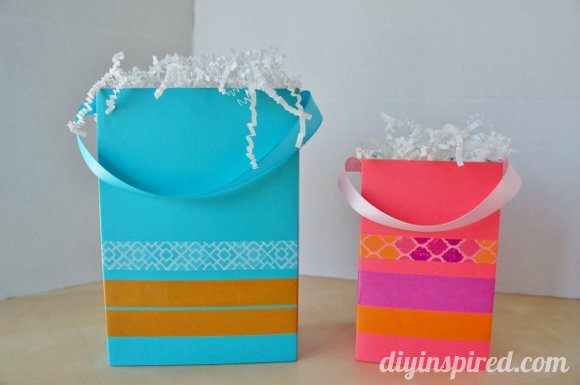
- Brown Paper Bag Gift Wrapping
- DIY Fruit Slice Gift Tags
Here’s another video you might like:
Customize these pop out boxes for any occasion!
This post was originally written on November 28, 2017 for HP.
POP OUT PHOTO GIFT BOX present is adorable! Can’t wait to make it with kids….