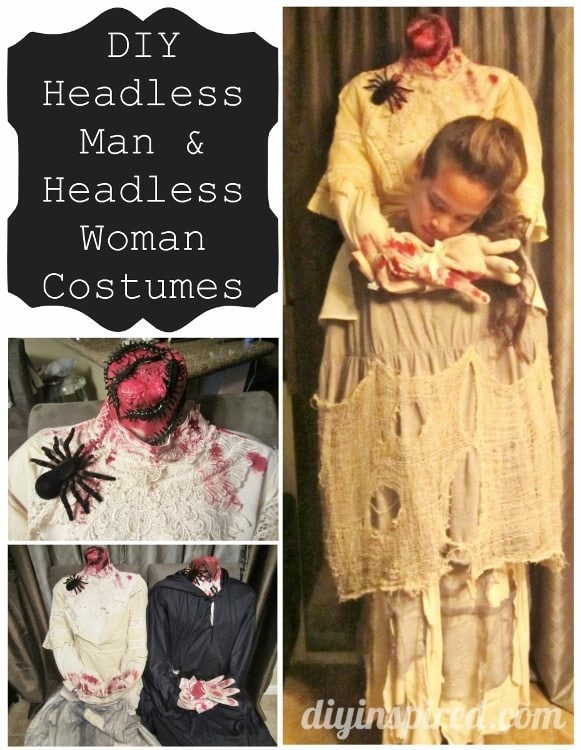
Headless Man and Headless Woman Costumes
How to Make Headless Man and Headless Woman Costumes
This post, Headless Man and Headless Woman Costumes was originally published on October, 10, 2011 but has since been updated and improved.
Before we begin, I found this costume in my garage, and couldn’t believe I had kept it for 12 years! Here is an attempt to try it on on Instagram Reels. With Halloween just around the corner, republishing seemed appropriate.
The older I get, the more I love being “scary” things for Halloween. I decided to be a headless zombie this year. Searching the web for ideas, I came across some pretty good costume ideas. My inspiration for this project was mainly from author, connielim_2000 from instructables.com and from Make Magazine, an article about Nicole Magne’s headless Marie Antoinette costume. I read both awesome articles and made tweaks of my own to fit with what I had to work with.
These are by far the coolest handmade costumes I have made to date. They were surprisingly very easy to make. Here is how I made my headless man and headless woman costumes for my husband and me.
Instructions for Headless Man and Headless Woman Costumes
Materials
This list contains affiliate links for recommended products I use.
Torso:
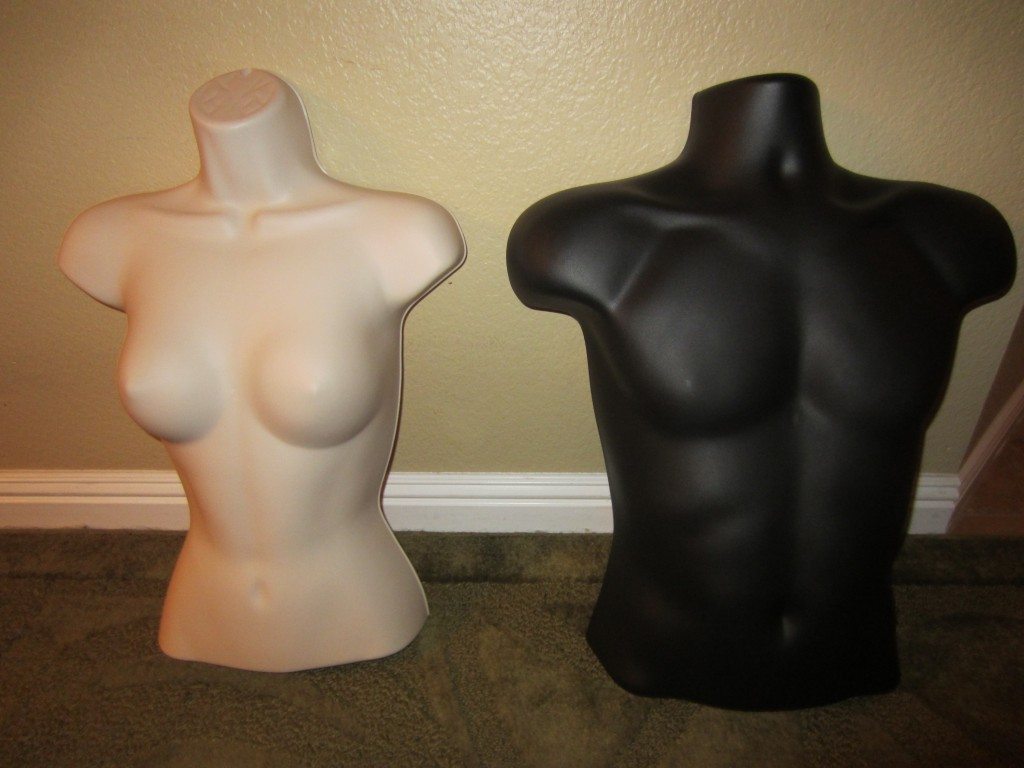
- Torso Dress Form ($5 each on Craigslist)
- Child size backpack (check value and discount stores)
- Duct tape
Clothing:
- Thrift store clothing or old curtains or sheets
- Gloves
(try the dollar store first!)
- Needle and thread
(optional)
- Stuffing for arms and gloves (newspaper, old towels, rags, old clothes, or poly-fil)
Gory effects:
- Deep red acrylic paint
- Plastic bugs from the 99 Cent Only Store
- Glue
- Damp paper towel
(for neck guts)
- Decoupage
medium
Optional:
- Costume jewelry
Making the Torso
Purchase your materials. Finding the torso dress forms on Craigslist saved a lot of time and money. I found a great contact in Santa Ana, California called The Competitive Store. Call them directly and ask for Jenny for the clearance items. They have awesome service too. I also got the back packs on sale a few weeks after school started for $5 each at Big Lots.
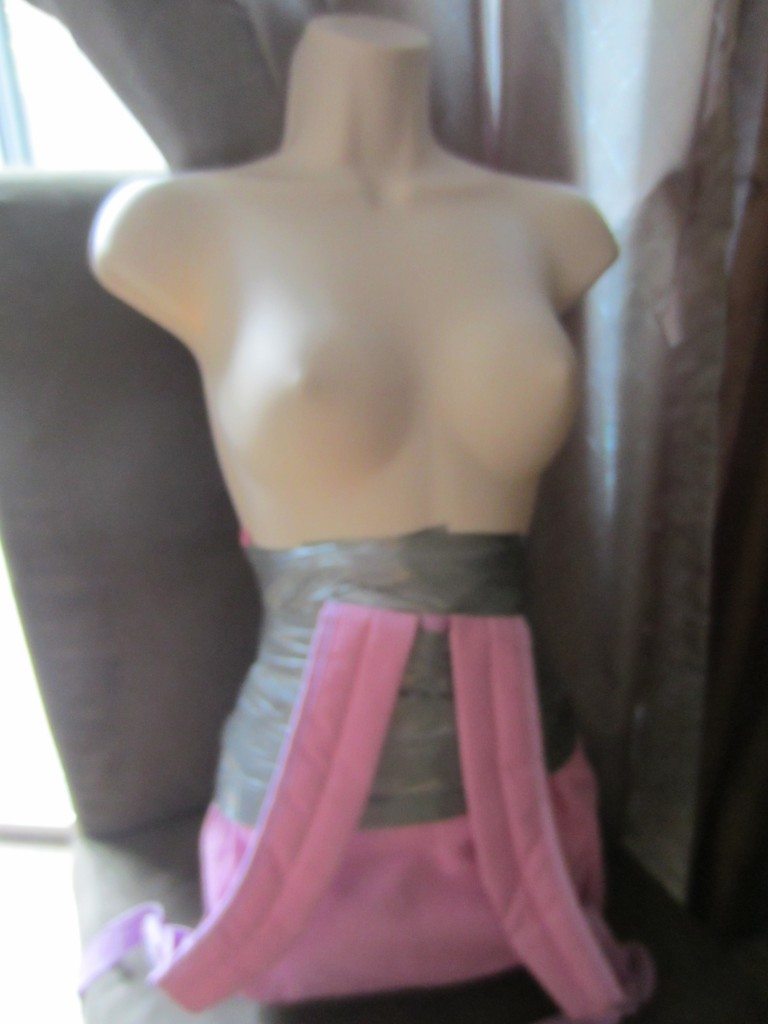
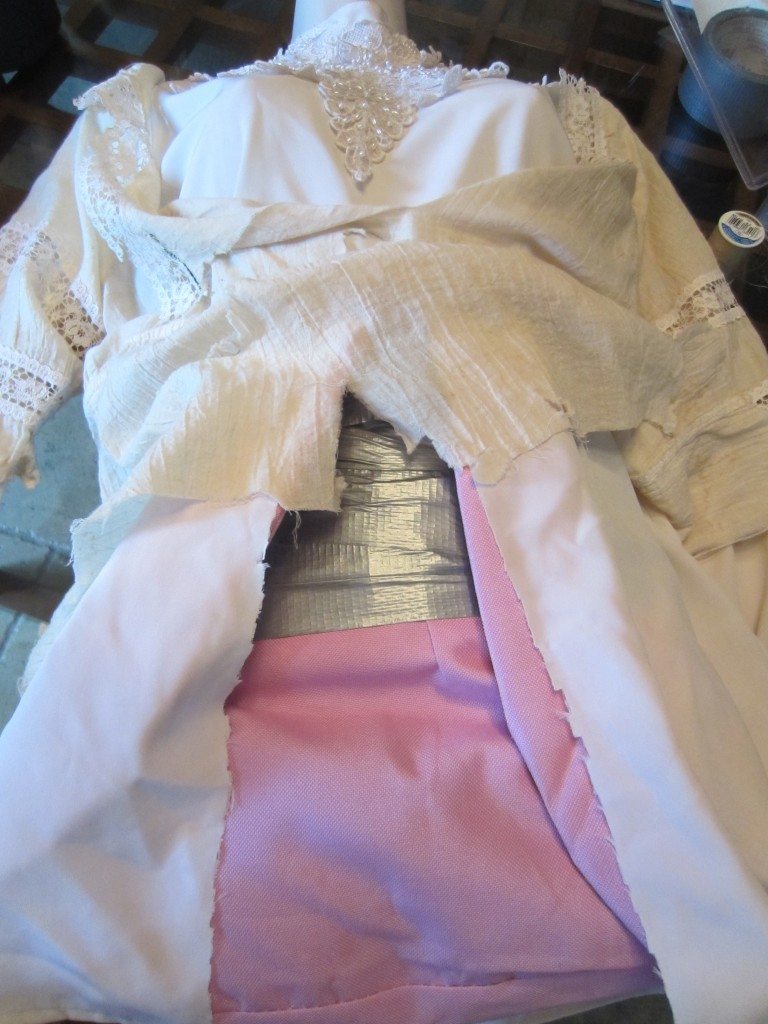
Insert the dress form into the back pack with the straps and the chest facing the same way. The child size back pack is the perfect fit for these retail dress forms. Tightly bind the form to the back pack with duct tape. I tried it on first to make sure the height was ok. I ended up stuffing the bottom of the back pack with an old hand towel to raise it a bit. Make sure you try it on first before you tape it to get the right height.
Making the Guts
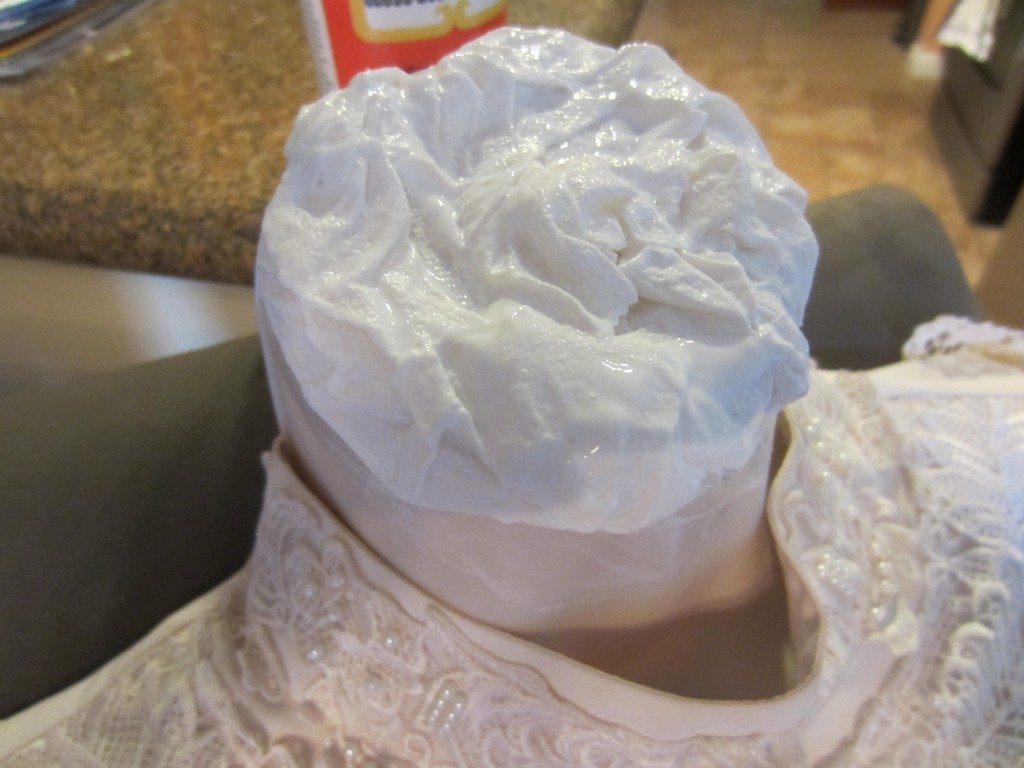
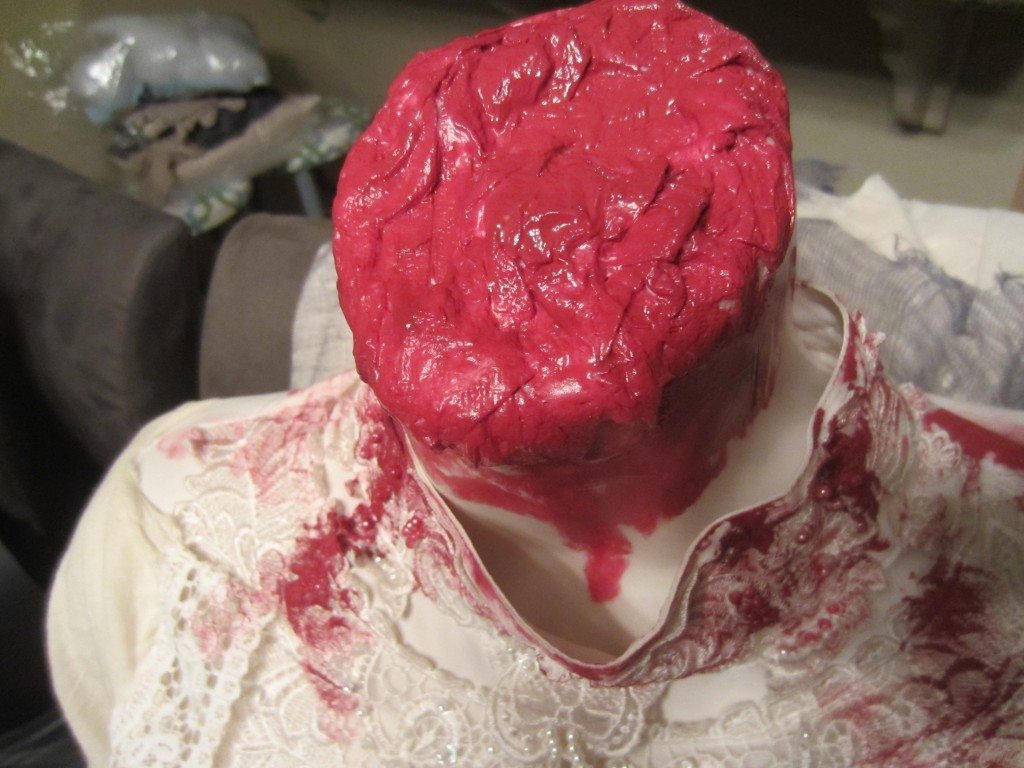
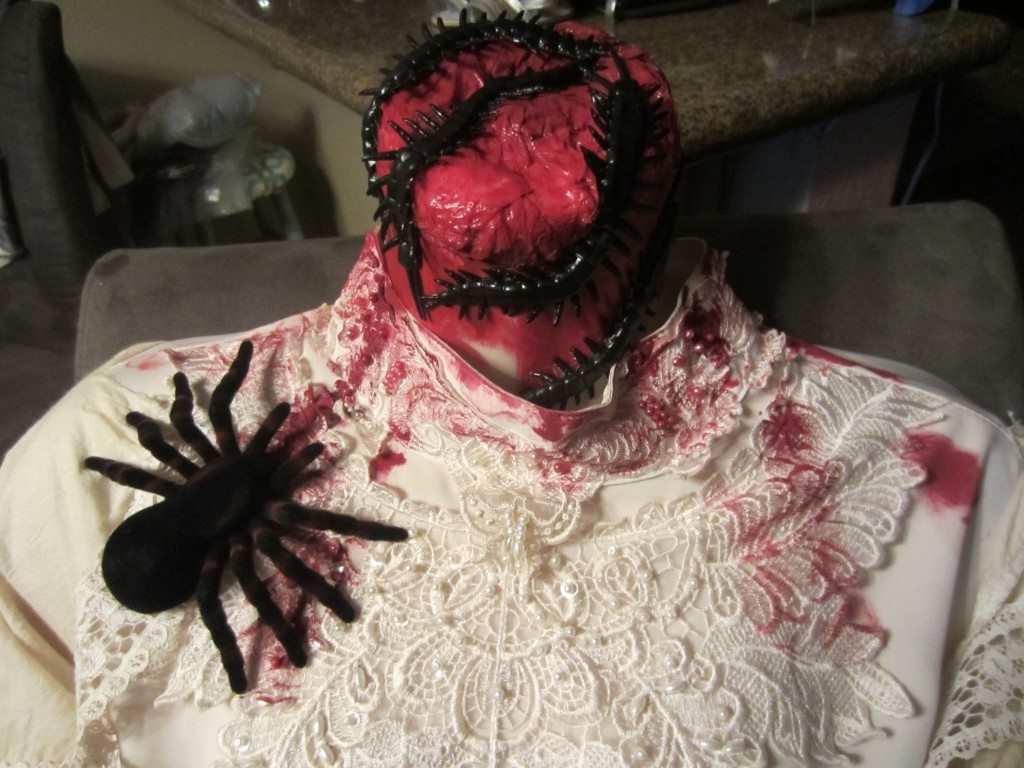
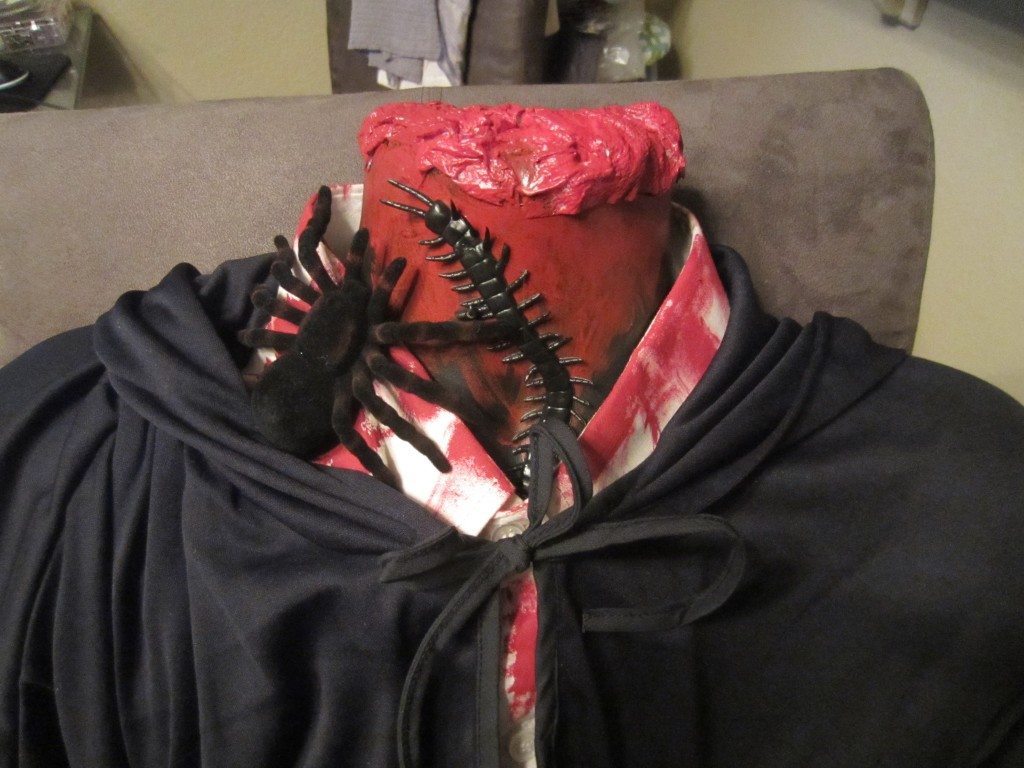
I used half of a paper towel, dampened it, and arranged it on top of the neck of the dress form to look like guts. I saturated it with decoupage medium and coated it two times. Make sure you allow it to dry in between coats. Paint it with a deep red acrylic paint.
I bought a package of spiders and bugs from the 99 Cent Store and glued them to the neck and shoulders.
Dressing the Headless Zombie
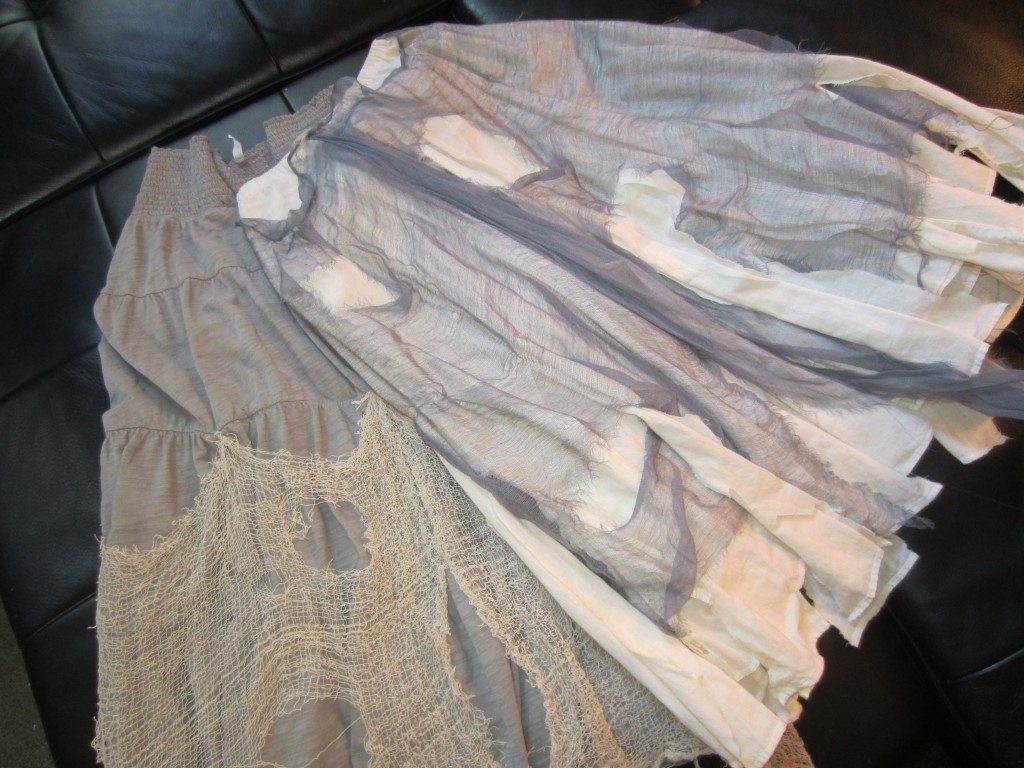
I spent less than $5 at the thrift store as well as dug up some old clothes and tea stained them to give them an antiquated look. I also embellished the costume with Halloween gauze from the 99 Cent Only Store and also found some of my past Halloween costumes in the garage to use as well. For example, I used a Grim Reaper cape for the headless man.
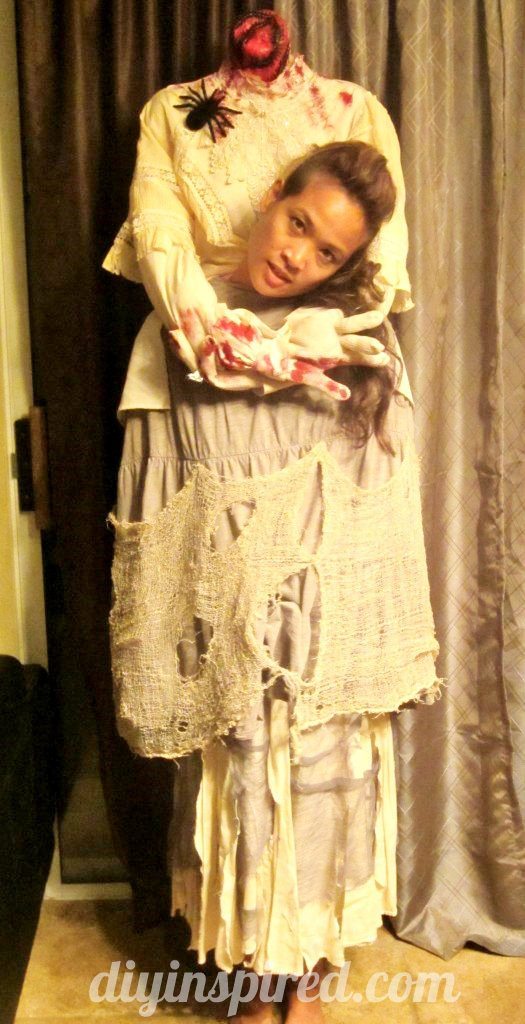
For the woman, I used two thrift store blouses and two long skirts. Both blouses were on the form, one skirt went over my arms, shoulders, and back pack, and one skirt I wore normally.
If you go with the blouse and shirt (as opposed to a long dress), you have to cut a slit up the front of the shirt, so the back of the costume will look right.
For the man, I used an old men’s dress shirt and a Grim Reaper cloak. With the costume on him, I cut the hole in the cloak for my husband’s head.
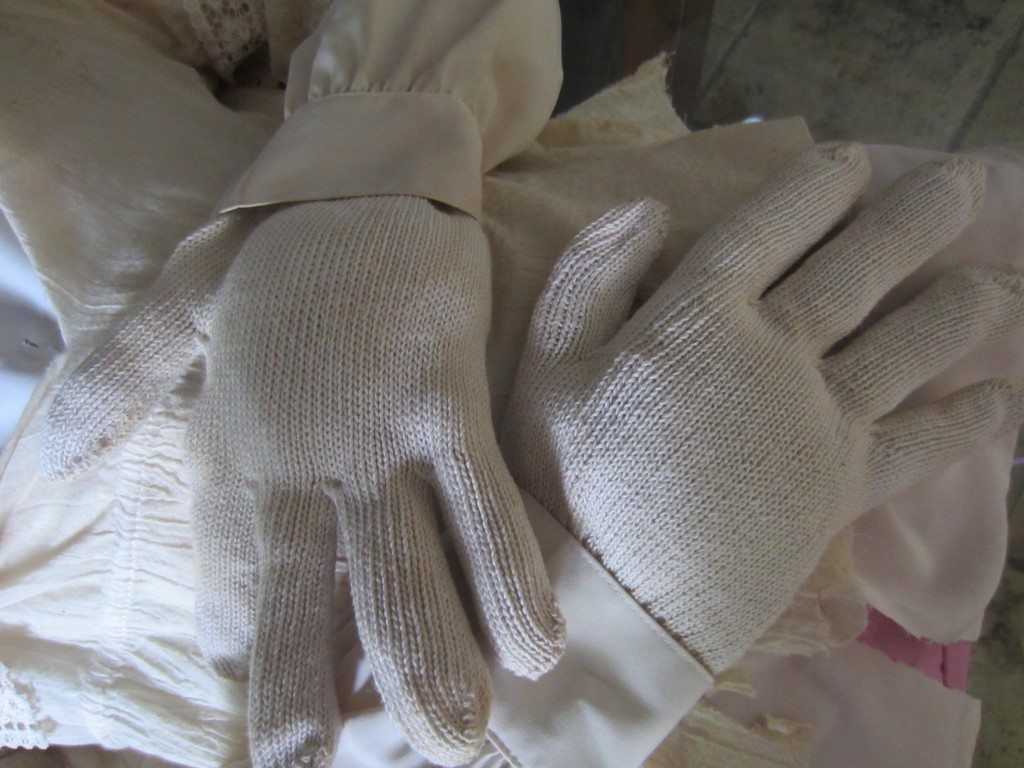
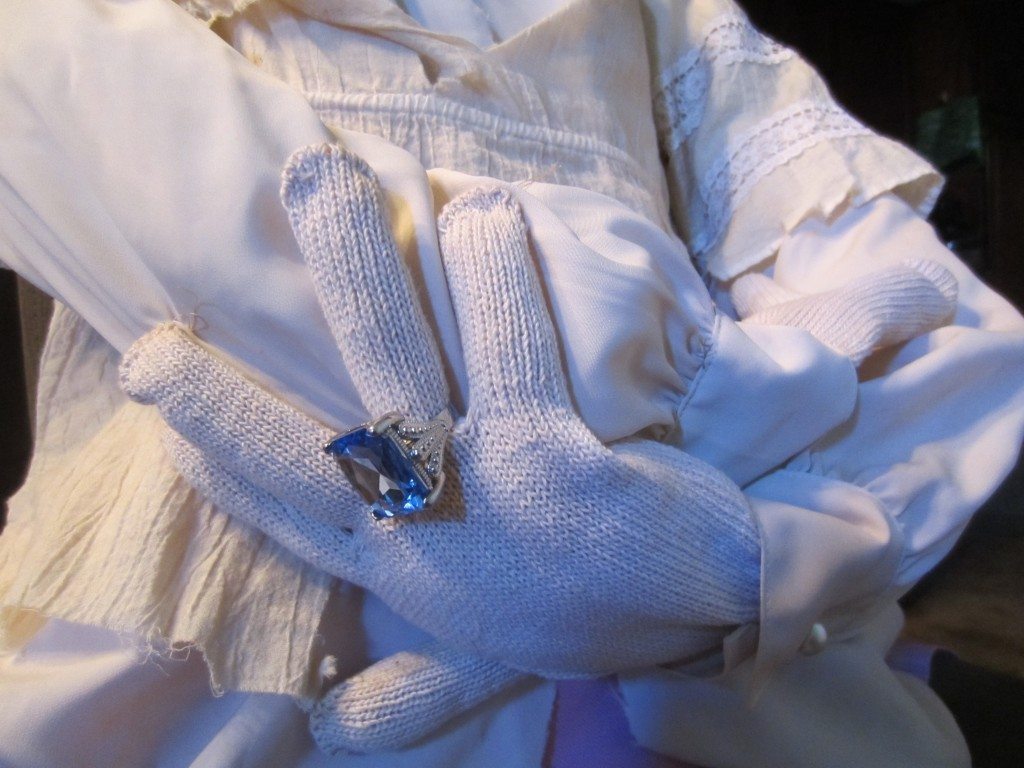
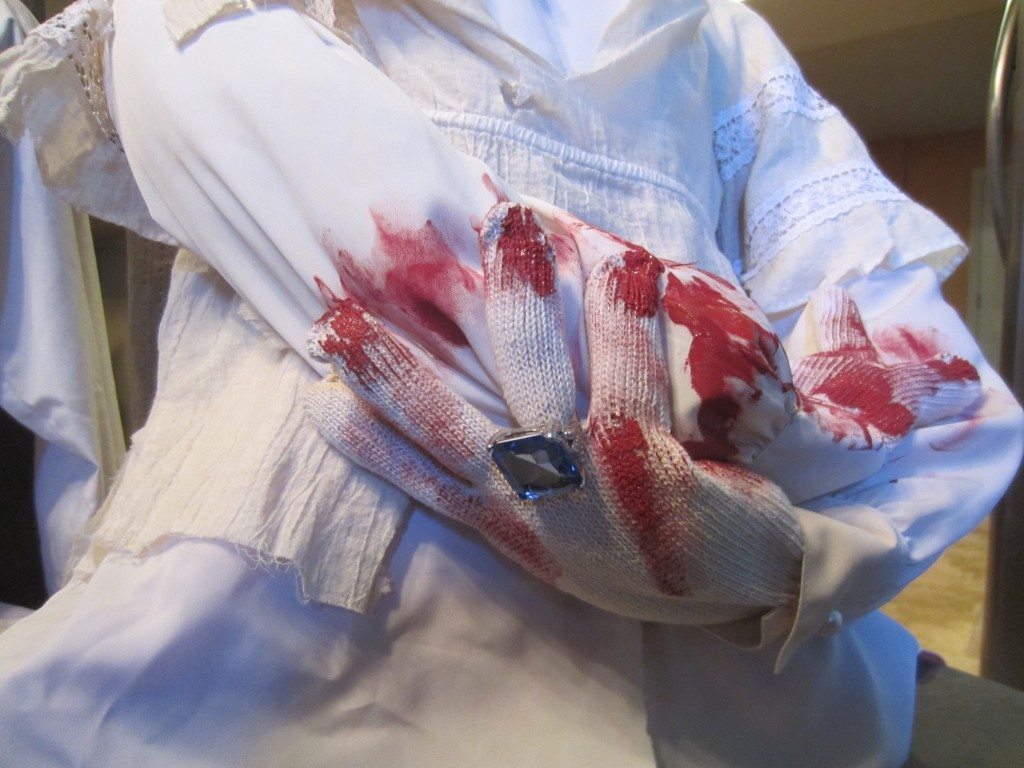
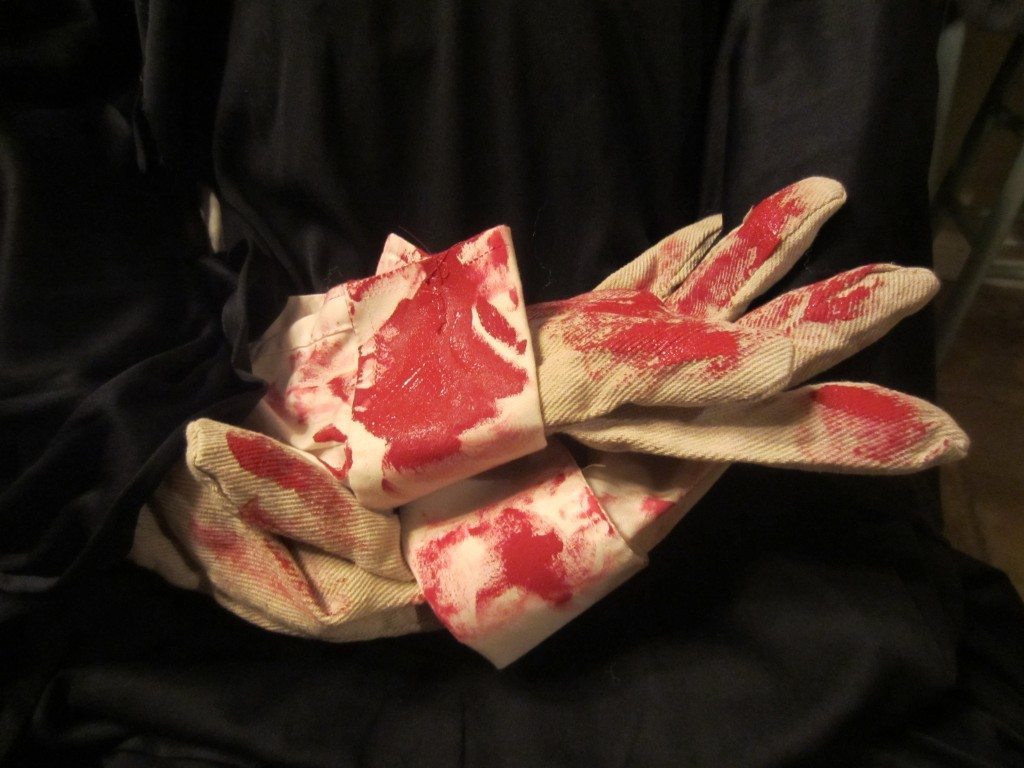
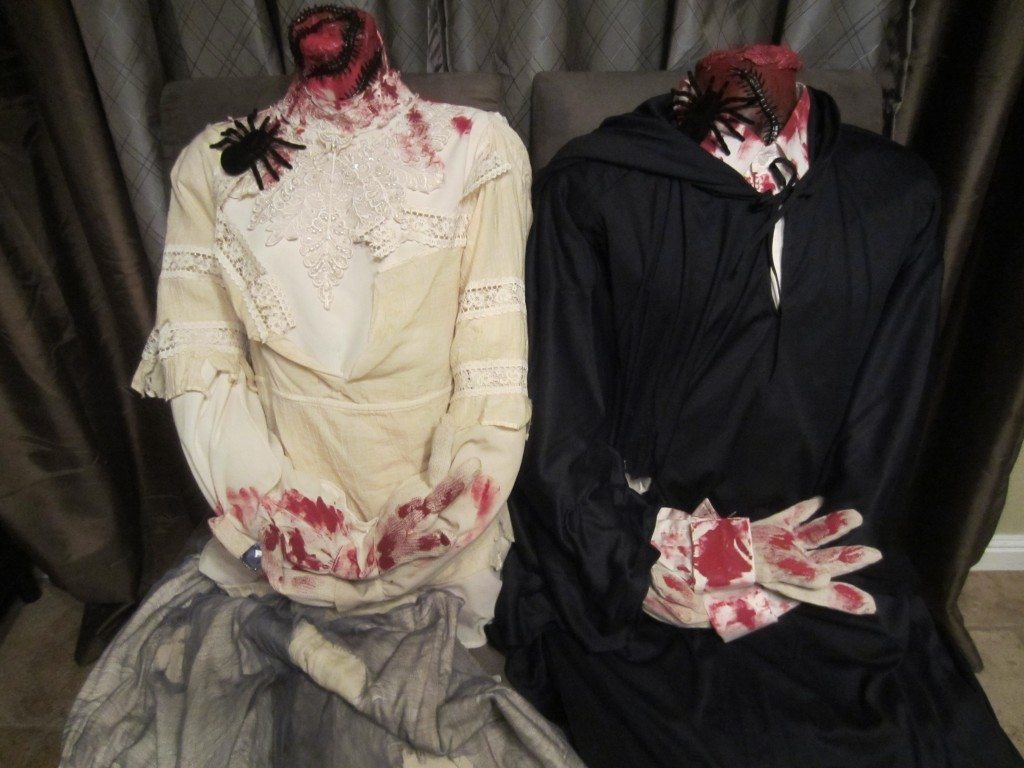
Dress your form and lightly stuff the arms and gloves. I used left over polyester fiber fill from an old pillow project and stitched the gloves to the end of the sleeve. I also stitched the fingers to the shirt and used a deep red acrylic paint to splatter all over the hands.
During the process it helped that my husband and I tried them on several times to get the right height, fit, etc.
Here are some after pictures of my headless man and headless woman costumes.
My hubby was on crutches (not part of the costume).
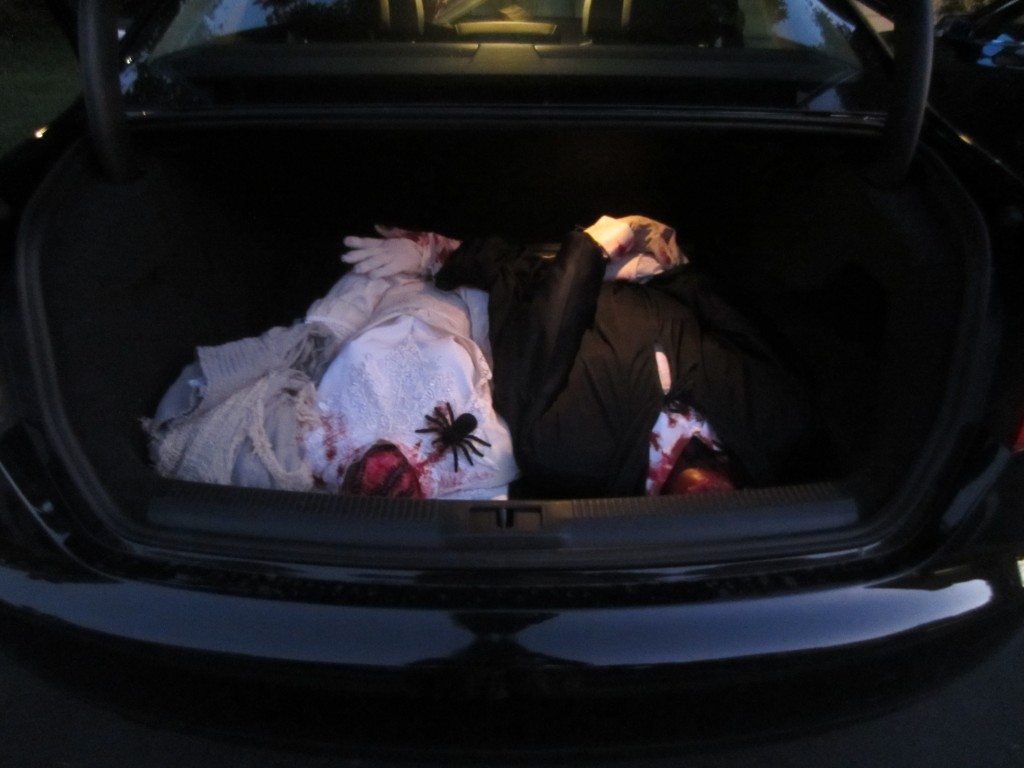
These were our costumes in the trunk on the way to a Halloween party. Just thought this one was funny…
Other Halloween DIY Ideas
Check out some of my other favorite DIY Halloween Projects:







This are wonderful and scary too !!!!! You are so creative !!!!!!!!!!!!!!!!!!!
Thank you! It was so much fun making them. Now…what will I be next year??? LOL…
You are amazing Dinah !!! love your blog <3
Thank you, Tara!!!! And thanks for taking the time to comment 🙂 Pass it on!
This is one of the scariest costumes I’ve ever seen! Good lord…. The picture of you with your eyes open gave me goosebumps! My friend wants to know where she can order this costume?
AMAZING JOB!
I wore it to a party last Saturday with full amkeup and all and scared about 49 of the 50 kids there. None of them would come near me and their parents had to introduce them to me to show them it was just a costume.
Your friend is welcome to borrow it! If she wins a costume contest I get half though…just kidding! 😉
Well done! I like the detail. Do you have a pic with your make-up and all? Congratulations Dinah!
This is the BEST tutorial I have found for this and it seems like the easiest too… thanks! Perfect for a birthday costume party I have coming up.
Thank you soooo much! That means a lot to me! Pass it on!
Thank you! I don’t have a picture (I know…bad)! I’m hoping to see one from someone else at the party.
Lady Gaga went headless when she performed on the XFactor last night! I;m crossing my fingers that she got “DIYInspired”… LOL!
These are fantastic! I’m in the process of getting ideas together for this upcoming Halloween and I came across your site! I already started looking for body forms, but cannot find any as cheap as you said you found yours for! Were your body forms full forms, or were they hollow in the back?
Hi Erin! They were hollow in the back. I’d love to see them when your done! post a picture on Facebook if you want! 🙂 http://www.facebook.com/diyinspired
Thank you so much! I loved making it and it was a hit everywhere I wore it!
Amazing!
This is great. new fan
Hello very nice web site!! This is a great costume thanks for sharing.
. . . . .
I love this, thanks!!! So creepy!
Hi, I love this costume and your tutorial is really useful. I talked about it in my blog. Here is the link if you want to have a look (I included a link to your blog:-)).
http://bauledellefeste.blogspot.com/2012/10/costumi-di-halloween-fai-da-te-per_22.html
Thank you so much! I appreciate the link! 🙂
That was really awesome, thanks for sharing it.
Thank you Jenny! I need to make a newer version of it.
This is really awesome – was intending to do headless for my grandson this year – different version where the eyes were hidden – but this will be so much easier, as he will be able to see where he is going…also not using a form, but a stuffed pillowcase with turtleneck shirt and cloak.
Your tutorial helped me win 1st place. Thank you!
Oh my gosh that is AWESOME! Thank you for letting me know and congrats!
I loved this and appreciated the tutorial, I came across your site when planning my headless Marie Antoinette costume! I won first place in 3 different costume contests in my headless Marie Antoinette costume, so thanks for the inspiration and tips! I shared some pictures and details for my costume here: https://magpietayleetot.com/blogs/magpietayleetot-crafts-parties-and-more/headless-marie-antoinette-costume-my-2021-diy-halloween-costume-tutorial