Rocky and Bullwinkle Trick or Treat Pails
Rocky and Bullwinkle Trick or Treat Pails with Free Iron-On and Printable Tag
As you know, my daughters are going to be Rocket J. “Rocky” Squirrel and Bullwinkle J. Moose from the 1960’s classic cartoon. Their costume wouldn’t be complete without Rocky and Bullwinkle Trick or Treat Pails! Since I love making my own trick or treat pails like:
- Cousin It DIY Trick or Treat Pail
- Day of the Dead Paper Mache Trick or Treat Pail
- Monsters Inc Roz Trick or Treat Pail
- Plastic Trick or Treat Pumpkin Mummy
…of course, I had to make new ones this year.
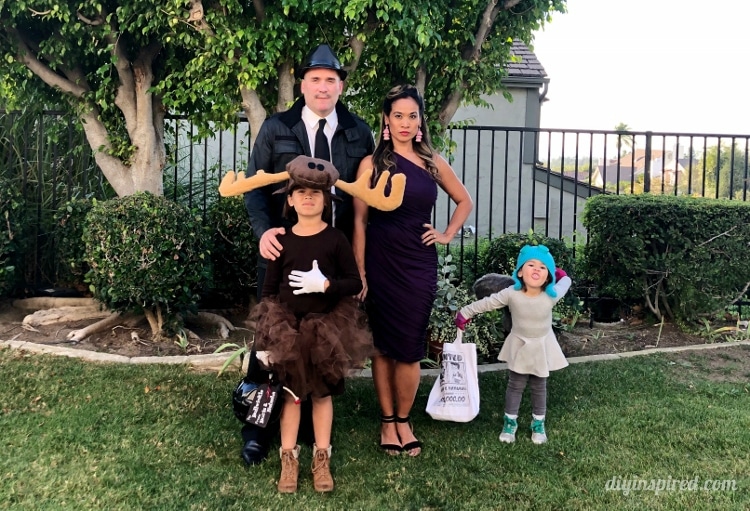
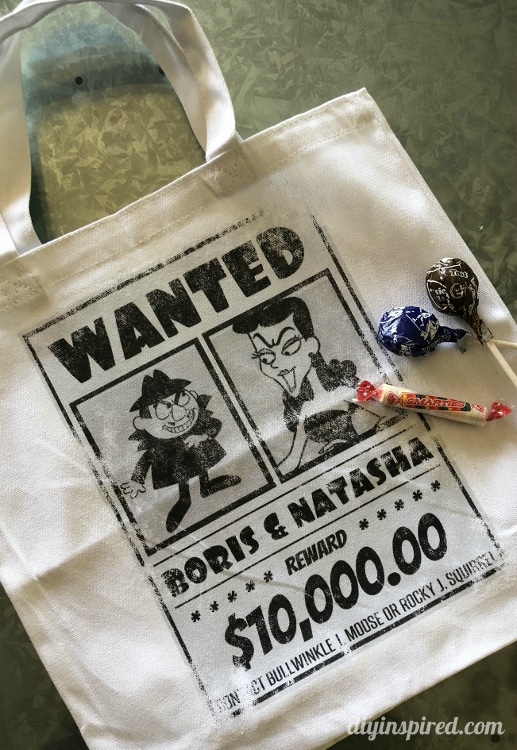
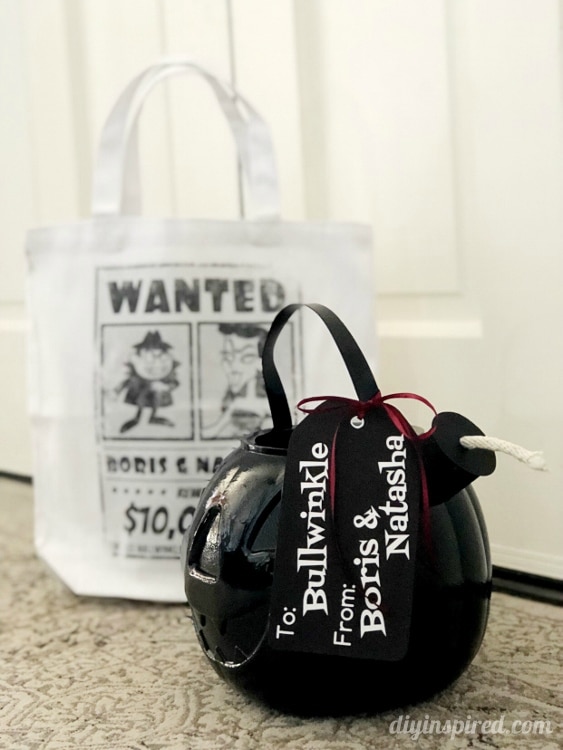
The scheming villains in most episodes were the fiendish spies Boris Badenov and Natasha Fatale, forever attempting to “catch Moose and Squirrel”. So, for Rocky, I made a Natasha and Boris wanted poster bag and for Bullwinkle I turned a plastic pumpkin into a bomb. Here is how I made them. Let’s start with the canvas bag.
Natasha and Boris Wanted Poster Bag
Time: 10 Minutes
Materials:
- Canvas Bag
- Free Printable Natasha and Boris Wanted Poster
- Iron-On Transfer Paper
- Iron and Ironing Board
Instructions:
Print the free poster on iron on transfer paper. Iron the canvas bag to remove any wrinkles. Be sure that there is no water in the iron. Place the transfer upside down on top of the bag. Press firmly and iron on the image. Follow the directions on the transfer paper package.
I purposefully made it “vintage” looking so that it would look old. To do this, do not wait for the iron-on to cool completely before pulling it off. Do a test corner. It should feel warm.
Bomb Trick or Treat Pumpkin
Time: 30 Minutes
This materials list contains affiliate links of products I use and recommend.
Materials:
- Plastic Pumpkin
- Black Spray Paint

- Cardboard Tube
- Scissors
- Black Paint
- Black Cardstock
- Circle Punch (optional)
- Small Piece of Rope
- Hot Glue and Glue Gun
- Ribbon
- Free Printable Tag


 (optional)
Instructions:
First, start by spray painting the pumpkin black and allow it to dry. Cut a cardboard tube to about a 2-inch length and paint it black. Next, cut a circle to fit over the top of the tube. Cut a hole in the middle for the rope.
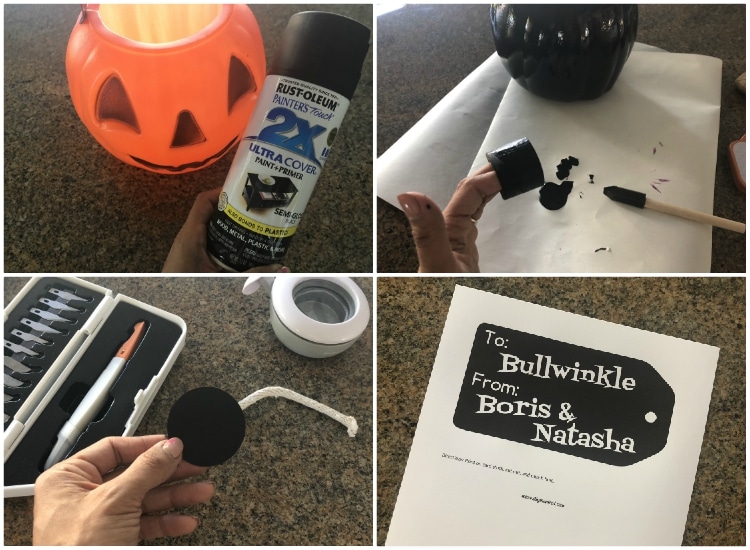
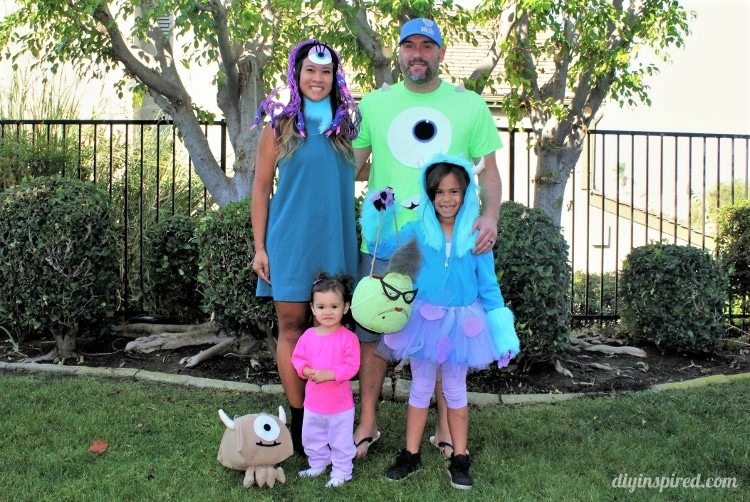
Use a pencil to help widen the hole and insert the rope. Hot glue the top onto the tube and then the tube onto the pumpkin top. If desired, add a red sparkly pom pom at the end of the rope with hot glue. Although not pictured below, you can see ours in our group photo above.
Finally, print and cut out the free printable gift tag from Natasha and Boris and tie it on the bomb with ribbon.
Watch the Video Tutorial for Both Trick or Treat Bags
Here is the video I made to go along with the tutorial.
If you are unfamiliar with my YouTube channel, I’d love for you to check it out! On it you will find over 100 (and growing) craft and DIY tutorials. You can subscribe here.
Thanks for watching!
You May Also Like
Check out these two creative trick or treat pail transformations! The first video is a Queen of Hearts Guard trick or treat bag and the second one is a Little Mikey trick or treat pail!