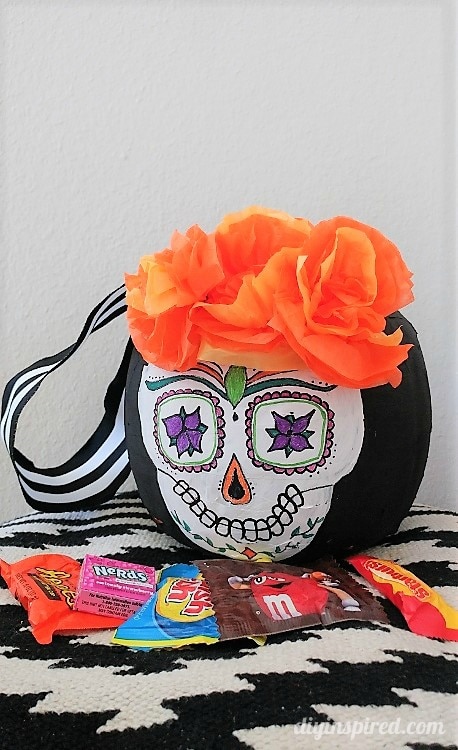
Day of the Dead Paper Mache Trick or Treat Pail
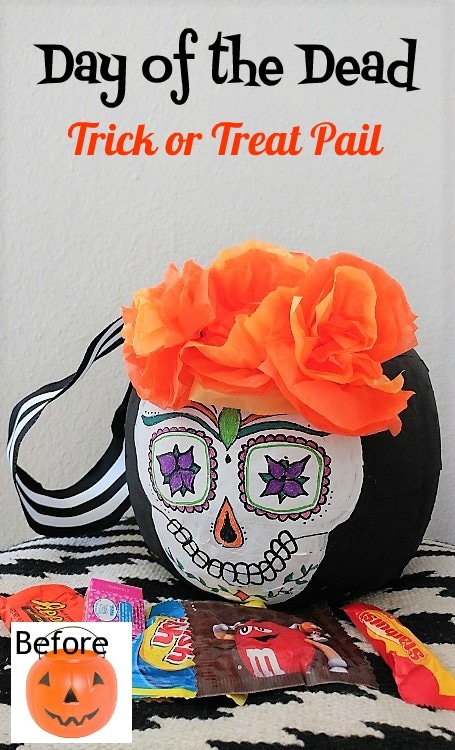
Transform a Plastic Pumpkin into a Day of the Dead Paper Mache Trick or Treat Pail for Halloween
This Day of the Dead Paper Mache pail is not my first transformation. I have transformed a few plastic trick-or-treat pumpkins in the past and I have to say it’s one of my favorite Halloween crafts. Here are a few I have done already:
- Plastic Trick or Treat Pumpkin Mummy
- Cousin It DIY Trick or Treat Pail
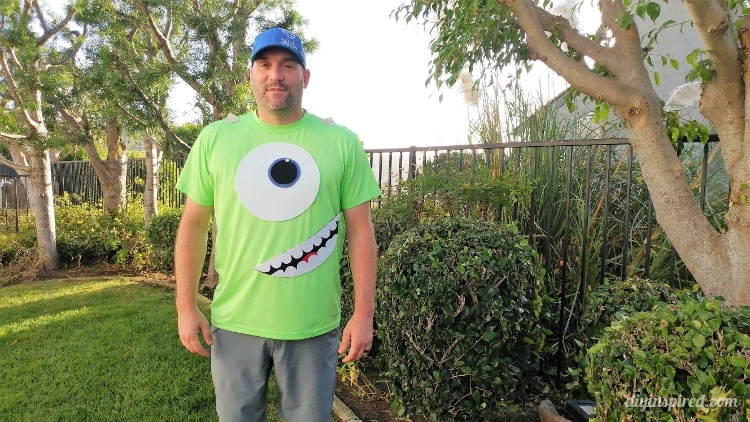
- Little Mikey and Boo Monsters Inc Costume
- Monsters Inc Roz Trick or Treat Pail
One day I decided to ask my friends on Facebook for ideas on what to transform a plastic pumpkin into. I got this Dia de los Muertos idea from my best friend back home in Maryland. I loved this idea because I recently learned a lot about Dia de los Muertos from a GMC DIY challenge I did with my friend Yvonne where we worked together to create a beautiful DIY altar to honor her deceased loved ones.
This pumpkin would be perfect for my friend’s daughter’s costume this year. Here is how I made it.
Time: 1-2 Hours (plus drying time)
Materials:
- Plastic Pumpkin Pail
- Newspaper
- Scissors
- Mod Podge
- Water
- Bowl
- Paint Brushes
- Black and White Paint
- Pencil
- Black Sharpie
- Markers
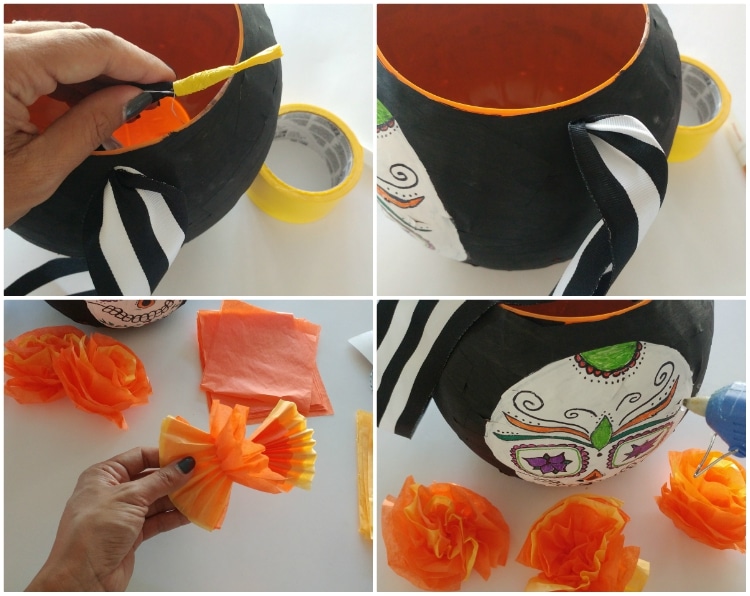
- Ribbon or String (for the handle)
Watch the YouTube Tutorial:
Instructions:
Paper Mache the Pumpkin
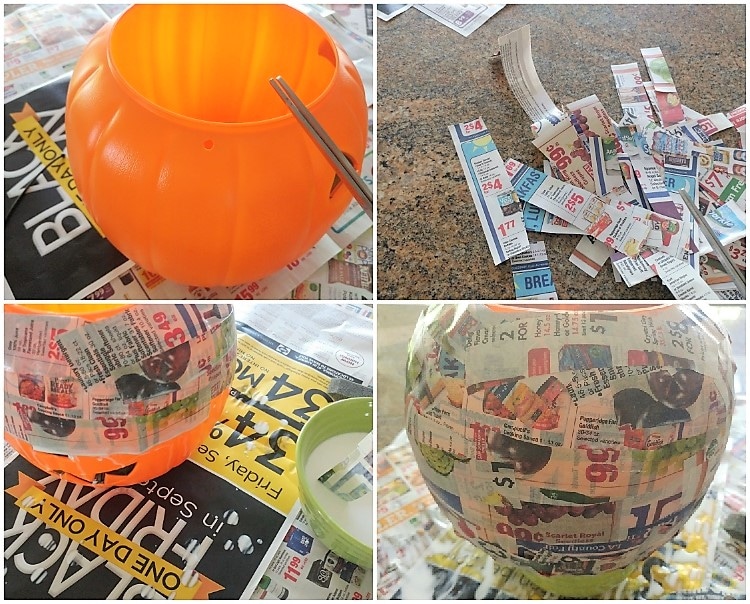
First, start by cutting newspaper into strips. Remove the plastic handle by cutting it with scissors. Make the paper Mache solution with 50/50 water and Mod Podge mixing well with a foam paint brush. Dip each strip into the solution removing any excess and place it on the pumpkin. () Continue covering the entire pumpkin. Make sure to smooth down each strip so that there are no gaps or bubbles. One or two layers will suffice. Allow it to dry overnight.
Paint the Pumpkin
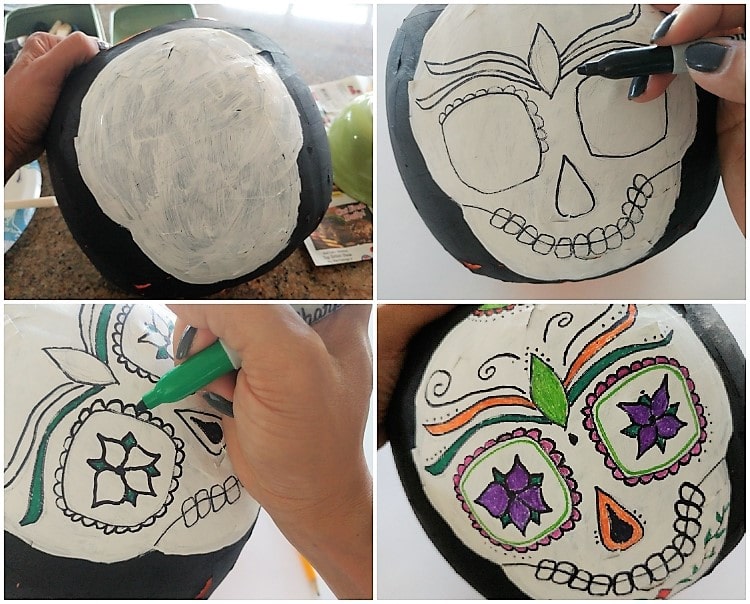
Once the paper Mache is dry, paint the entire pumpkin black. I painted two coats allowing it to dry in between coats. Next, I hand painted a white skull on the front. Make sure the existing holes for the handles are on each side and the skull is centered. Allow the paint to dry completely.
Decorate the Skull
Draw the design in pencil first and draw the skull details. This way you can erase any mistakes or changes. I pulled up some photos online to get ideas. Use a black Sharpie to outline the design. I used colored markers to color instead of paint since the details were so small.
Make the Tissue Paper Flowers
For the flowers, all you need is:
- Tissue Paper Squares (approximately 4X4)
- Scissors
- String
- Hot Glue and Glue Gun
Layer 6 tissue paper squares. I layered both orange and yellow to represent Marigolds, the flower of Dia de los Muertos. Make an accordion fold and tie a string in the center. Fluff out each layer on both sides to create the flower.
Lastly, hot glue the flowers onto the trick or treat pail. I made three flowers.
I hope you like it!
For more Halloween and Dia de los Muertos DIY’s you may like:
- Wiggly Eye Photo Party Ideas for Halloween with Printable
- How to Make a Day of the Dead Altar
- Halloween Decorating with Skeletons
- Spooky Halloween Recycled Jars
- Skull Wine Charms DIY
Like it? Pin it!
You May Also Like
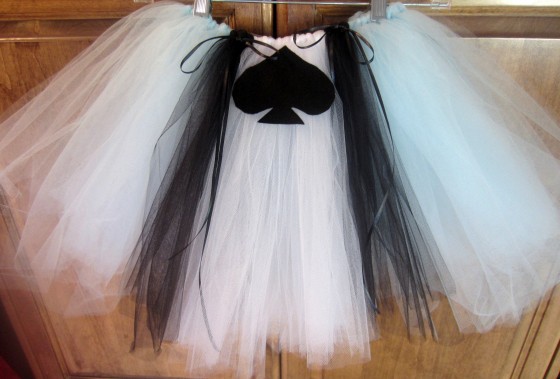
Check out these two creative trick or treat pail transformations! The first video is a Queen of Hearts Guard trick or treat bag and the second one is a Little Mikey trick or treat pail!

